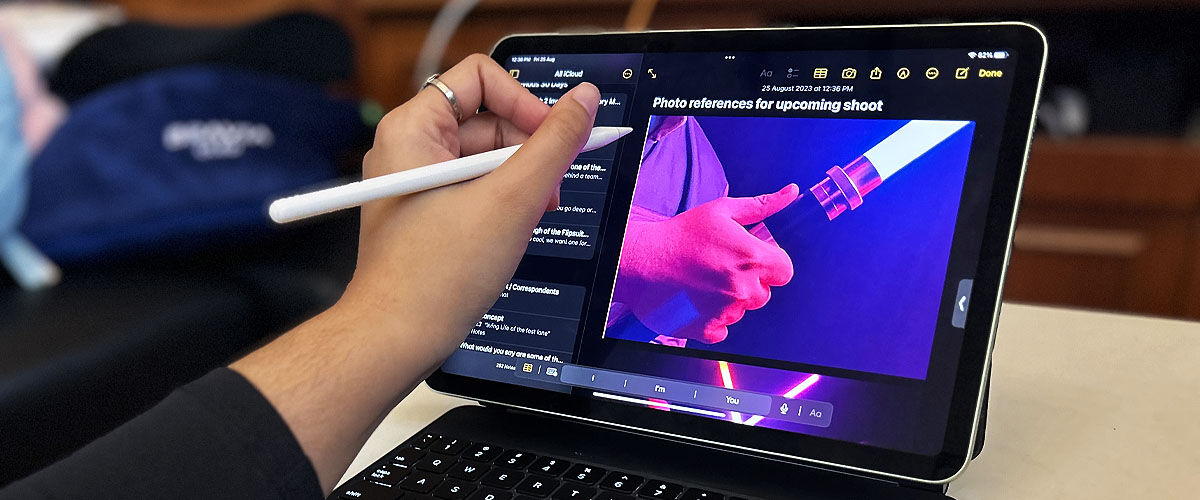
The Apple iPad has been a wonderful companion for students who require an all-in-one device to study and play, while working professionals enjoy the iPad for its ability to handle complex and work-related tasks on the go.
A feature that both students and working professionals love about the iPad though, is the ability to take and consolidate notes whether it’s for a meeting with a client or a snoozy afternoon lecture. Plus, with the addition of the Apple Pencil, note-taking has become far more efficient. But what if we told you that it can be a lot easier too, whether you’re in a class lecture, or business meeting?
Here are 5 Apple iPad and Apple Pencil tips that make note-taking easy.
1. Convert handwritten notes to text
Do you write faster than you type? Only to not understand what you scribbled? Then this will save your life.
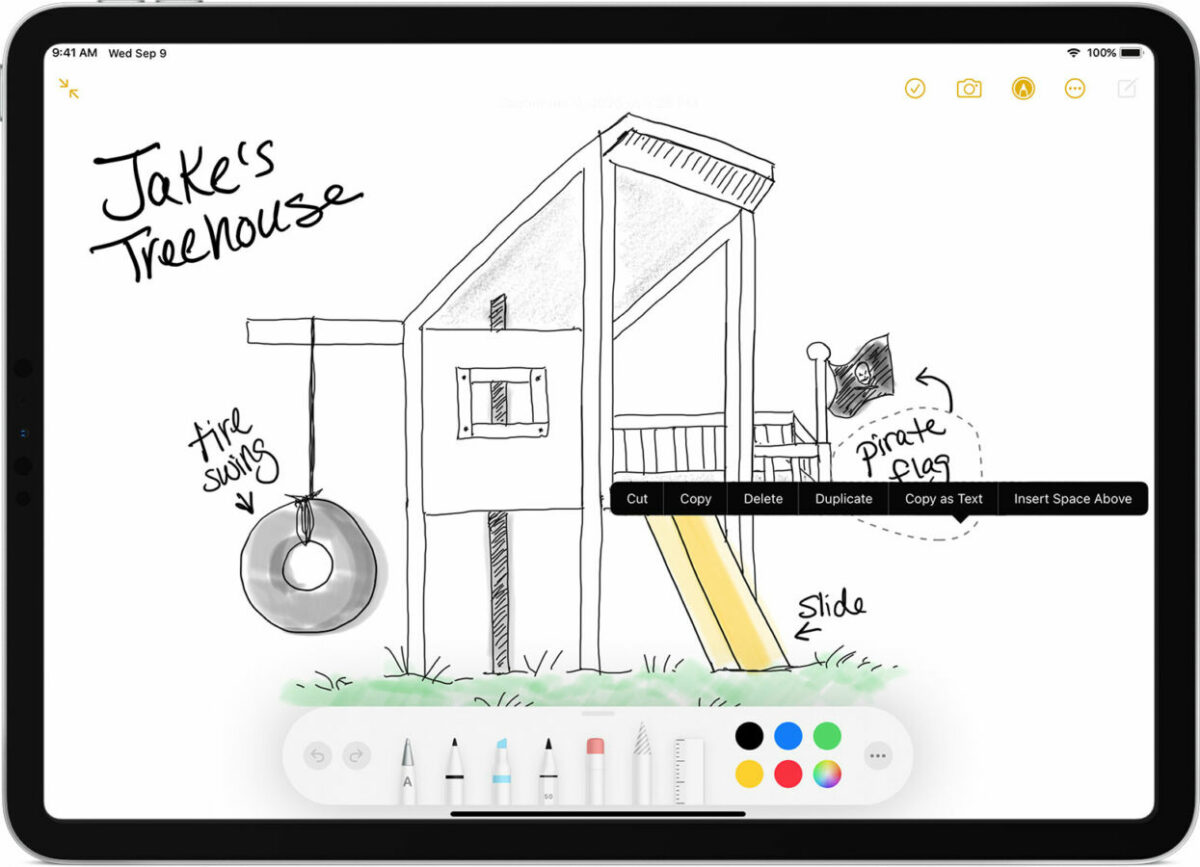
After writing away in the Notes app, you can convert your handwritten notes to text simply by double-tapping or touching and holding a word you want to select and choosing Copy as Text in the pop-up menu. Once copied, you can paste the text in the same document or in another app. This way, whatever you’ve written is a lot more legible.
In similar veins, you can use the Apple Pencil and Scribble to enter text too. Without opening or using the onscreen keyboard, you can write with Apple Pencil in any text field and Scribble will automatically convert your handwriting into typed text. This includes the search field in Safari, the text field in Mail, or directions on Maps.
2. Turn handwritten notes into actions
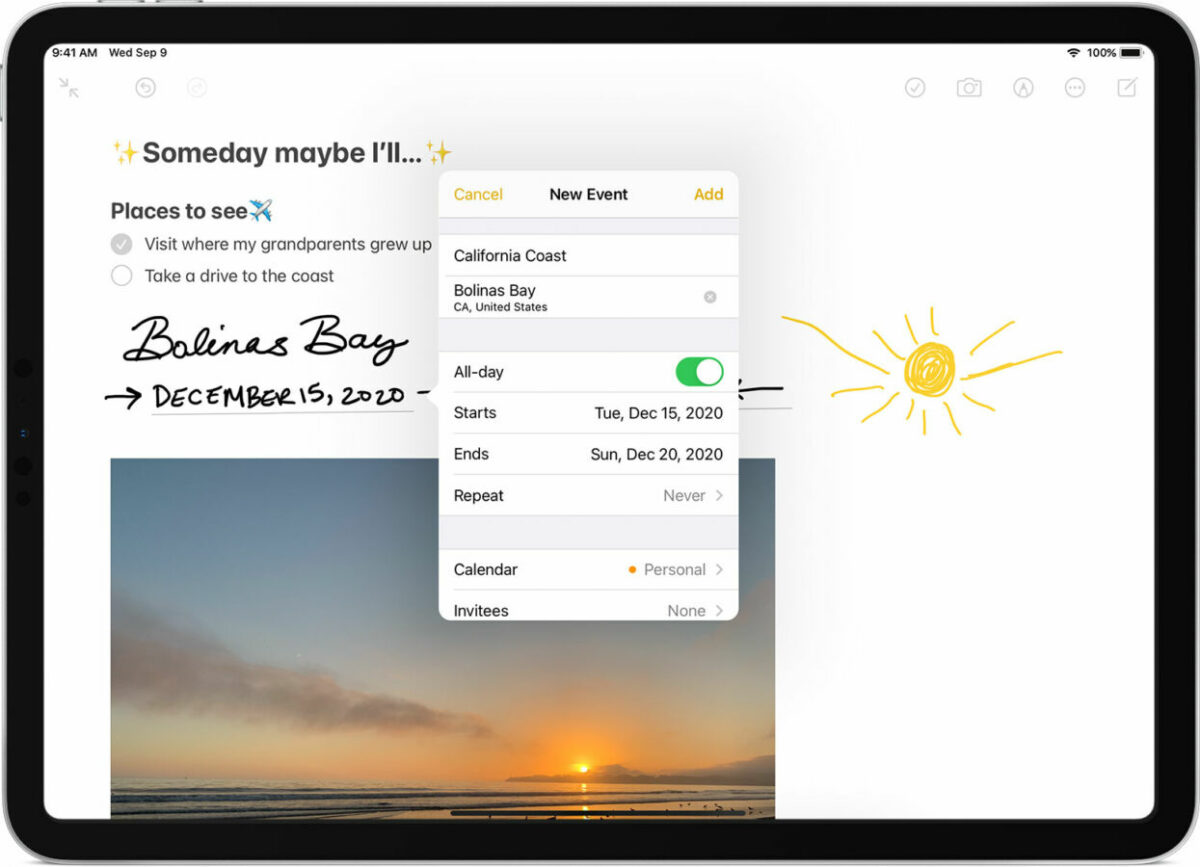
If you’ve handwritten a number, date, address or other recognised data in the Notes app, you can convert that into an action to help plan and organise your days better. This is helpful when you’re noting down an important meeting or examinations date or when you’ve not habitually use the calendar app to note down important dates.
3. Revise text with Apple Pencil
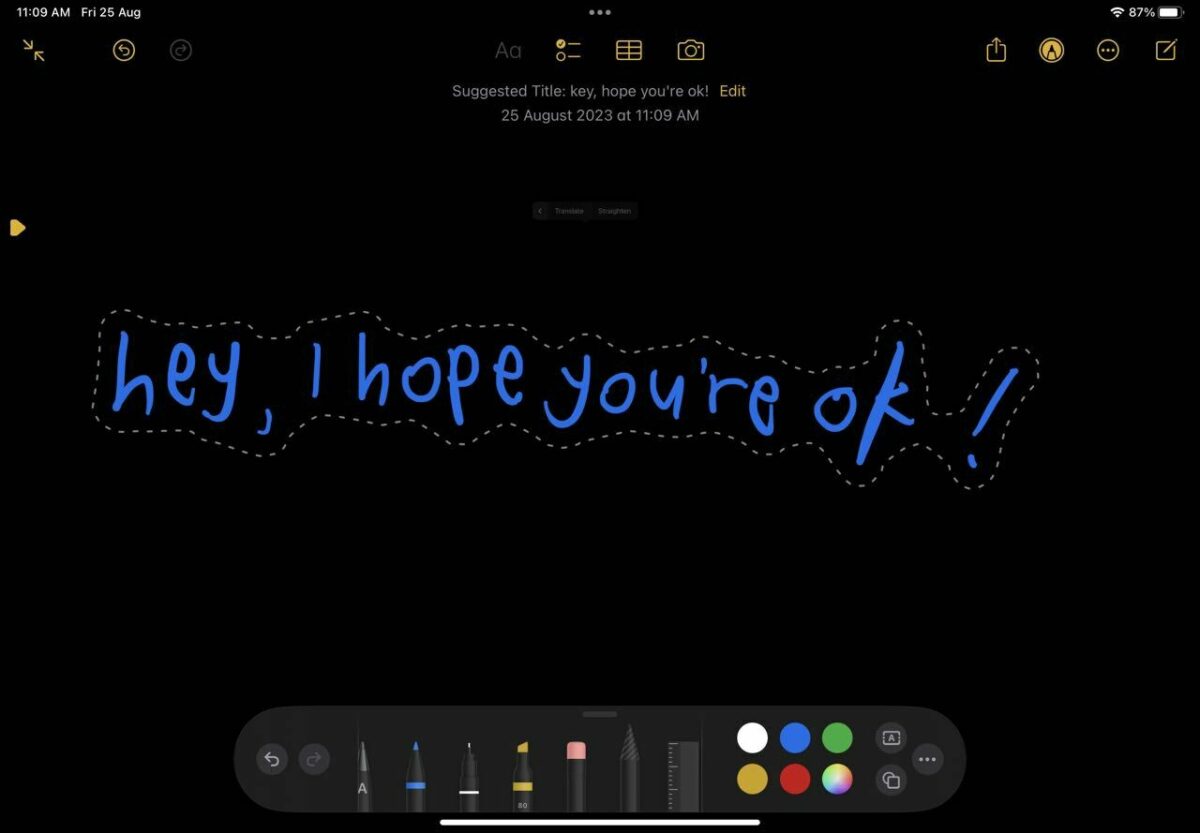
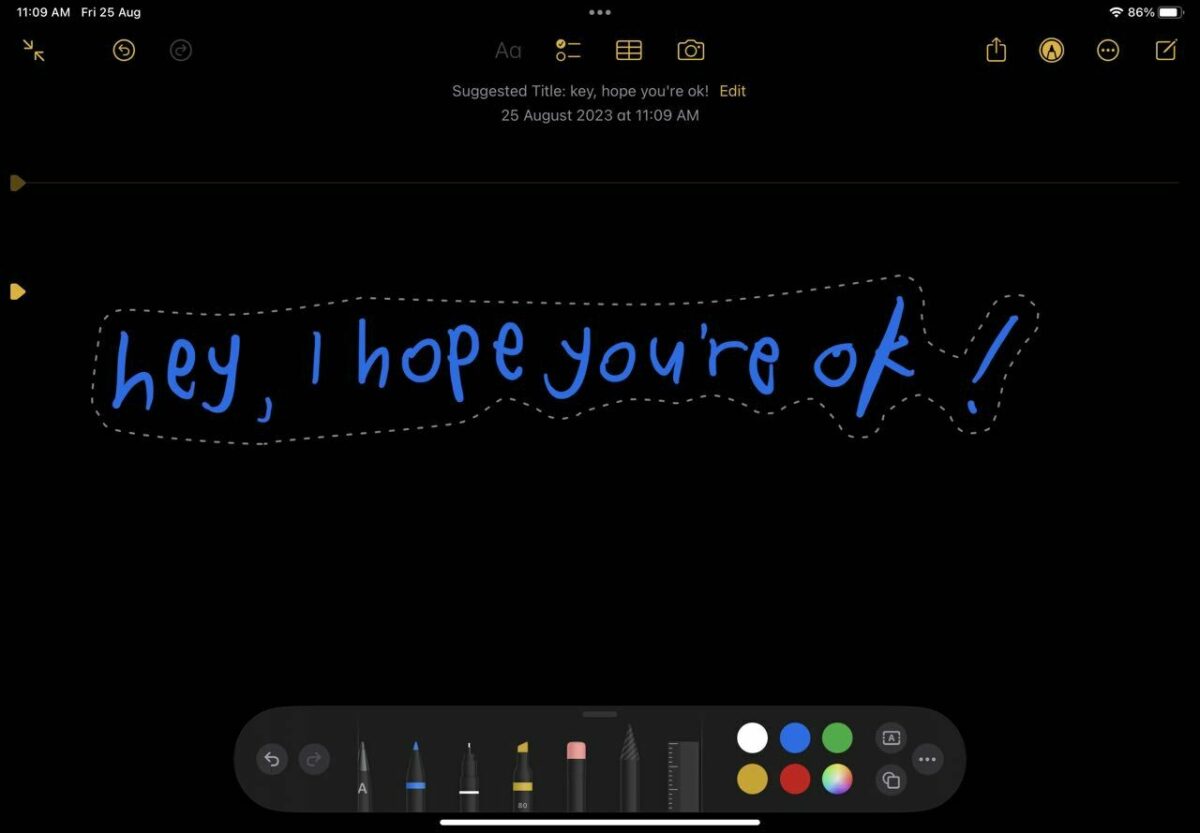
This is a personal favourite, especially if you’re a frequent writer. Using Apple Pencil and Scribble you can do the following to revise text.
- Delete a word: Scratch it out.
- Insert text: Touch and hold in a text area, then write in the space that opens.
- Straighten handwriting: Select text and choose ‘Straighten’ in option menu.
- Join or separate characters: Draw a vertical line between them.
- Select text: Draw a circle around the text or underline it to select it and see editing options. To change the selection, drag from the beginning or end of the selected text.
- Select a word: Double-tap the word.
- Select a paragraph: Triple-tap a word within the paragraph, or drag Apple Pencil over the paragraph.
4. Take a screenshot with Apple Pencil
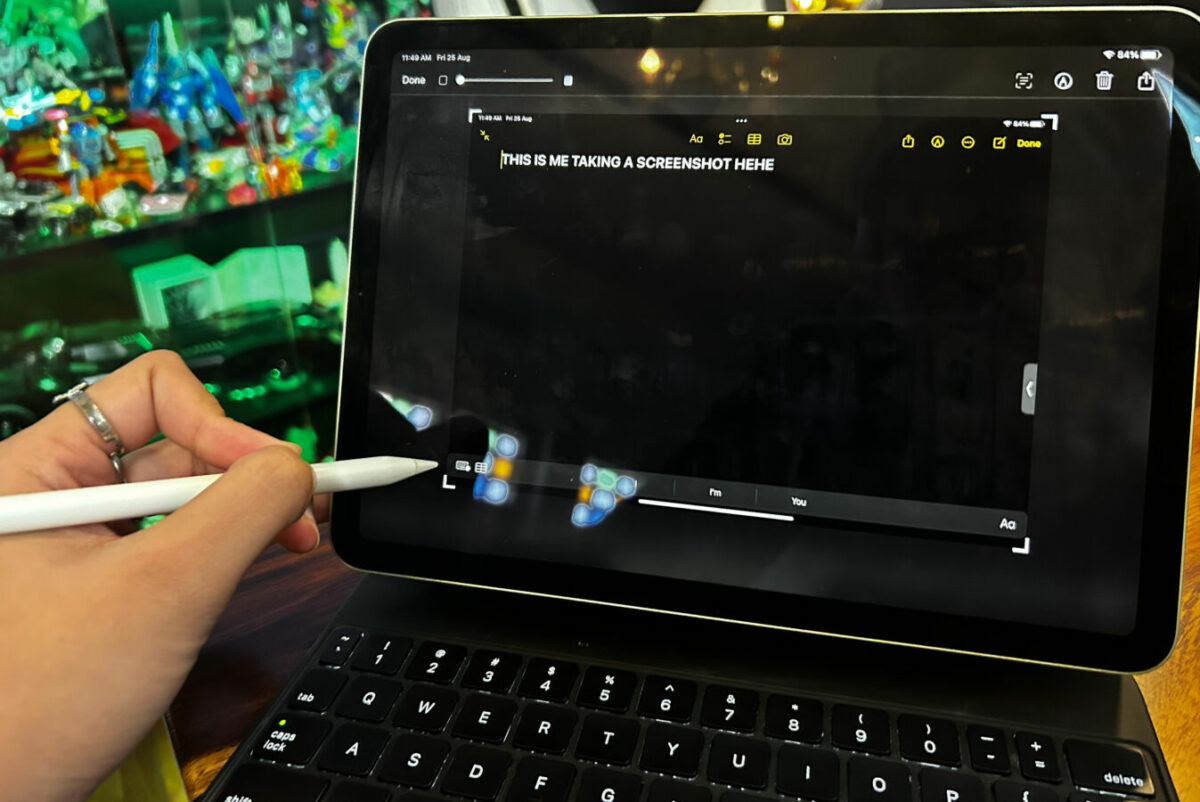
Rather than bumbling about, trying to find the buttons to take a screenshot of what’s on screen, you can do all of that with a simple flick of the Apple Pencil. To take a screenshot, swipe up the Apple Pencil from either corner at the bottom of the iPad and you’re done!
Fun fact: you can also copy and delete said photo after taking a screenshot! That way you can paste the screenshot in your notes app (or your group chats – been there, done that ladies) and not clutter your gallery.
5. Create Quick Notes anywhere on iPad
Maybe you’re doing some research on Safari and you find something interesting that you’d like to jot down. Instead of leaving the page to open up the Notes app and write it down, you can now jot down the information on Quick Notes.
You can add links, images, tags and mentions to a Quick Note simply by swiping up from the bottom right corner of the display using your finger or Apple Pencil. The Quick Note can be found in your Notes app and will pop up when you revisit the link.
And there you have it! Whether you’re a student or an adult using the iPad to study, work or play, there is no doubt that these tips and tricks will be useful for you one day. If you’re not much of a notetaker, there are still plenty of other ways to maximise your iPad’s potential such as using it as a productivity powerhouse, a gaming device or to doodle on Procreate.

