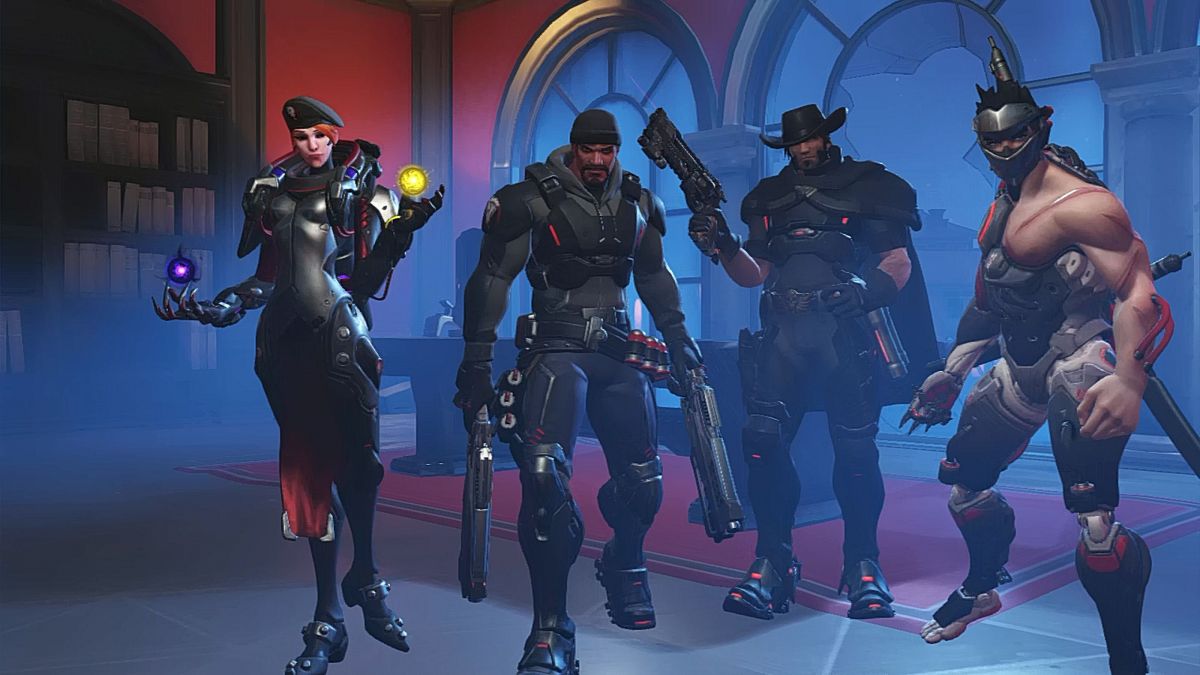
The Overwatch Retribution event is live, and it’s time for Blackwatch to take centre stage as players experience a Blackwatch extraction mission gone wrong. Back in they days when McCree, Reaper, Moira, and Genji were active operatives, the team were sent out to Venice on a mission to secure a high-ranking Talon member. Things go south fast, and they’re forced to battle waves of Talon foes before reaching the drop ship and high tailing it safely out of there.
The mission plays out across various locations and phases, facing different kinds of enemies and bosses. It can be quite the challenge, especially at Expert and Legendary difficulties, so here is our Geek’s Guide to help you snag those Retribution achievements.
TALON
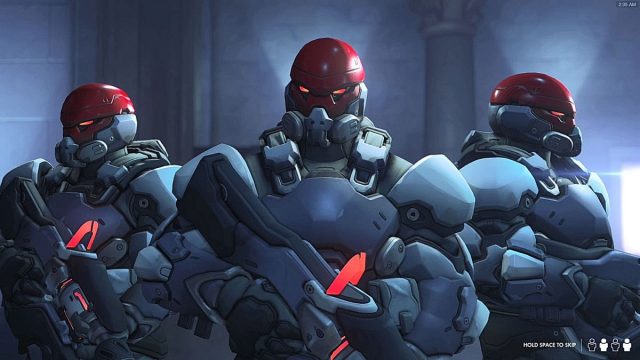
Troopers

Troopers are similar to the Null Troopers of the Uprising event last year. They are the most abundant enemy, but mostly serve as cannon fodder for you to charge up your ultimates, although you shouldn’t underestimate their damage at higher difficulties.
Enforcers
Enforcers have a much higher health pool, and once you’re in Hard and above, their guns pack a punch, so try to avoid their projectile fire best you can. They move and fire slowly, so best is to get some easy headshots on them from a distance. They take some time to charge up their shots, and if you break line of sight, they stop the charging and don’t fire, so exploit this and go in and out of cover.
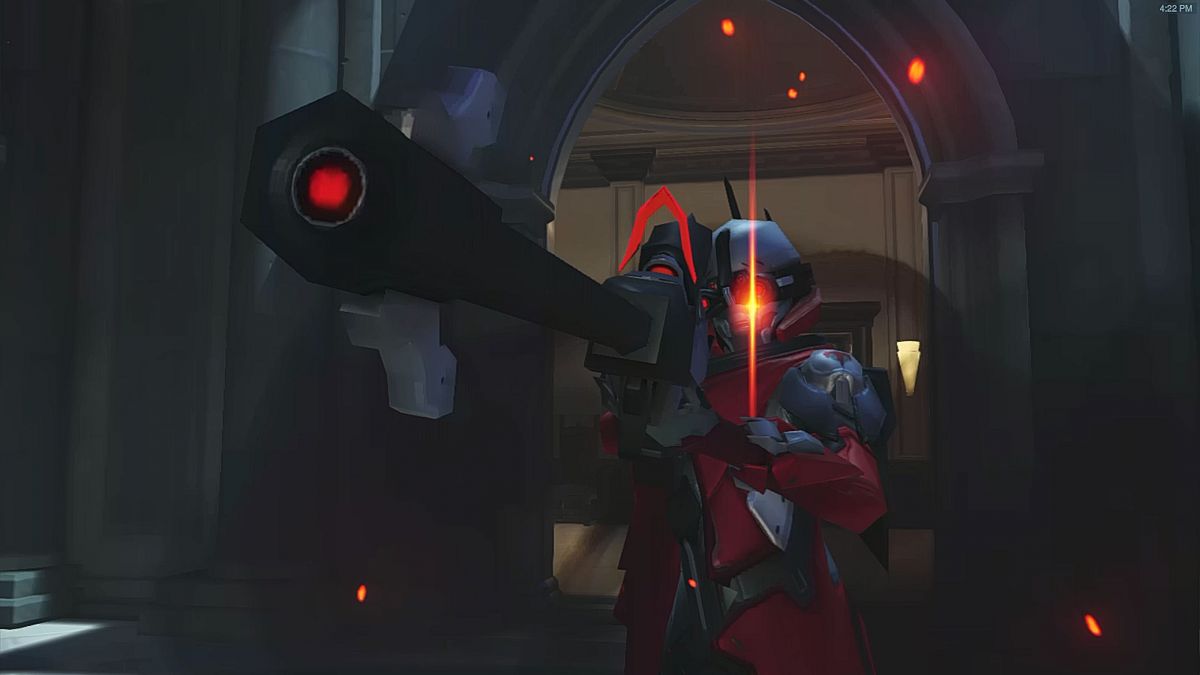
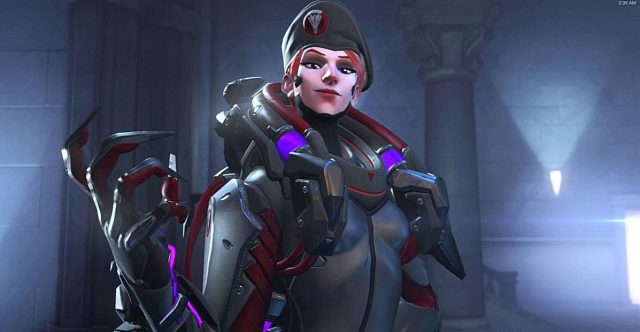
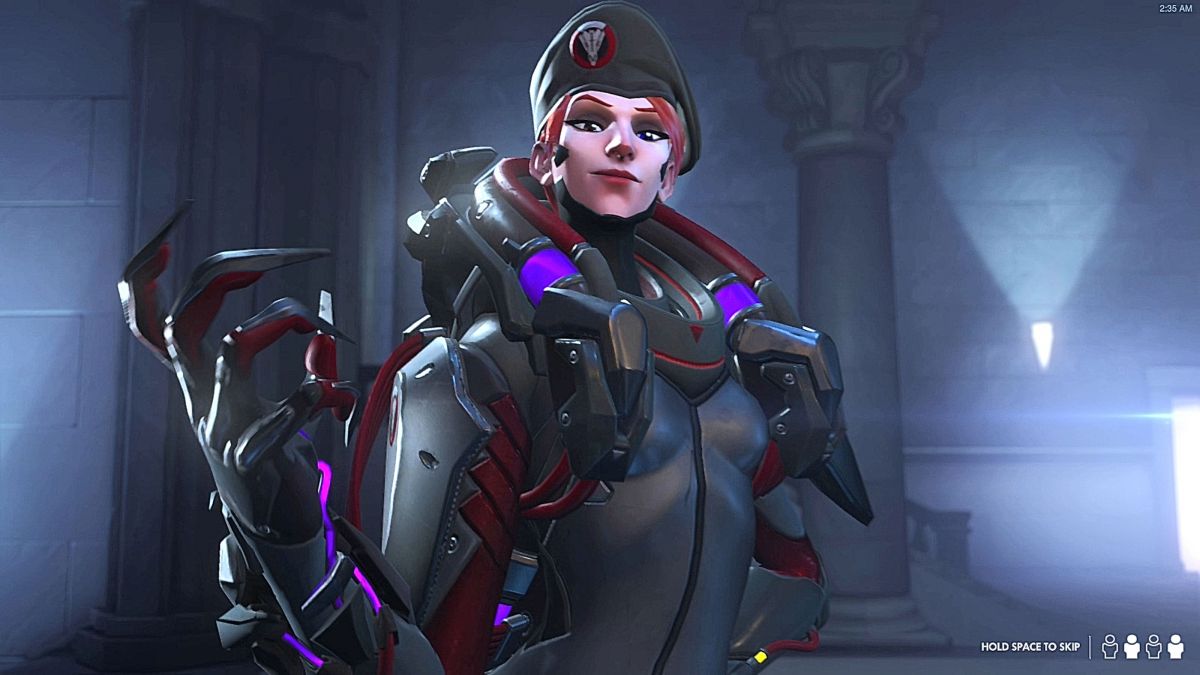
The Sniper
The Sniper is identical to Widowmaker, and she’ll grapple up to ledges or pull out her pistol firearm if you get too close. Genji is one of the best to deal with her as he can climb up to her high ground and harass her up close, or deflect her high-damage sniper shot. Alternatively, Reaper can Shadow Step up to the ledge near her and make quick work of her.
The first Sniper only spawns after a cutscene triggers once you clear the remaining mobs outside the breached door, so a way to prepare for her is to leave one Trooper behind, giving Genji or Reaper time to take a good position, then finish off the Trooper and let her spawn.
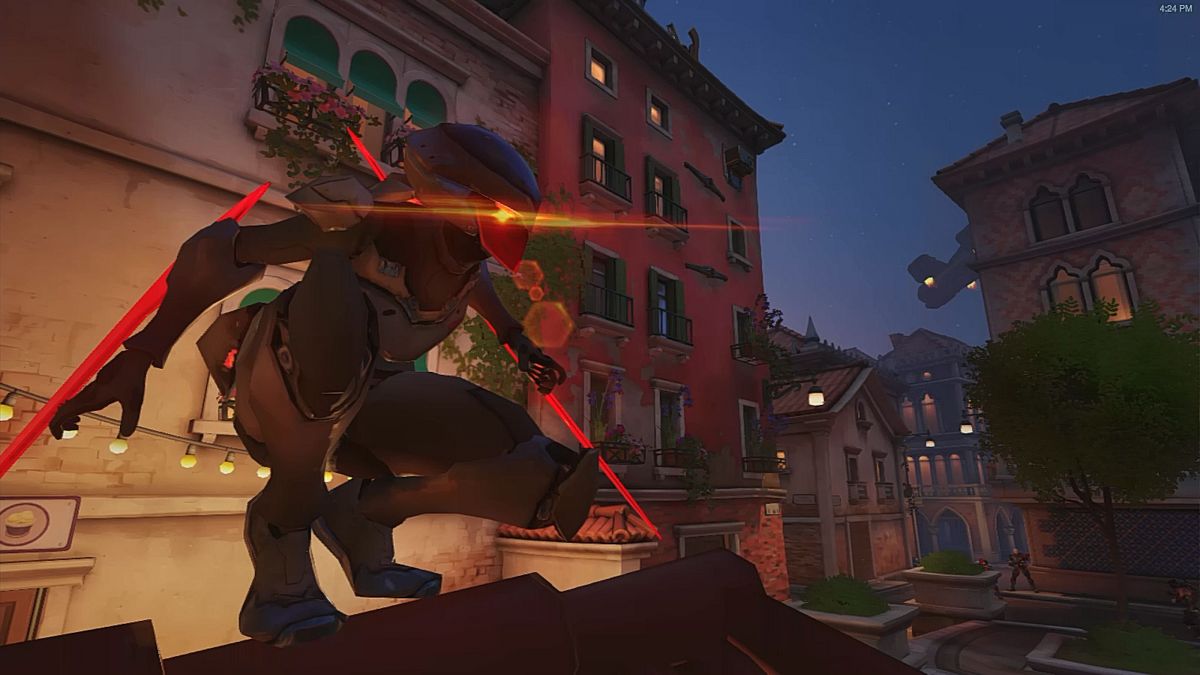
The Assassin
The Assassin teleports from wall to wall incredibly fast, and will choose a Blackwatch agent at random to attack. If you get stunned by her, she’ll charge you and pummel you with attacks as you lie helplessly on the floor. Her charge is immediately cancelled if her target uses Wraith Form (Reaper), Dash (Genji), or Fade (Moira). McCree is most vulnerable in that aspect, but his Flashbang is key to stop the Assassin in place and get some good damage in, or stop her attack on a teammate.
As long as you remain grouped up and focus your efforts on the Assassin’s victim, she is quite manageable. Tip – melee attack will knock her out of her attacking sequence. Combine it with stuns using McCree’s flashbang and Genji’s dash and she should be fairly easy to take down. Since Fade is highly useful for Moira to evade the Assassin, it’s best for Moira not to use her ult while the Assassin is on the field so that her Fade ability is available for use.

The Heavy
The Heavy is the toughest boss out of all. He’s equipped with dual automatic weapons like Orisa, charges like Reinhardt, and has an abundance of health. The most important tip is to use cover, and try not to fight him in the open, as you’ll be incapacitated real fast due to his massive damage output and insta-kill charges.
Aim for his critical hit boxes, which are both his head and the red tanks on his back. Duck in and out of cover and inflict as much damage as possible with headshots and Genji deflects. None of the ults are effective against him, considering they all require line-of-sight, so save them for when you get overwhelmed with hordes of Troopers and Enforcers. It might take awhile, but be patient, and chip away at his health without spending too many ults on him.
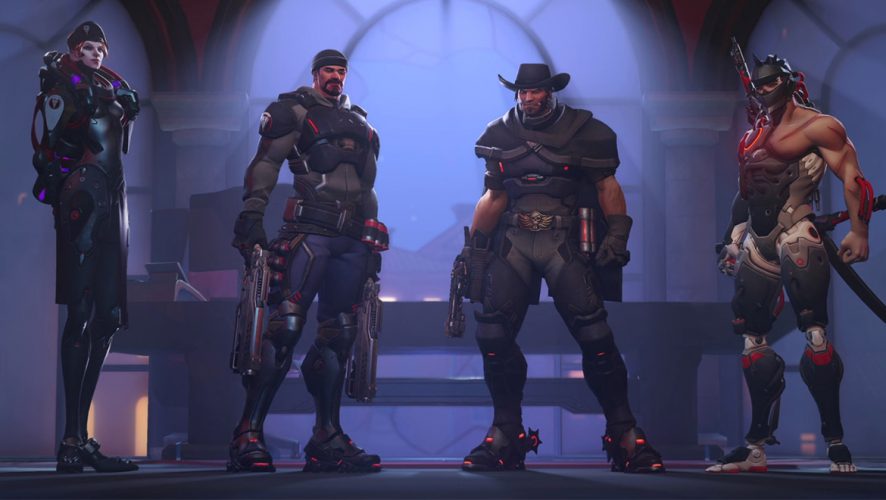
BLACKWATCH
Overall, it’s important to stay together and not venture to far away from your teammates as dying separately makes it incredibly difficult to revive and Moira’s healing range is relatively small. It’s also good to note that the more times a character gets downed, the longer it takes for them to be revived. Here are some tips for each of the playable heroes.
Moira
On Normal or Hard, feel free to use your Biotic Grasp to damage to your heart’s content. But once you play Expert or Legendary, remember – you are the healer, and healing is your number one priority. Keeping teammates alive means less time spent riskily reviving an incapacitated member. Your right click beam barely does any damage to the enemies, and being the only healer on the team it is important to keep your DPS alive, so that they can do the damage needed.
You should almost always use the healing orb over damage, and use your right click only as needed to recharge your primary heal or finish off a low health enemy.
Stay safe and don’t follow an overly eager DPS into the middle of a swarm, as things can snowball out of control if you are downed. Use your Coalescence ult when healing for multiple teammates is urgently needed, and when you want to deal damage at a distance. Refrain from ulting while a Sniper or Assassin is loose as it disables your evasive Fade ability.
Genji
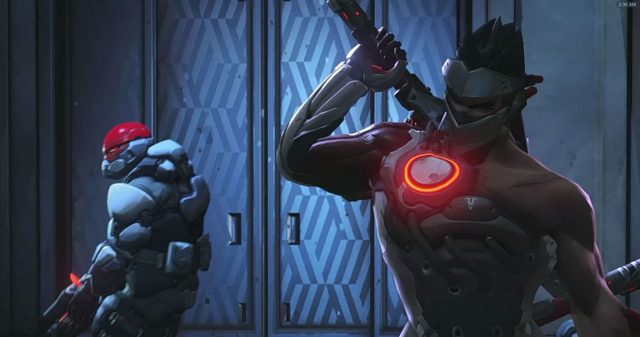
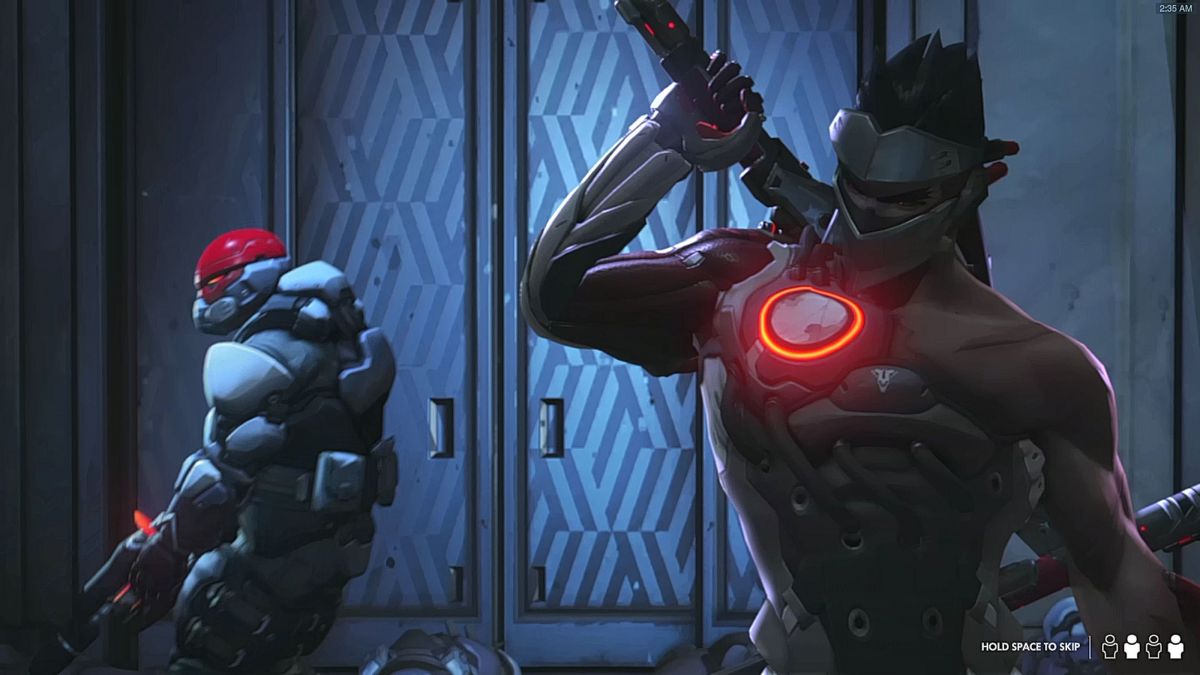
Genji is able to output consistent damage and cut through mobs with Dash resets. Deflect is very powerful – use it on Snipers, Heavy, and big bunches of Troopers and Enforcers for high damage. While an important role for Genji is to harass the Sniper, try not to stray too far from Moira or expect Moira to follow you. Use Deflect and your mobility to distract the Heavy and allow your teammates to whittle him down.
There aren’t too many specific instances where Genji’s ult needs to be saved, and you can charge it quickly, so use it to clear large groups of Troopers and Enforcers.
McCree
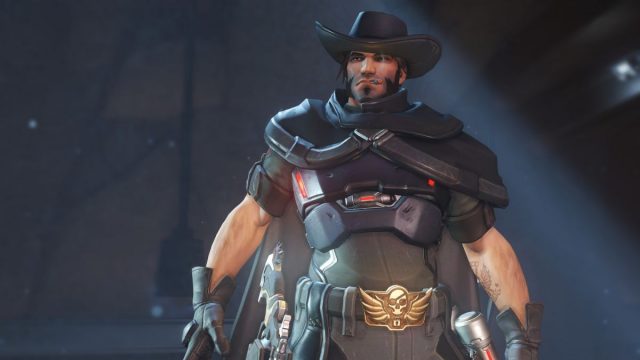

McCree’s flashbang is important for stunning Assassins, and just like in Junkenstein, his ult is great for instantly clearing big groups and locking onto Snipers and Assassins. If you want to play McCree at Legendary, you better be confident in your aim. Go for headshots, and stay close to your Moira since you are the least mobile and self-sustainable hero there.
It might seem attractive, but don’t use your ult for the Heavy. Even if you charge it up to the full duration, for some reason it does much less damage than you’d expect, and those seconds used charging high noon could be better used doing consistent damage with your primary fire.
Reaper/Gabriel Reyes

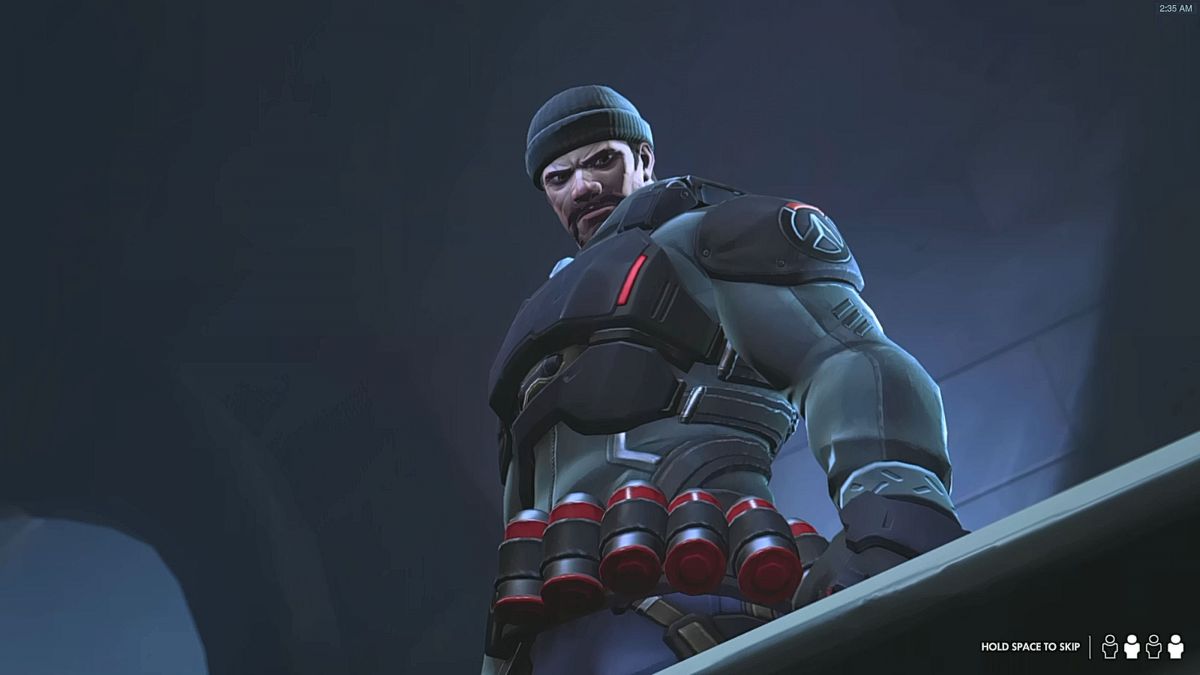
Reaper is the most durable with his slightly higher health pool, Wraith Form, and self-healing passive. Farm the Enforcers for the most self-heal since they are big and move slowly. You can revive teammates while in Wraith Form, so use it to stay alive for that extra few seconds while reviving. Talon does not react to Reaper when he teleports with Shadow Step, so use it to teleport nearer groups of enemies or to a Sniper with no worries.
In general his ult is good for killing grouped up enemies in bulk, when you need that extra bit of self healing, or for zoning an area to revive a teammate. Be careful when you choose to ult though. If you ult while a Sniper or lots of Enforcers are around, they will target and kill you. If you use it within line of sight of a Heavy, they will kill you, and anyway it isn’t effective against a Heavy. You are the biggest damage dealer there, so focus down the Heavy and Enforcers.
Last but not least, the most important tip of them all – GET ON THE DROPSHIP! Unless you’re aiming to top the leaderboard in score, once the dropship lands at the end, get on it to end the mission successfully and don’t chase after kills, as enemies will spawn endlessly from that point onwards. Reyes says so himself, “This is it, don’t do anything stupid!”
Hopefully, our guide has helped you in beating Overwatch Retribution.
Feel free to leave any more tips in the comments, and help a fellow Blackwatch agent out!

Part-time barista, full-time nerd. Here we see Joyce in her natural habitat — hunched over her mechanical keyboard playing indie games, binge-watching TV shows, obsessing over Love and Deepspace, and crocheting peacefully to the melody of Twitch streams and true crime podcasts.


