The concept of printing, not making, something has offered a fascinating tease into crafting items on a more personal level, but the high price of paying for a craftsman or alternatively, a 3D printer, can make it off-putting, but after a decade of teasing, 3D printers are now as affordable as everyday electronics – if you can learn the tools of the trade that is.
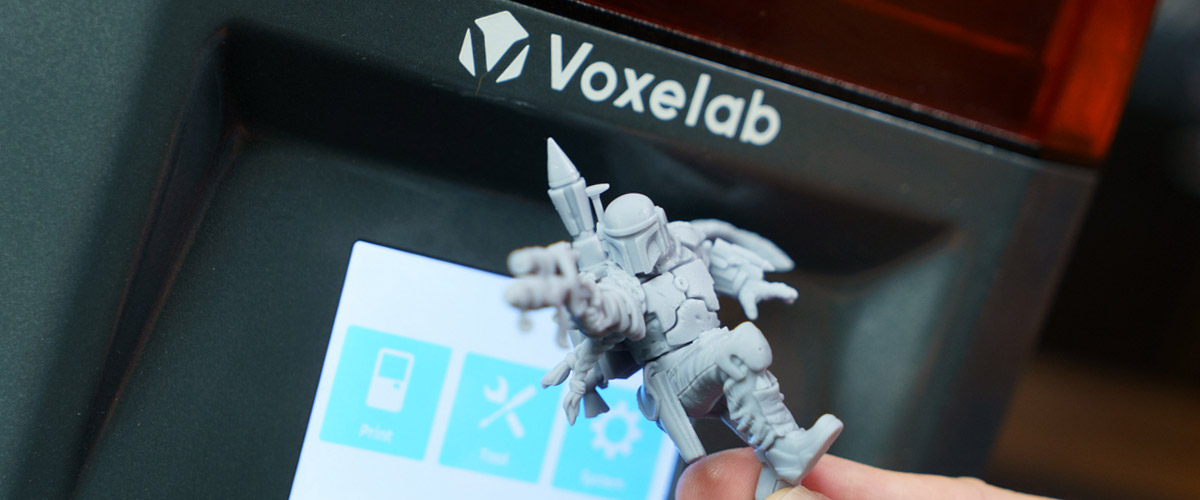
Designed to be low cost and easy to use, the Voxelab Proxima 3D printer is a nice entry point for beginners to start 3D printing with resin. Compared to the traditional filament type of 3D printers, resin 3D prints offer a smoother surface finish and are able to print out very fine micro details with the right settings.

With a small footprint of 23cm by 20cm and 41cm tall, this 3D printer isn’t made for printing massive pieces, but if you intend to, then this printer isn’t meant for that either. Instead, this entry-level device is meant for you to try out something new and challenging, before moving to something bigger. The printer doesn’t take up much space and fits nicely on most desks. Priced at US$165, it is priced relatively cheaper than the similarly specced AnyCubic’s Photon Mono, at US$189. You can see the comparison of both printers here:
| Model | Voxelab Proxima 6.0 | AnyCubic Photon Mono |
|---|---|---|
| Printed Size | 130 x 82 x 155mm | 130 x 80 x 165mm |
| LCD Resolution | 2560 x 1620 | 2560 x 1620 |
| LCD Panel | 6.0 inch 2K LCD Monochrome Screen | 6.0 inch 2K LCD Monochrome Screen |
| Material | 405nm UV Resin | 405nm UV Resin |
| Printing Speed | 25mm/h | 50mm/h |
| Net Weight | 7kg | 4.5kg |
| Price | US$165 | US$189 |
As you can see, the printable sizes here are relatively small, and even if you’re assembling things together to make something bigger, there’s only so much you can do here. Both the Voxelab and AnyCubic printers generally have the same size of printable area and resolution, and use the same printing technology using a 2k Monochrome screen. A plus point of the Proxima 6.0 is that it uses a monochrome screen, which has a longer lifespan than the colour screen. Although it prints slower then its competitor, you might want to print at lower speeds to ensure a smoother surface finish anyway, especially for ornamental items. A good estimate for a print the size of a wargaming miniature would take about two hours in its default settings.

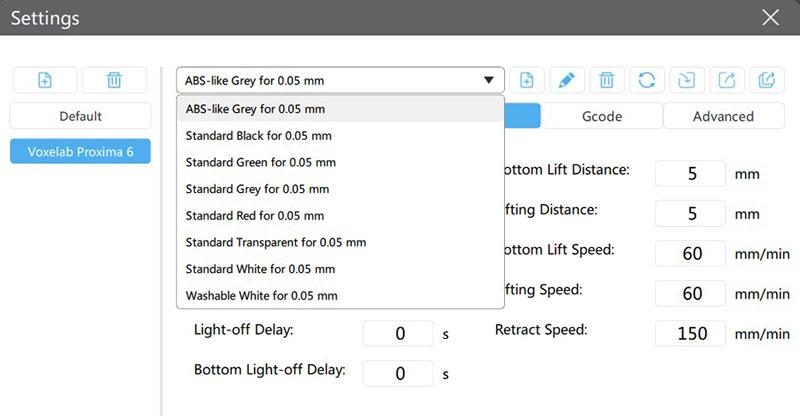
At 7kg, it is also heavier than its competitor, which is actually a plus point for a more stable print. You probably do not want to shift the printer around too much anyway, as re-leveling will be needed. On the official website, there is a decent variety of resin options starting from USD$16.99 for 500ml. There is the standard resin (available in black, white, grey, transparent, green and red), water washable or ABS-like material. The printer also is able to use any other 3rd party resin as long as it is 405nm UV compatible (such as the AnyCubic range), just note to read the label and key in the right settings when setting up the print in the software.
Setting up and Leveling
Like most electronic devices, it will be a good idea to read through the quick start guide before setting up the 3D printer. After unboxing the 3D printer and removing the protective foam and films in it, set it on a flat and stable surface. After that, simply screw on the build platform, remove the resin tray and then level the platform.
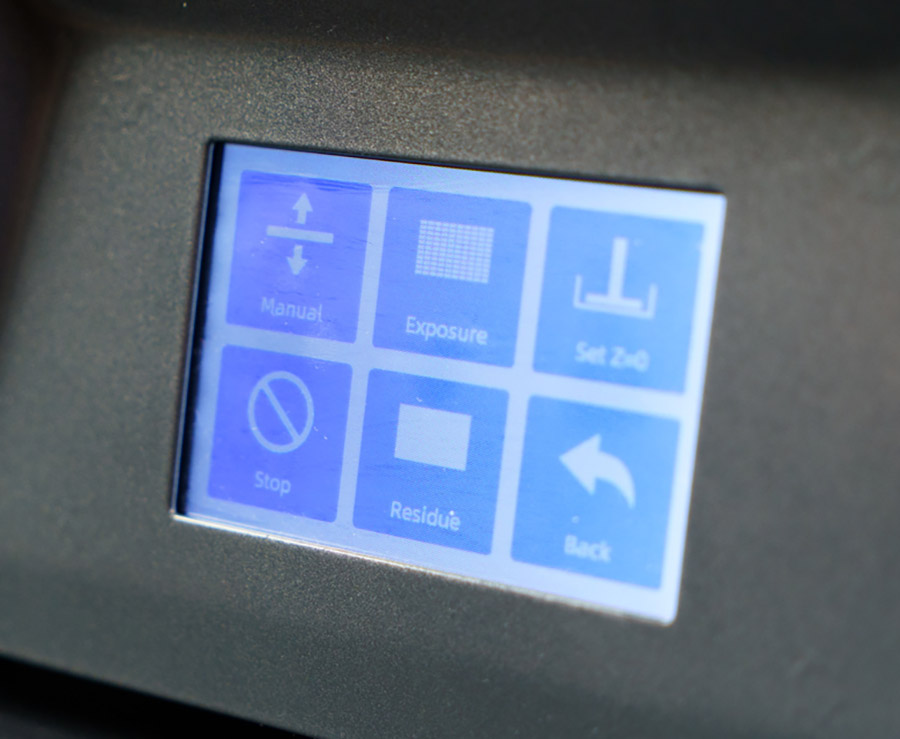
Leveling the platform is one of the most important steps of 3D printing, as it is the step that will make or break the 3D print. Usually, the first few layers are critical to get the print going, so that the 3D printer has a base to continue printing each layer. As the Voxelab Proxima 6.0 is a free swivel platform system, and leveling it is a straightforward process.
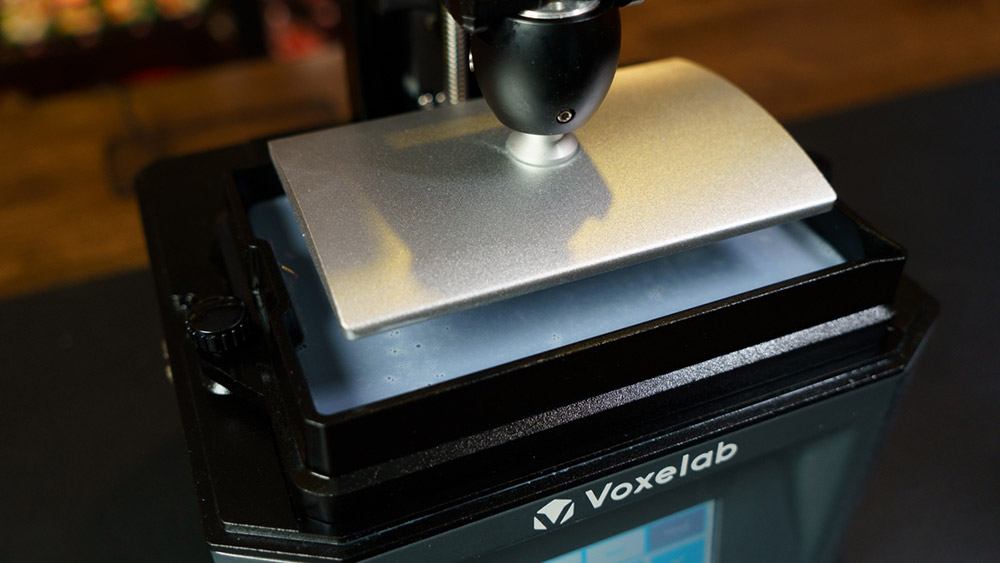
A hot tip is to premeasure, and cut out a piece of paper (about 80GSM) small enough to put between the platform and base. Instead of using the paper, you can try leveling it with the resin vat directly, as it might be more accurate to the real-life printing conditions. After the platform is lowered, tighten it with minute adjustments until the paper is clamped tight and the paper should be just unable to move, and the build platform is just tight enough not to wriggle, indicating the optimum position for the home level.
After you are satisfied with the leveling, simply tighten the build platform using the provided alan keys in the current platform position as the home level, and you can start printing your 3D models. Do note that this part is one of the most critical steps of the 3D printing process, because if there is no optimum contact with the build platform and resin vat, the print will not be able to start. It is also good practice to re-level your machine once a while, especially when you start to notice weird lines coming out on your prints.
Preparing the Model for print
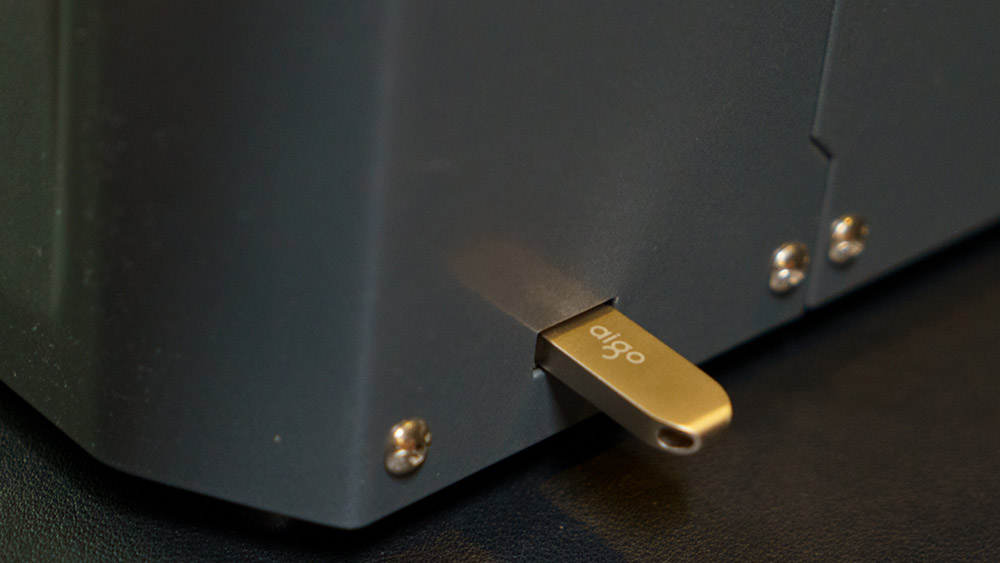
The Voxelab Proxima 6.0 uses the Chitubox software, which is included in the thumb drive to prepare the model for 3D printing. To set up the Chitubox software after installation, you will first need to add the Voxelab 3D printer as the printer, and indicate the settings as laid out in the Voxelab Proxima Quickstart Guide. If you are using Voxelab’s resin, you can also choose the preset settings configured for them.
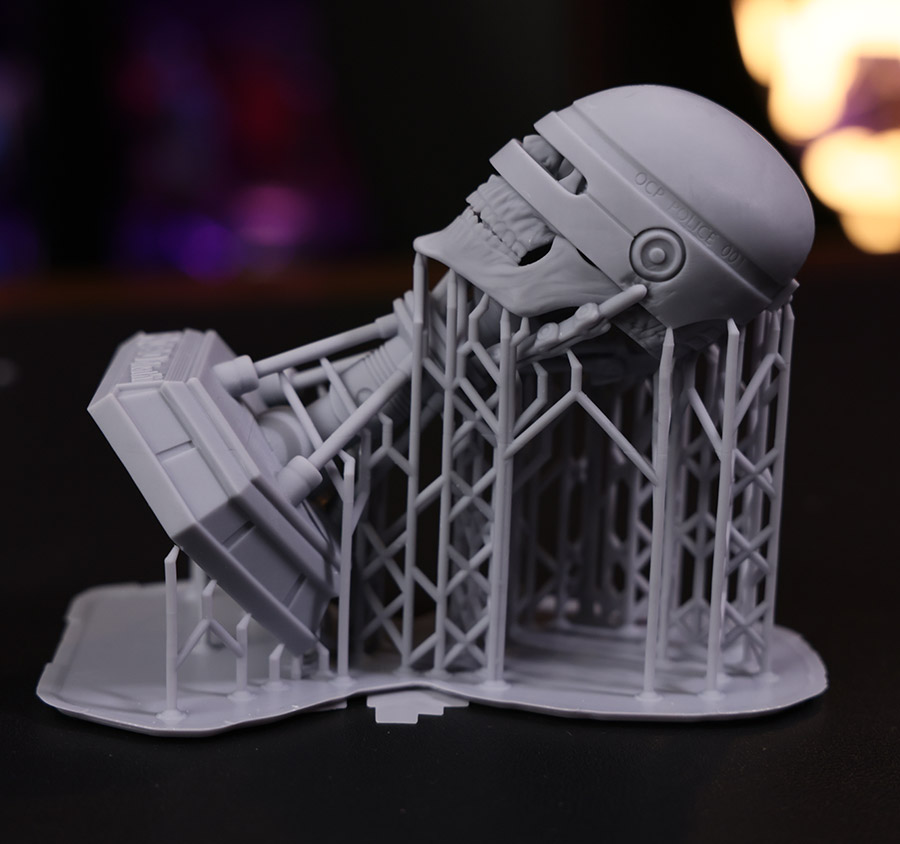
For the models to print, one can start by simply downloading a free model from resource sites such as Thingiverse and Cults3D. These files usually come in *.STL format where you can load it into Chitubox. As the model prints top-down invertedly, you will need to ensure the model is well supported during the print. Usually, this is achieved by rotating the model to an angle of 45 degrees, and setting up the tree supports to ensure that the heavier overhanging parts are well supported during the print, so they do not fall off midway while printing.
The software is able to generate the supports automatically, but it is recommended to delete away overlapping supports, or shift away supports that are touching parts that include fine details. As the printer prints layer by layer, it would be optimum to fully load the platform with 3D models to save print time, since printing time will be only as long as how tall is the highest point of the model.
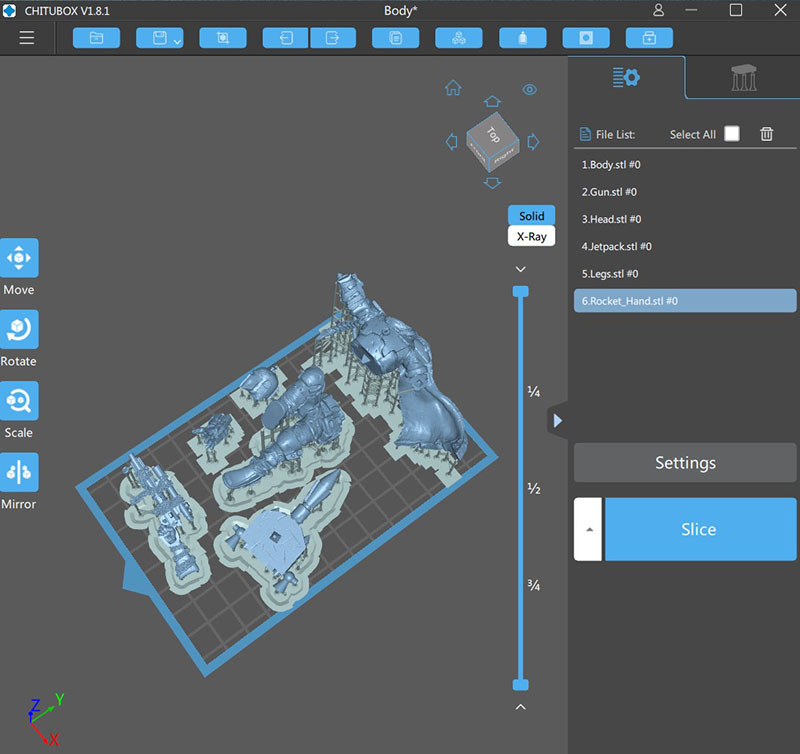
When all that is done, it is a good practice to double-check your settings, especially if the right type of resin is selected for the print. Finally, it is time to slice the model, export it to *.FDG format into a thumb drive. A cool part about this step is that Chitubox will be able to tell you how long the estimated print will take, and how much resin it will use, and the cost of the raw materials used.
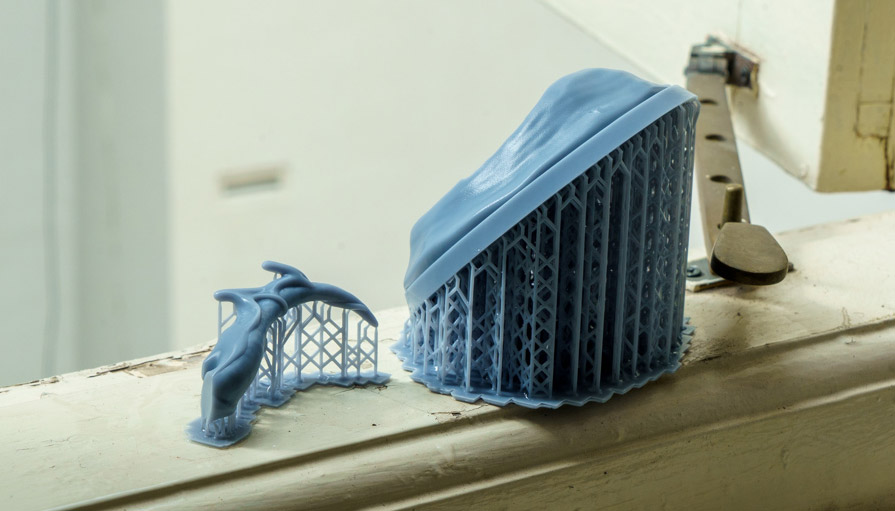
Printing the Model
If the leveling and the 3D Model is set up correctly, the 3D model should print smoothly. The Voxelab Proxima 6.0 is able to print using any 405nm UV-compatible resin. For this printer, a good indication that the print has successfully started, you would hear some pop and crackling noise as this would mean the vacuum has been formed to print the base of the 3D print.
A downside for the Voxelab Proxima printer is that it is not possible to see the progress of the model until the model’s height is above the 3D printer’s tray. You can however check the print by pausing it at around 15% completion where the model will be lifted up. It’s best to leave the cover on though, as moving the build platform will cause the 3D model to misalign, causing warping to the 3D print when it resumes. This is the longest part of the 3D print process, and it is best not to touch or move the model or build platform while it is printing. It would be good to print in a well-ventilated room or area as the UV curing process of the print will emit some fumes.

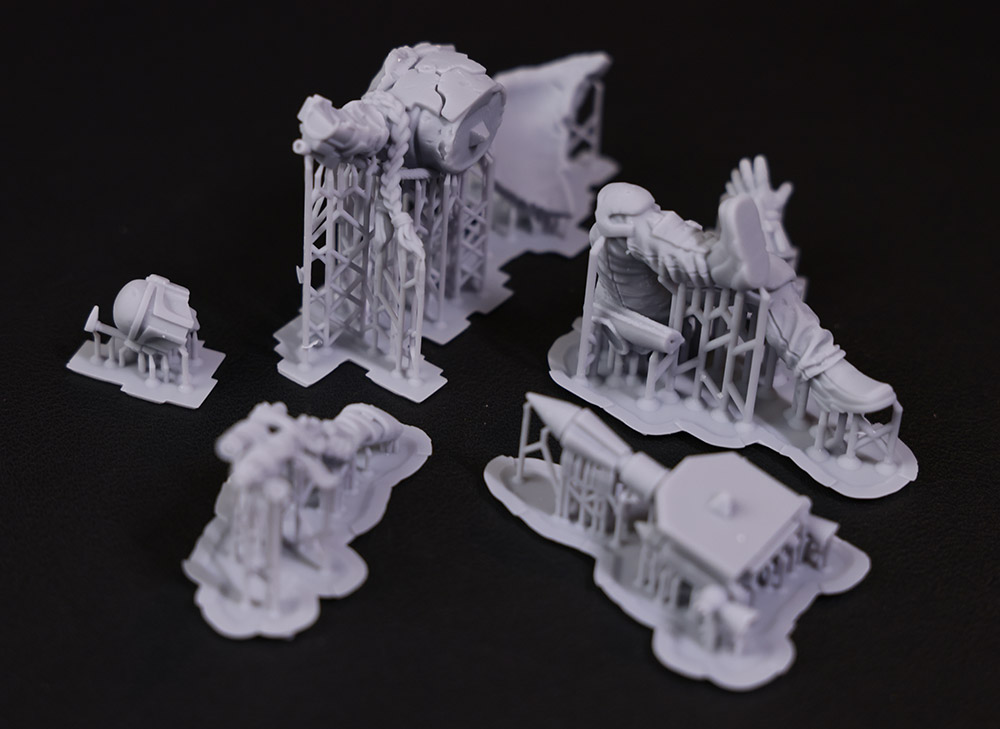
When the 3D print is completed, you can use the scraper tool to remove the model from the platform carefully, as you need to be mindful not to break any parts of the model, or scratch the surface of the platform. The details and resolution of 3D prints came out looking impressive where fine details can be printed with a very smooth finish, even on small prints.
Post Processing the Model
Although Voxelab does not have their proprietary wash and cure machine, you can simply purchase a few basic items for the general post-processing clean-up. Generally, a post-processing kit will include these items:
- 99% IPA Alcohol
- An alcohol resistant bucket large enough to fit your model.
- Gloves
- Coffee filters
- Paper towels
- Micro cutters
- Sandpaper or files(optional)
After the 3D print is removed from the platform, it is time to wash the model in IPA alcohol such as this Tiger brand IPA alcohol.
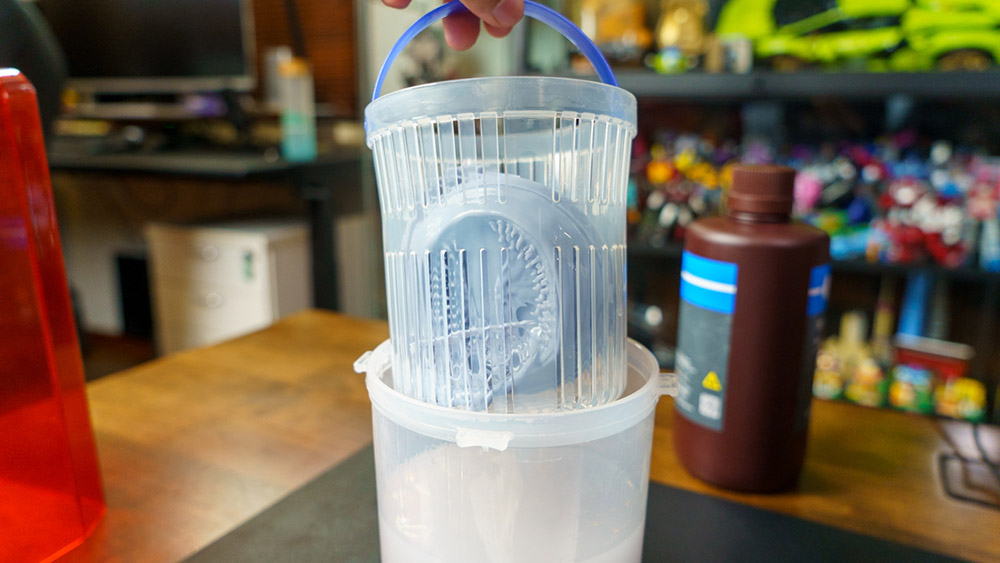
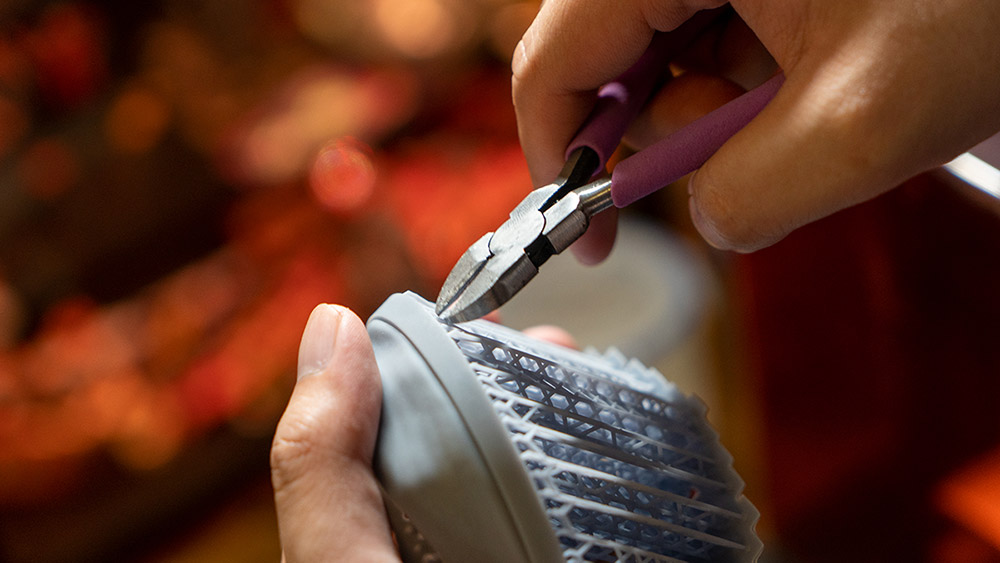
For this, you can use this very nifty pickle tray container where you can simply put the model in it and seal and swirl the container for a few minutes until most of the wet resin on the print surface has been washed away. You can reuse the IPA alcohol to bathe a few models, until the solution turns very cloudy. Thereafter, simply put the print in a sun to cure the model with UV rays. Finally, use a pair of hobby clippers to carefully remove the supports from the model by cutting away near the tip of the connecting parts, and then twist off the supports gently.
After that, you might need to sandpaper away some artifacts to get a smooth surface, and your 3D print is ready for display or painting.
Maintenance and Community
After the print is complete, you can filter the liquid resin with a coffee filter to catch the solid residue, and then pour the remaining resin back to the bottle. Here are a few nifty tools you can 3D print to help with this to be a mess-free process.
After that, you can use paper towels dabbed in alcohol to wipe the tray and the platform dry. If you require replacement parts that wear and tear easily, such as the build platform, resin vat and the FEP film, these are all available from Voxelab’s website, pending stock availability. If you register a Voxelab account and subscribe to their newsletter, you can get a $10 off coupon for one order.
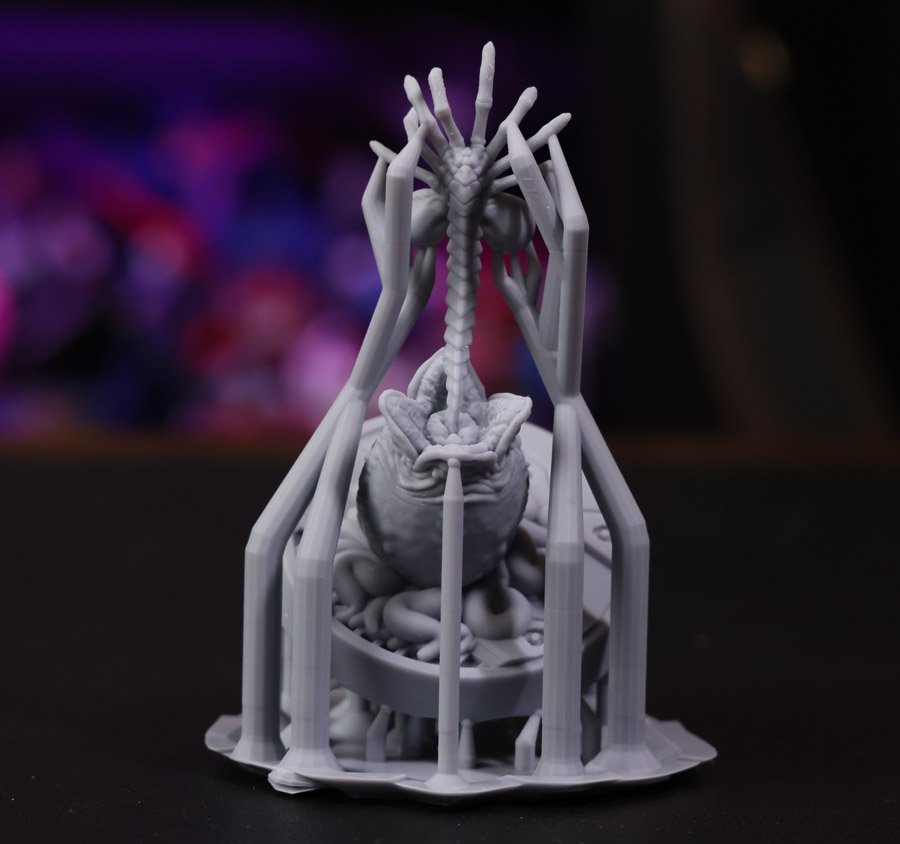
Before 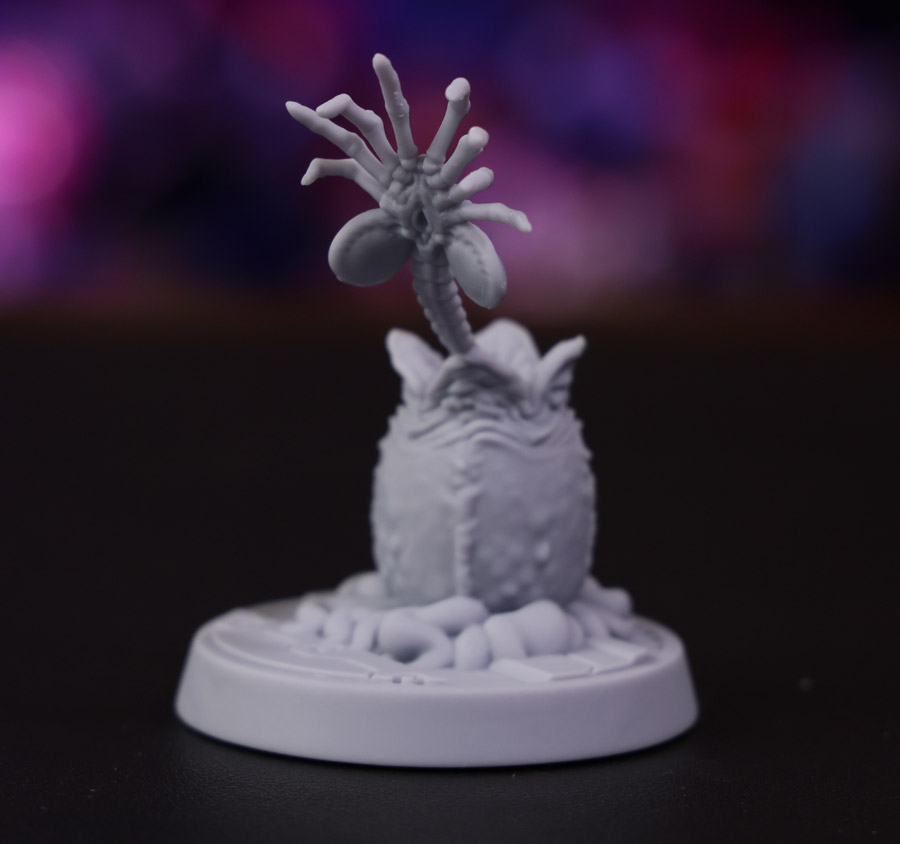
After
For some, it might take a bit of research to get started, especially on the leveling of the printer. We found many useful tutorials on YouTube, and there is also an official Voxelab user Facebook group where you can ask a community for tips and tricks of using the printer.
Conclusion
It is surprisingly easy to get started, and a relatively low cost to get 3D prints out. As the model to print is prepared by the user, one could scale the prints to the preferred sizes so that the miniatures match the original scale of say, games pieces, or are of an optimum size to fit in a display case. As there are many different types and colours of resins, there is a whole new world to explore when printing to achieve different effects from prints.
Before 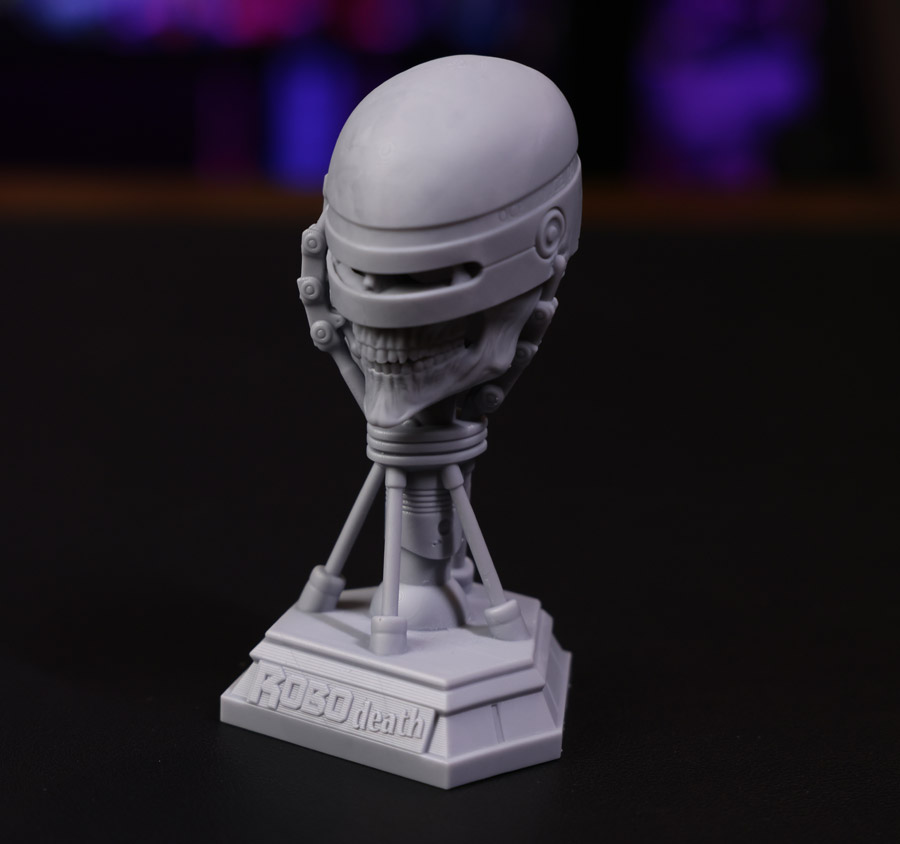
After
Whether you are an engineer who needs to create a prototype part or parts replacement, or a hobbyist scale modeller, 3D printing on resin will open a lot of options and possibilities. The process can be slow due to the printing process taking hours, but the end result of a good print is usually very rewarding. All in all, we are very pleased with the print results produced by the Voxelab Proxima 6.0 3D printer, as you can see from the results above, and will definitely look to print more geeky stuff in the days to come.
GEEEK REVIEW SCORE
Summary
If you’re looking for a way to get into 3D printing, the Voxelab Proxima 3D Printer offers simplicity at a great price, and software to kickstart your journey of self-creating. But as we indicated towards the end of the review, you need to explore more, such as cleaning the final product, and after that, learning the art of painting your models to get them where you want or need them to be.
Overall
8.1/10-
Aesthetics - 7.5/10
7.5/10
-
Build Quality - 8.5/10
8.5/10
-
Performance - 7.5/10
7.5/10
-
Value - 9/10
9/10
-
Geek Satisfaction - 8/10
8/10
SnapSniper is an avid geek who is both a huge fan of games and an even bigger Star Wars fan.


