
When it comes to guns, you know that Ratchet & Clank has got you covered. Insomniac has always delivered when it comes to weapons, and that is true for Ratchet & Clank: Rift Apart as well. None is as awesome as the R.Y.N.O of course, and if you want to obtain this weapon, you will need to do some hunting. Lucky for you, we have the perfect Ratchet & Clank: Rift Apart guide to collecting all 10 Spybots.
Be sure to also check out our Ratchet & Clank: Rift Apart Guide Wiki for other important information about Insomniac’s latest hit!

Spybot #1 – Corson V, Nefarious City
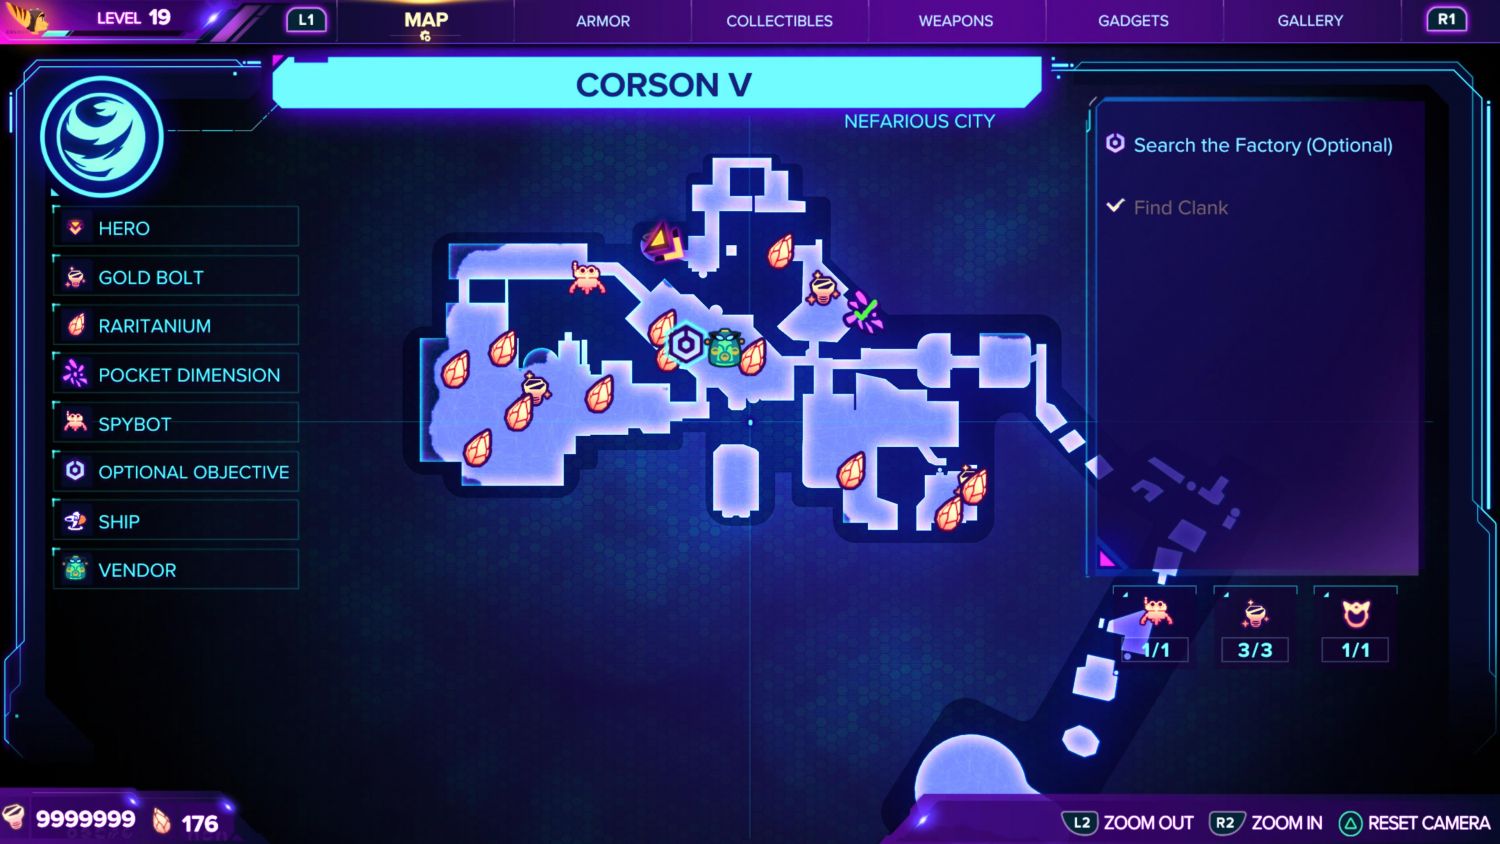
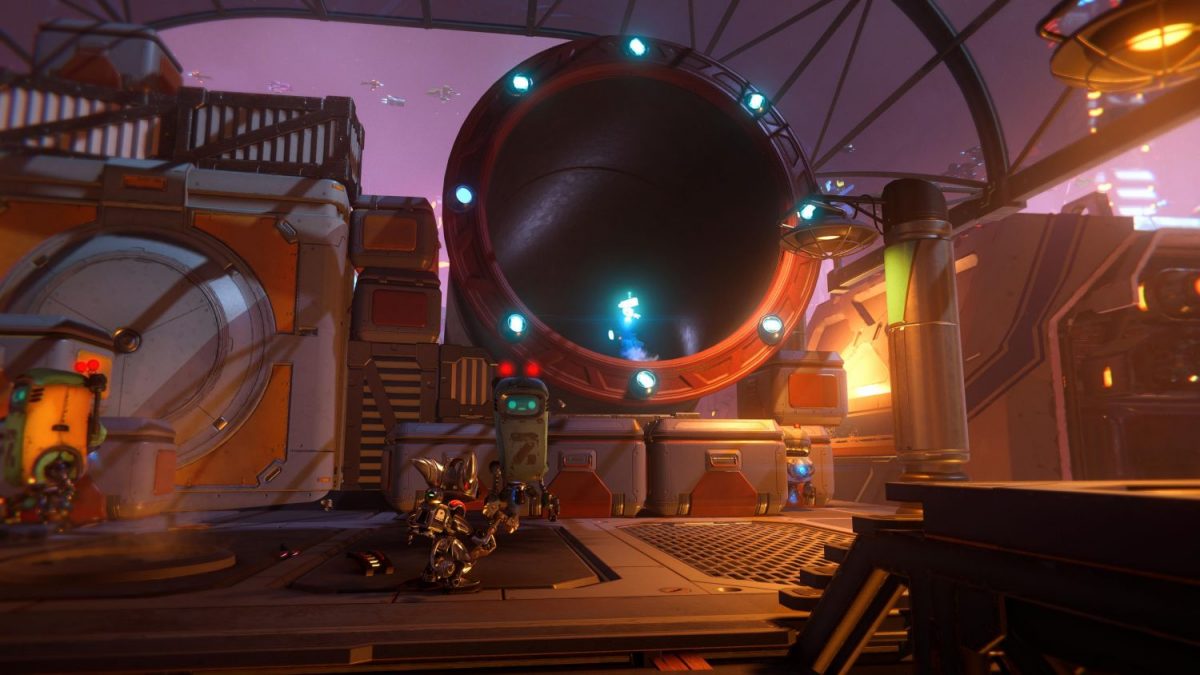
Head to the marketplace, turn right at Ms. Zurkon and head up the magnetic path around the corner. Follow the path upwards, fight off some enemies and let the train leave. Spot the rift and tether over. Head up using wall jumps, followed by tethering to another Rift to arrive at the Factory entrance.
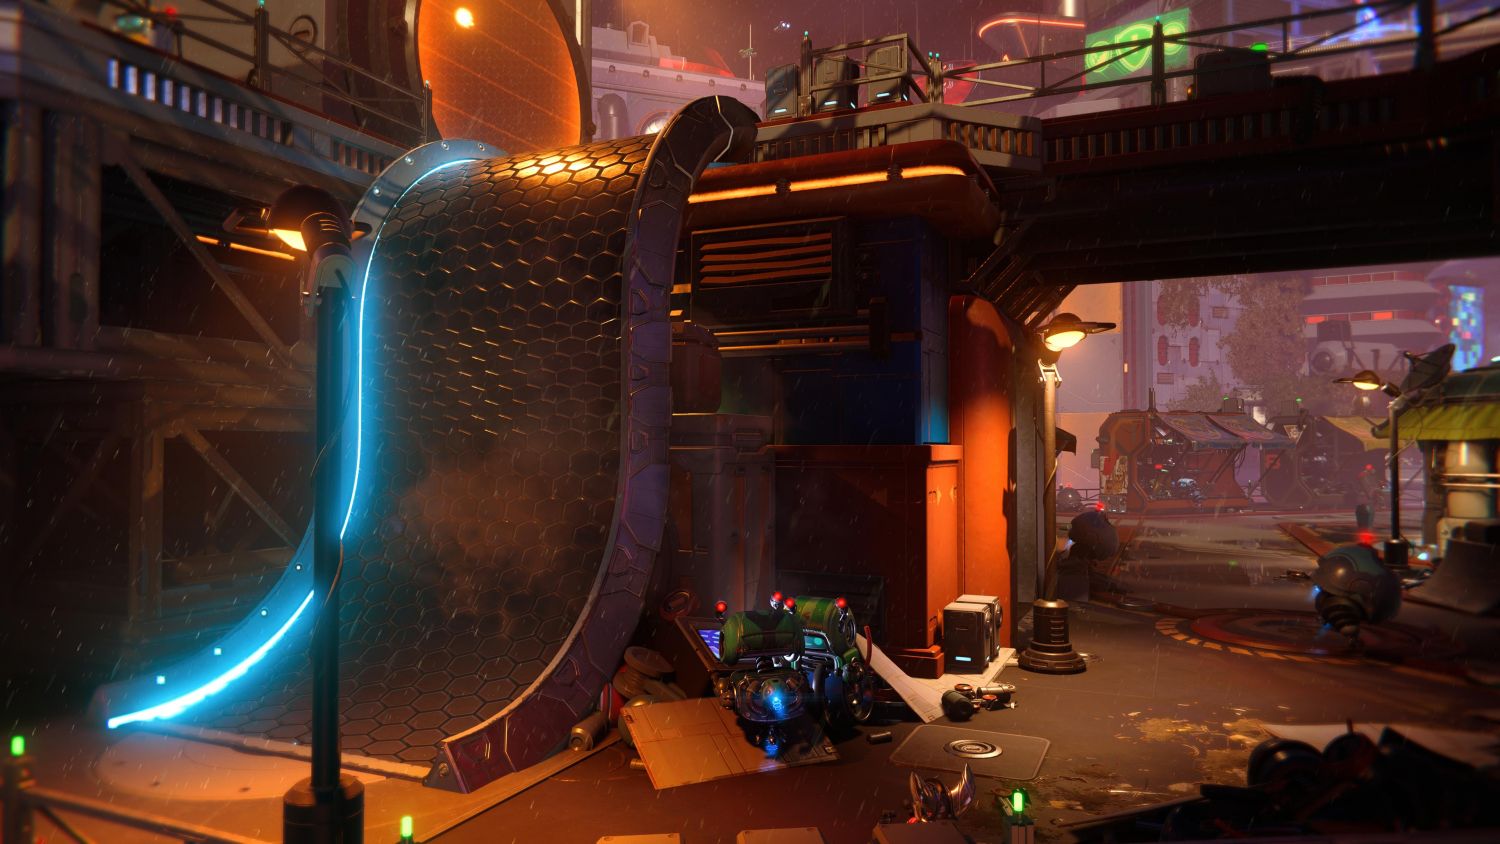
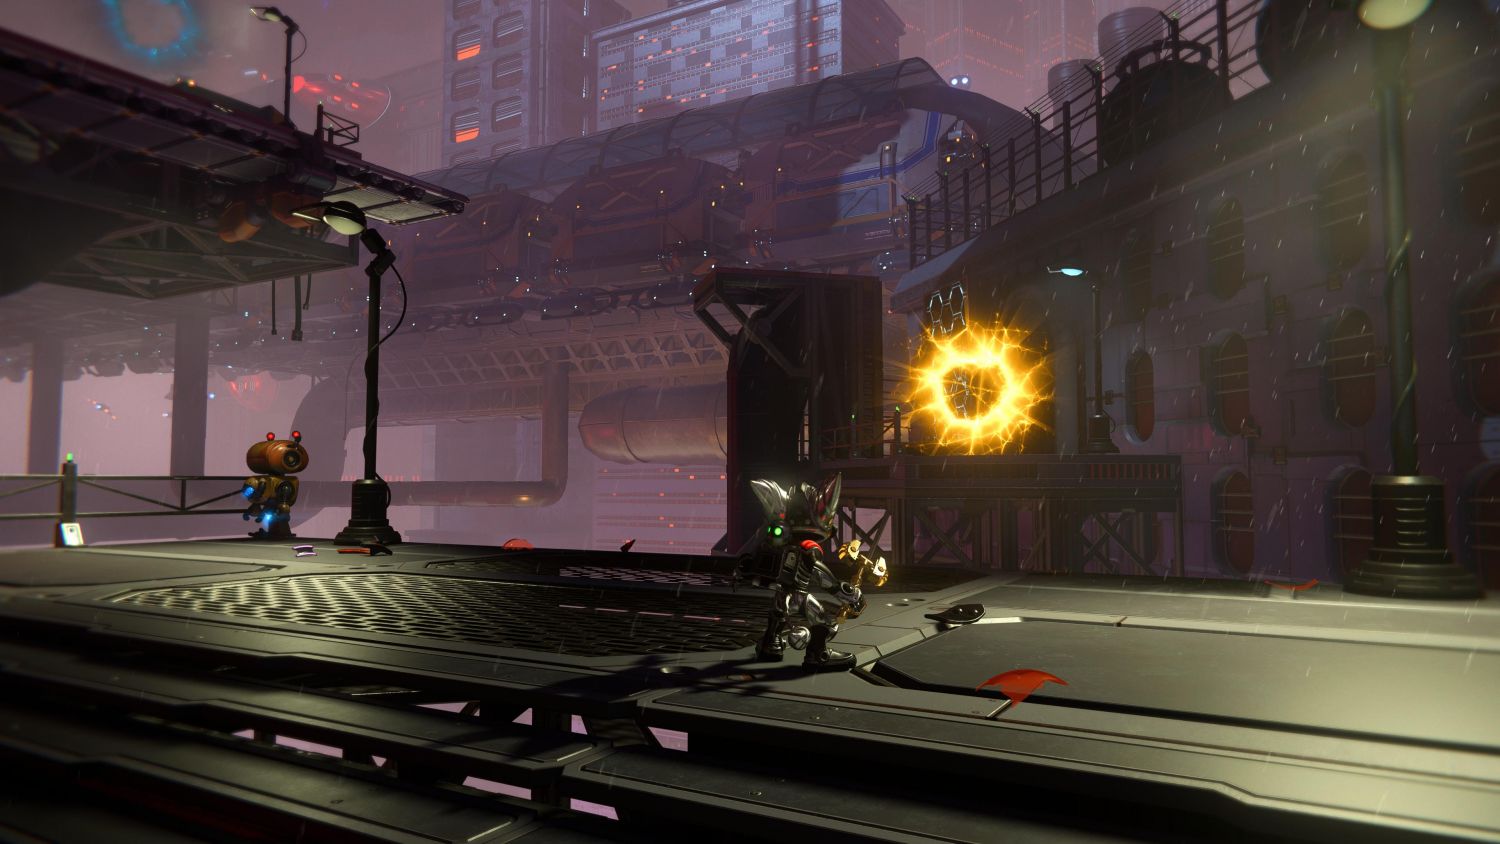
In the first section, the aim is to get to the wall jumps on the opposite side. Use the moving boxes as platforms. Do the same for the second factory section. Once you are out back in the open, you will face off against more waves of enemies. Finish them, and grab the Spybot before sliding down to the bazaar.
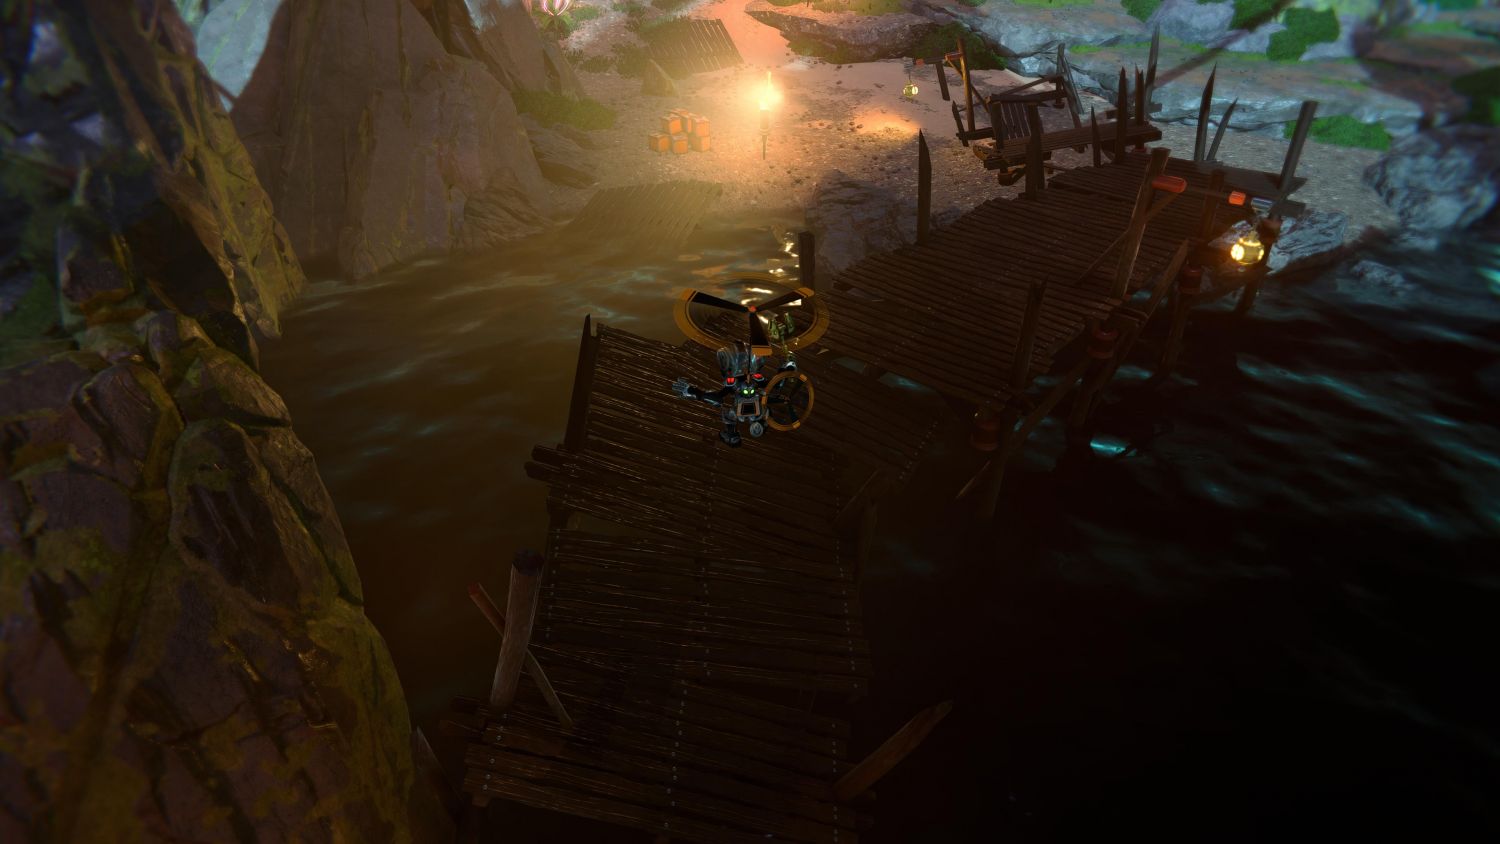
Spybot #2 – Sargasso, Outpost L51

This requires you to take on the Zurpstones quest for Mort and Trudi. The first two parts of the quest will net you two pieces of armour. Following that, Trudi is available to mount and fly.

Get on the noble steed and clear up the rest of the Zurpstones. Doing so will net you the planet’s Spybot.
Spybot #3, #4 – Scarstu Debris Field, Zurkie’s
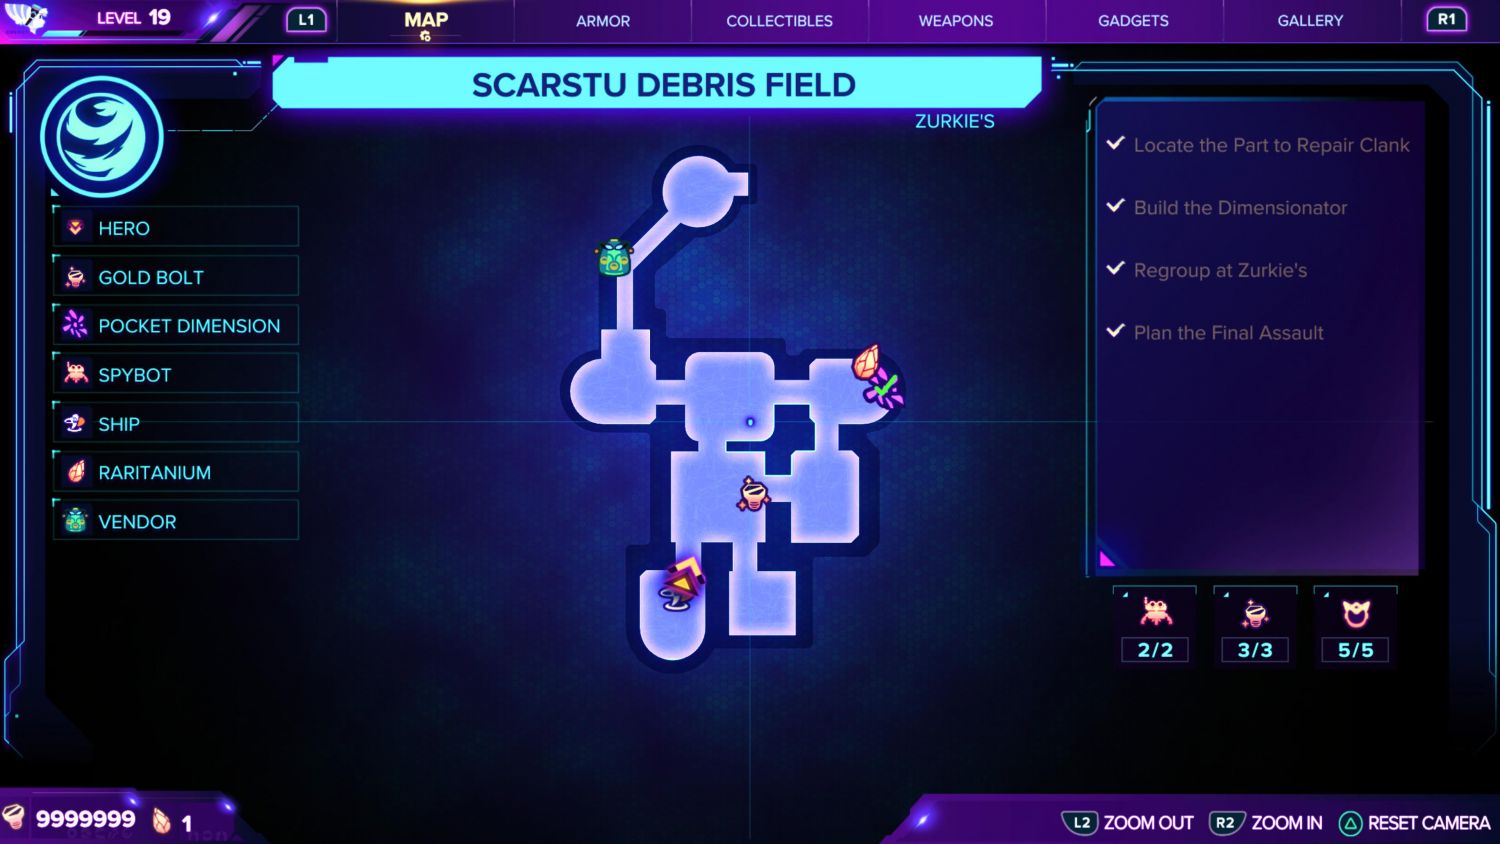
The first Spybot can be found behind Zurkie’s itself. You will need to have the Slingshot. Use the anchor point and fire yourself over. The second Spybot is a prize for completing the Vroom Around challenge in the Gold Cup.

Spybot #5 – Savali, Urfdah Mesa

Found at the northeast of the map, head towards the northern, most central part of the map. Here you will find boost pads that follow a track, head east down this path until you reach an open area with some platforms leading into the mountains on the left.
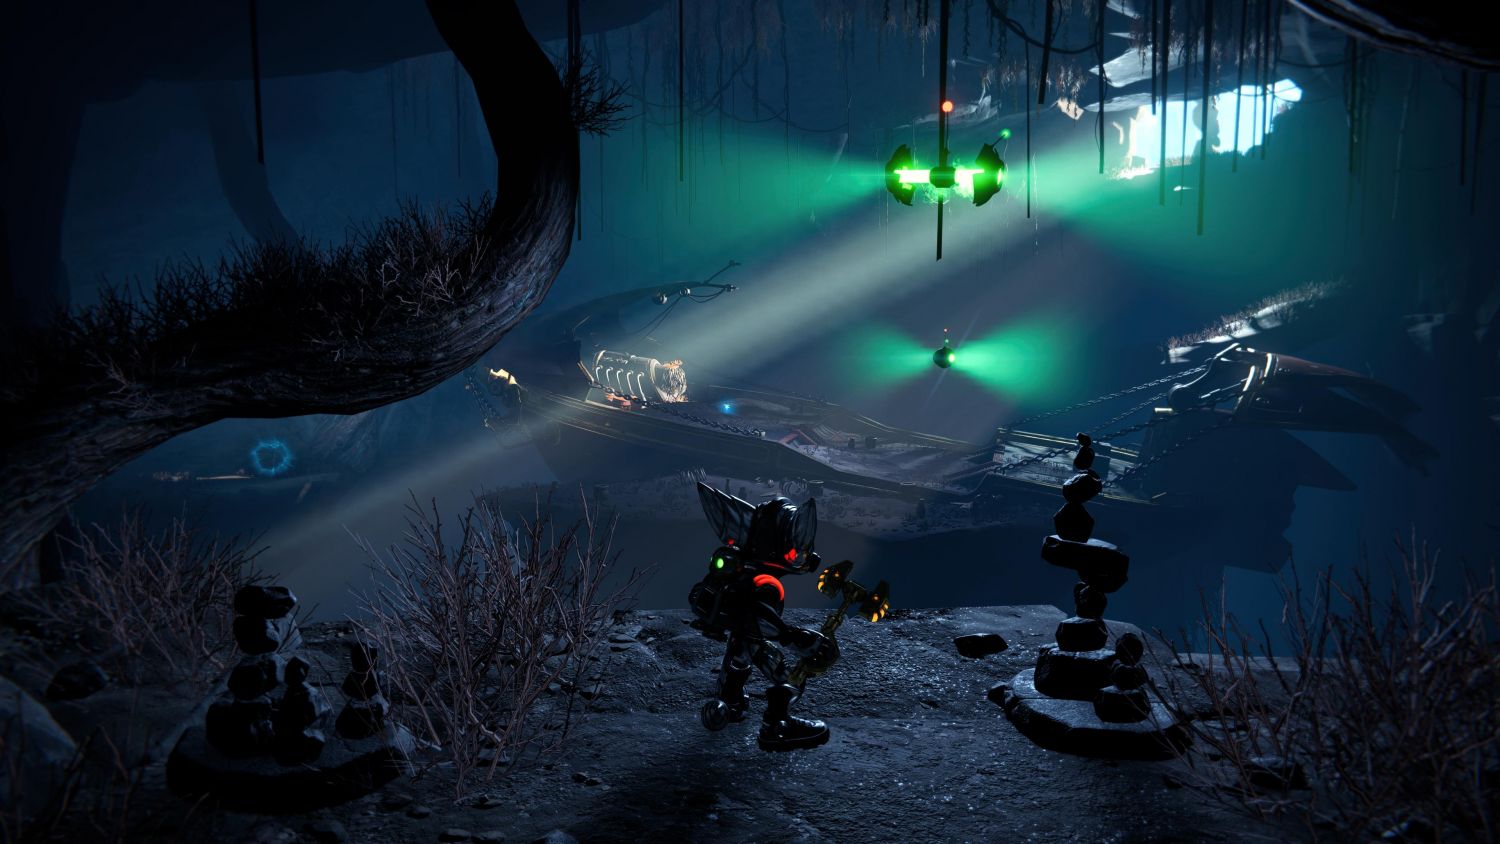
Jump up and over, and you will find yourself in a cave with a wrecked pirate ship. Swing over and claim the Gold Bolt .
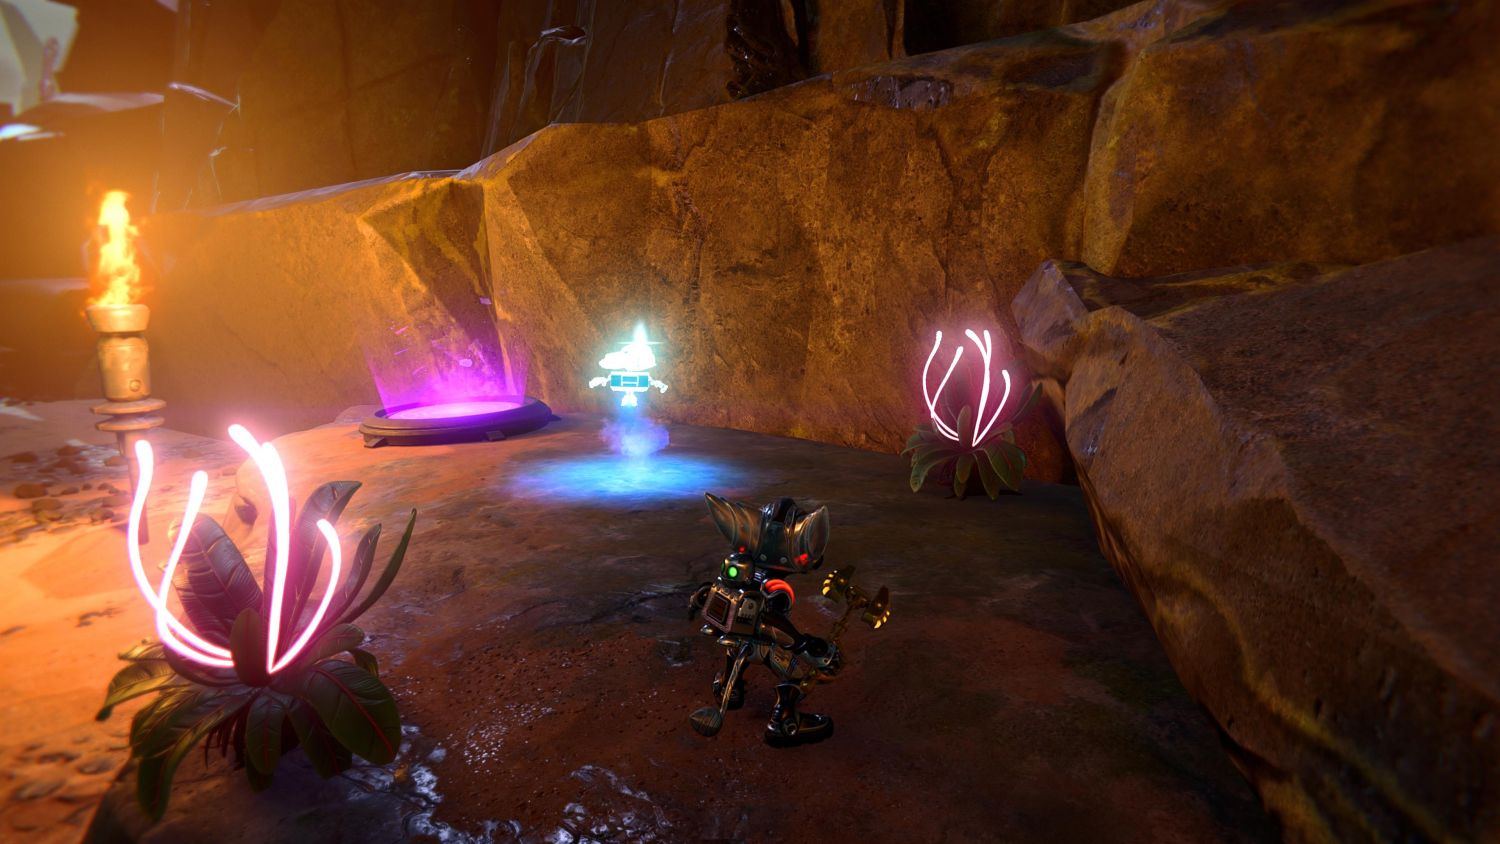
Spybot #6 – Blizar Prime, Blizon Mines

This will be your reward for completing the Missing Chef optional quest. Head to the east side of the non-destroyed planet and take on the mission. Defend the VAC-U-SUK from enemies for four waves of increasing difficulty and earn your reward.

Spybot #8 – Torren IV, Molonoth Gulch

Get to the main hub area. Once you have swung across, look to the right for a way to magnetic paths. At the bottom, you will find the Spybot awaiting.
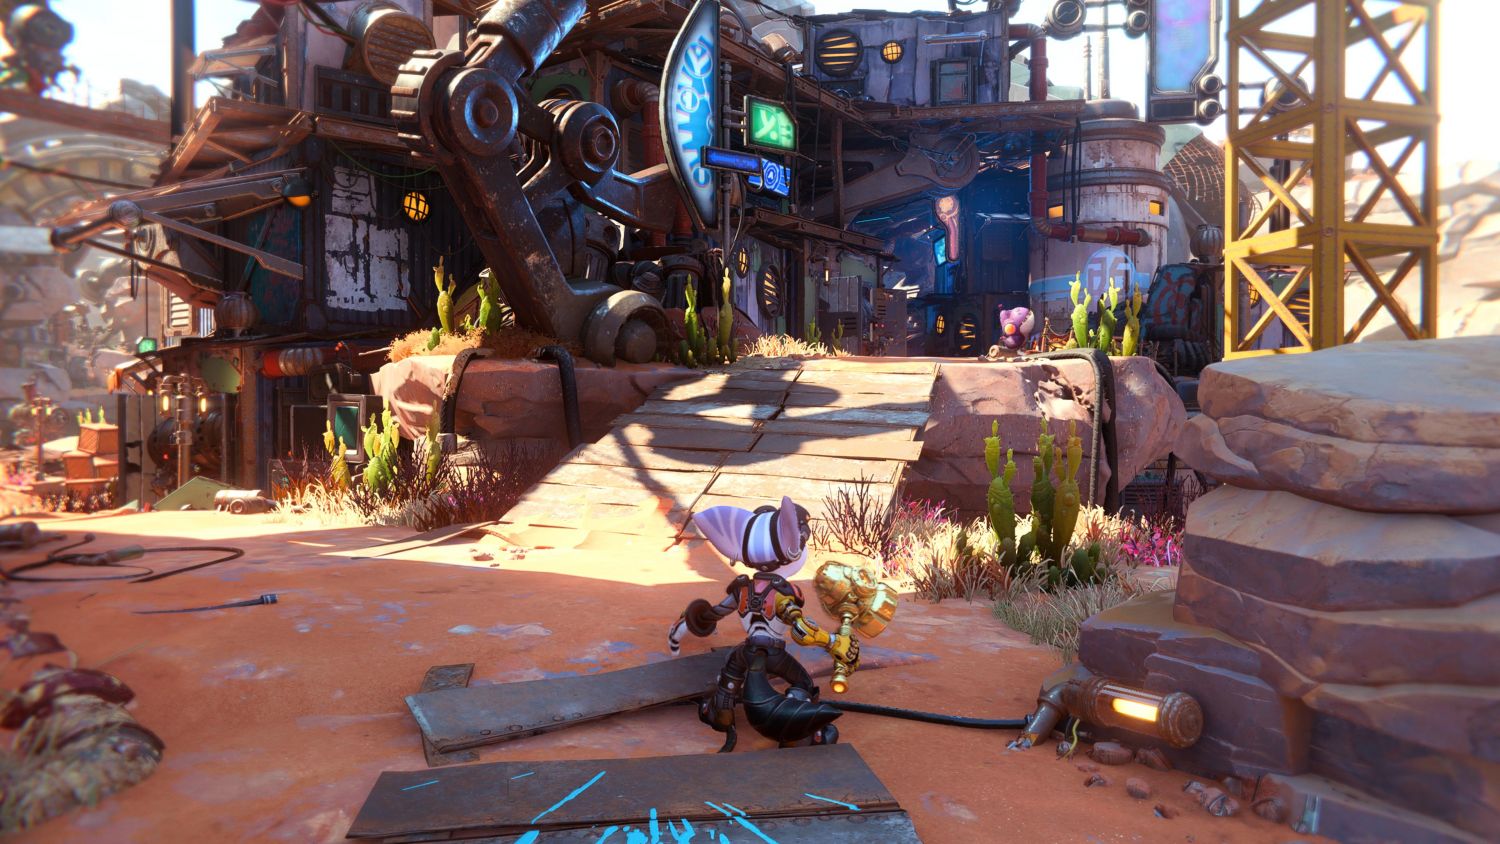

Spybot #8 – Cordelion, Kedaro Station
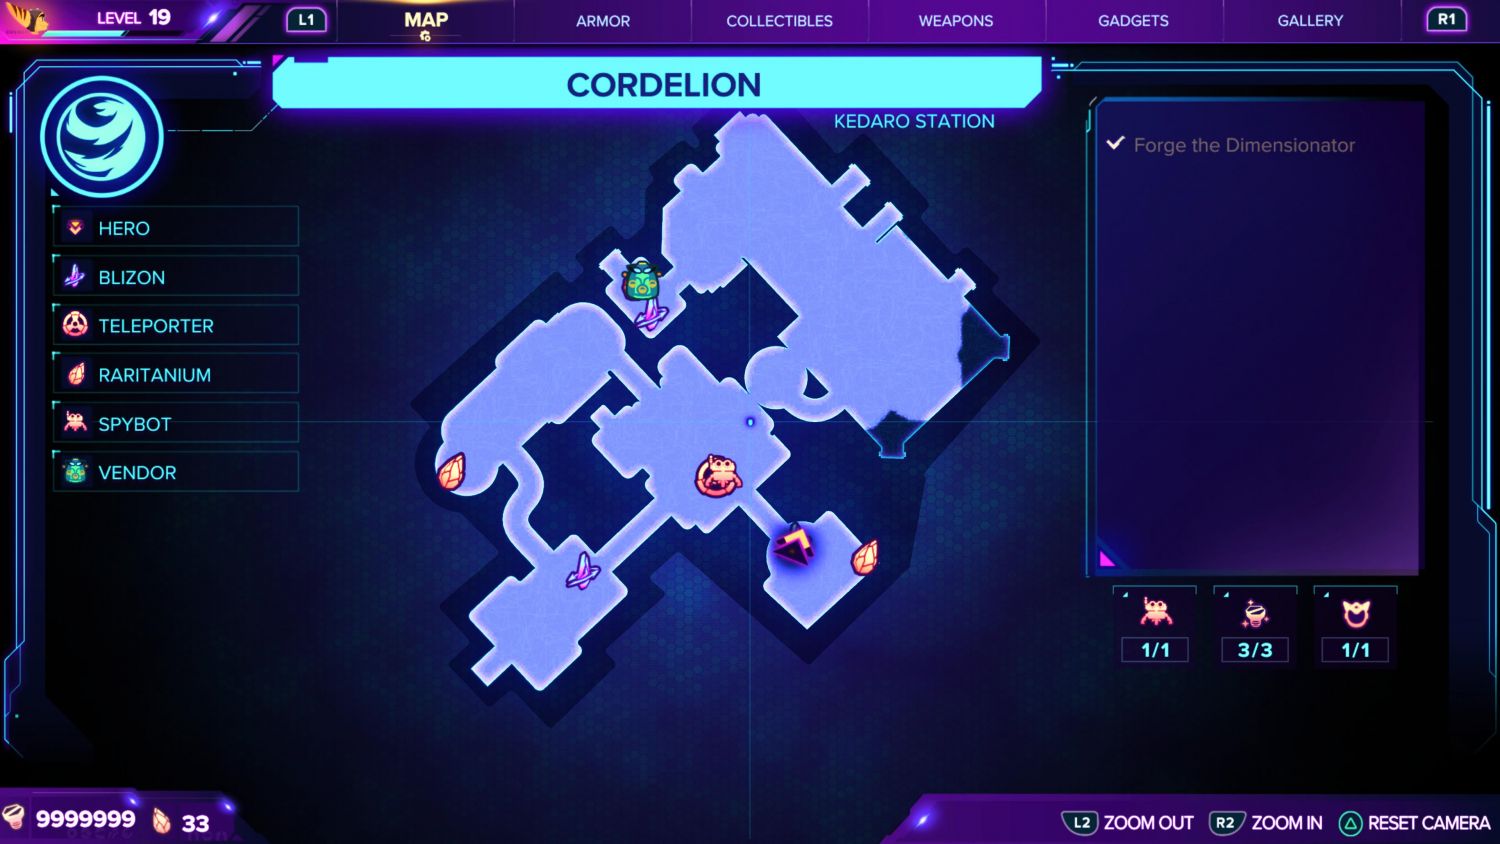
The Spybot is found in the room with the Rubion Forge. Once you make your way there, look back and spot a Rift above. Tether to it, and grab the Spybot.


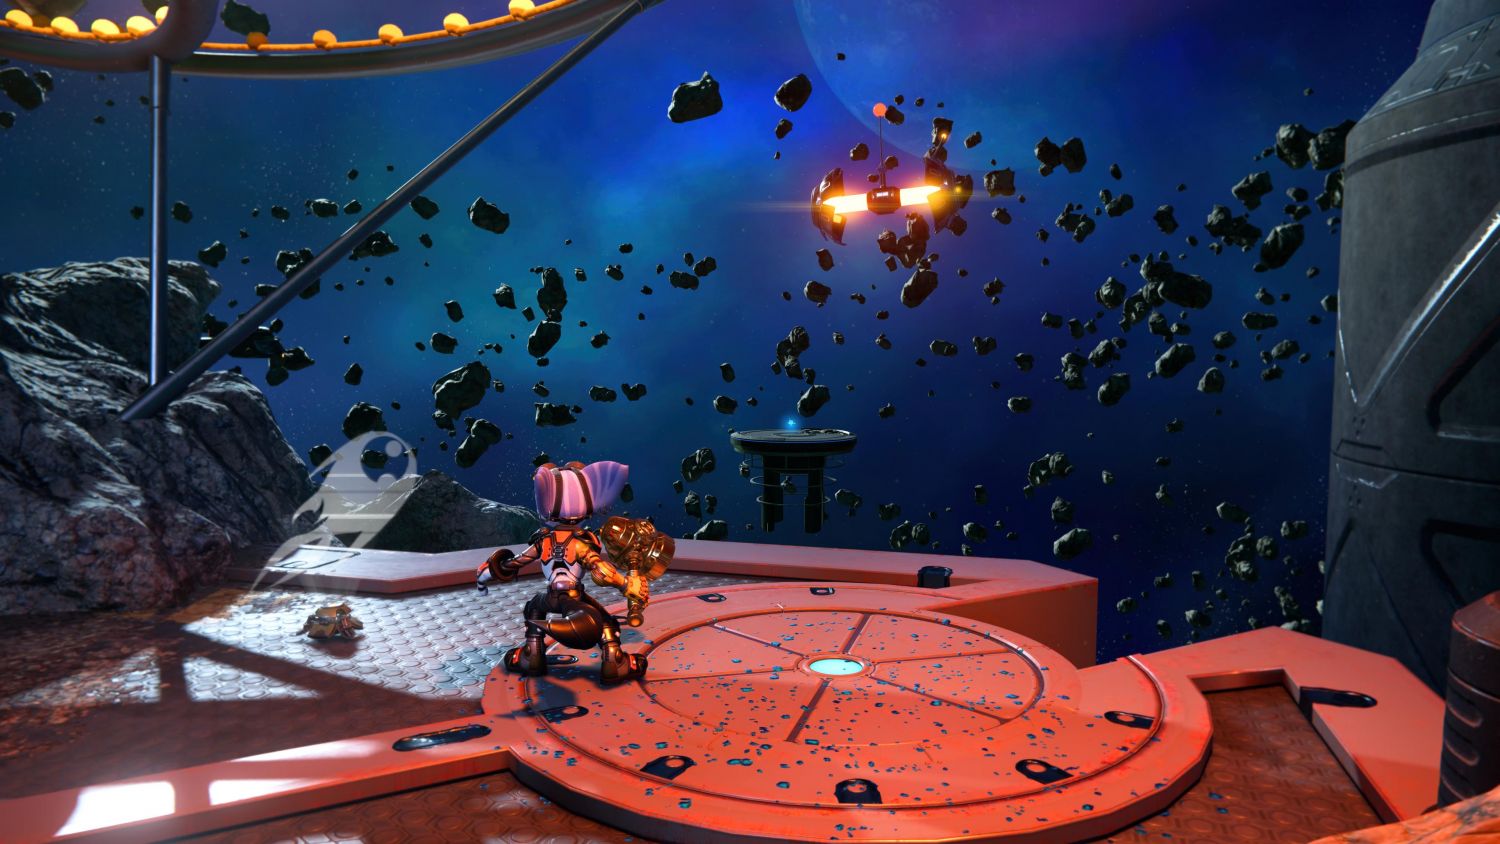
Spybot #9 – Ardolis, Pirate Base

On the way to the Treasure Hunt quest, you will spot a broken down pier in the waters to the right. To get there quickly, get a full boost from the bar’s entrance and hover your way down.
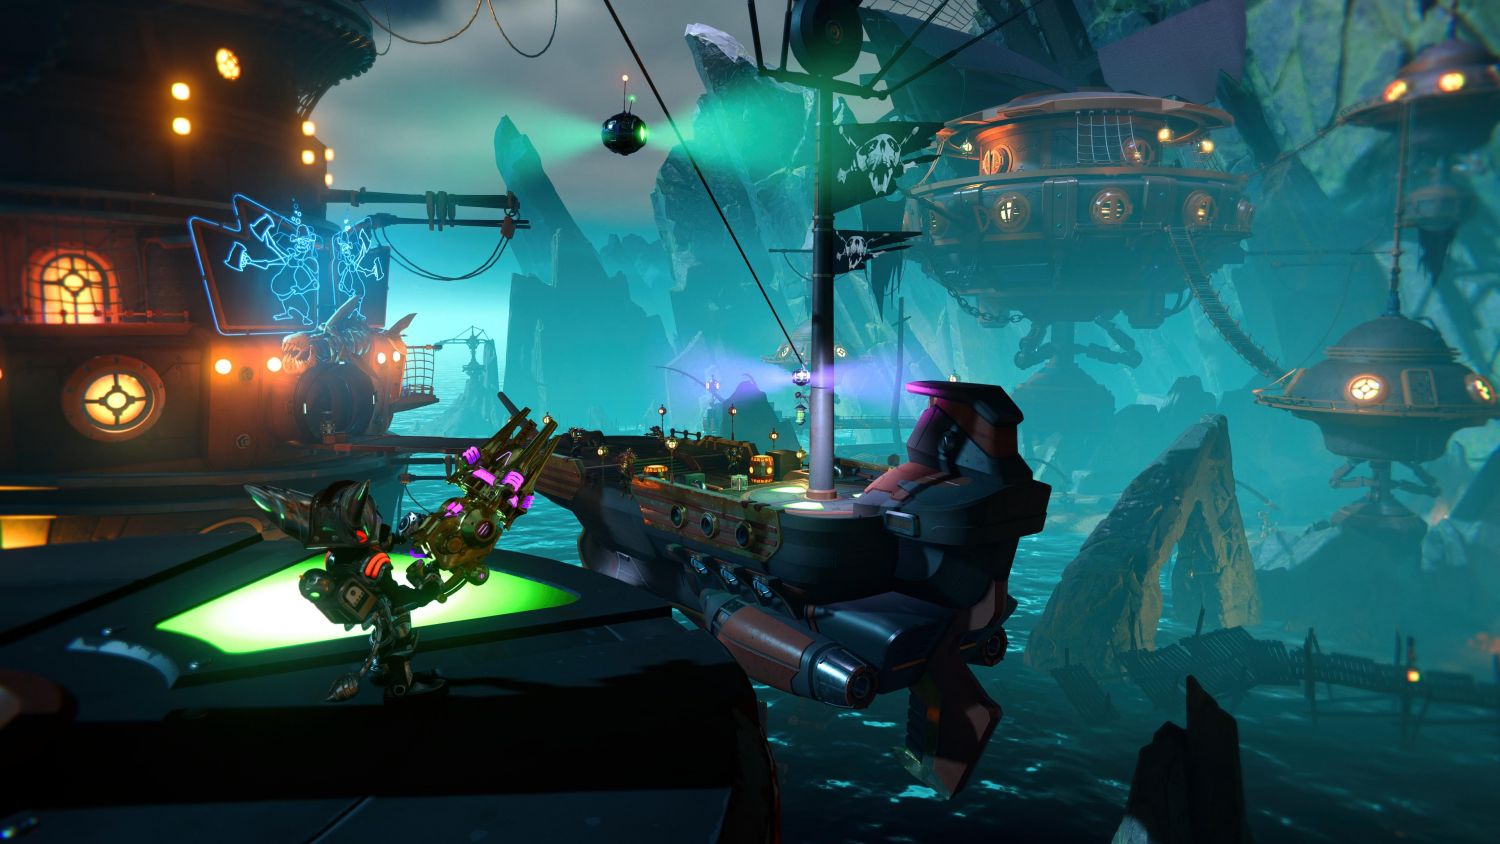
Keep moving north and you will snag this Spybot.
Spybot #10 – Viceron, Zordoom Prison

The Ratchet & Clank: Rift Apart Spybot is located in the vent systems. If you missed it the first time through, you can still head back the same path by wallrunning and then bouncing up to the vents. Destroy the fan, then head down and take the first right.
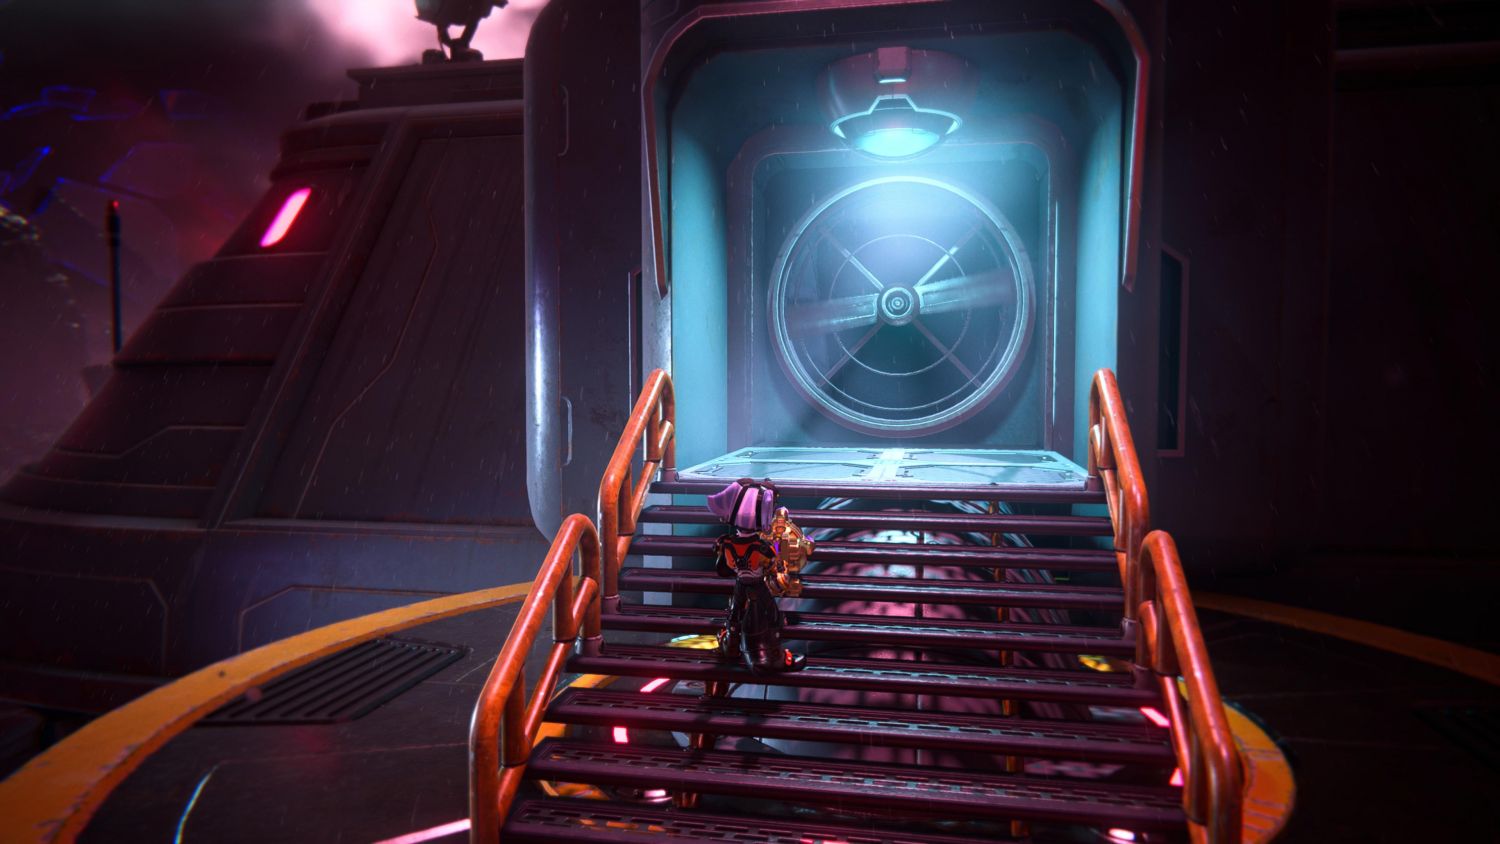

Go around to the left back into the vents. Follow the path ahead and then destroy the fan on the right. The final Spybot is right there.
There you have it, all 10 Spybots in Ratchet & Clank: Rift Apart are now yours. Now you will be able to wield the awesome power of the R.Y.N.O and decimate your enemies! For more help and guides for everything Ratchet & Clank: Rift Apart, be sure to check out our guide wiki for all the other information you need!


Jake is a full-time trophy hunter and achievement gatherer on consoles, and part-time Steam Sale victim. He has a thing for Batman and awesome statues, and running out of space for both. Send help.


