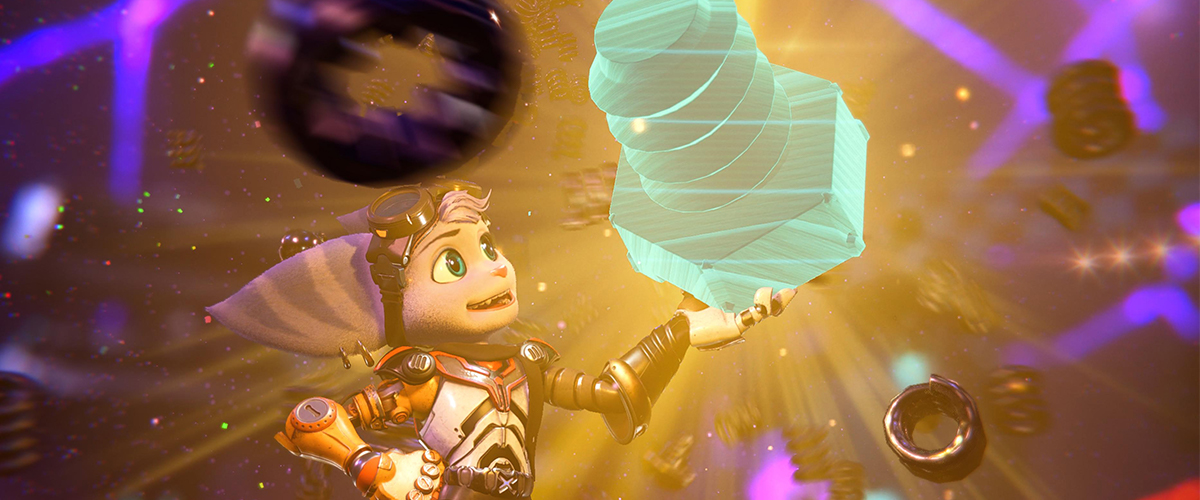
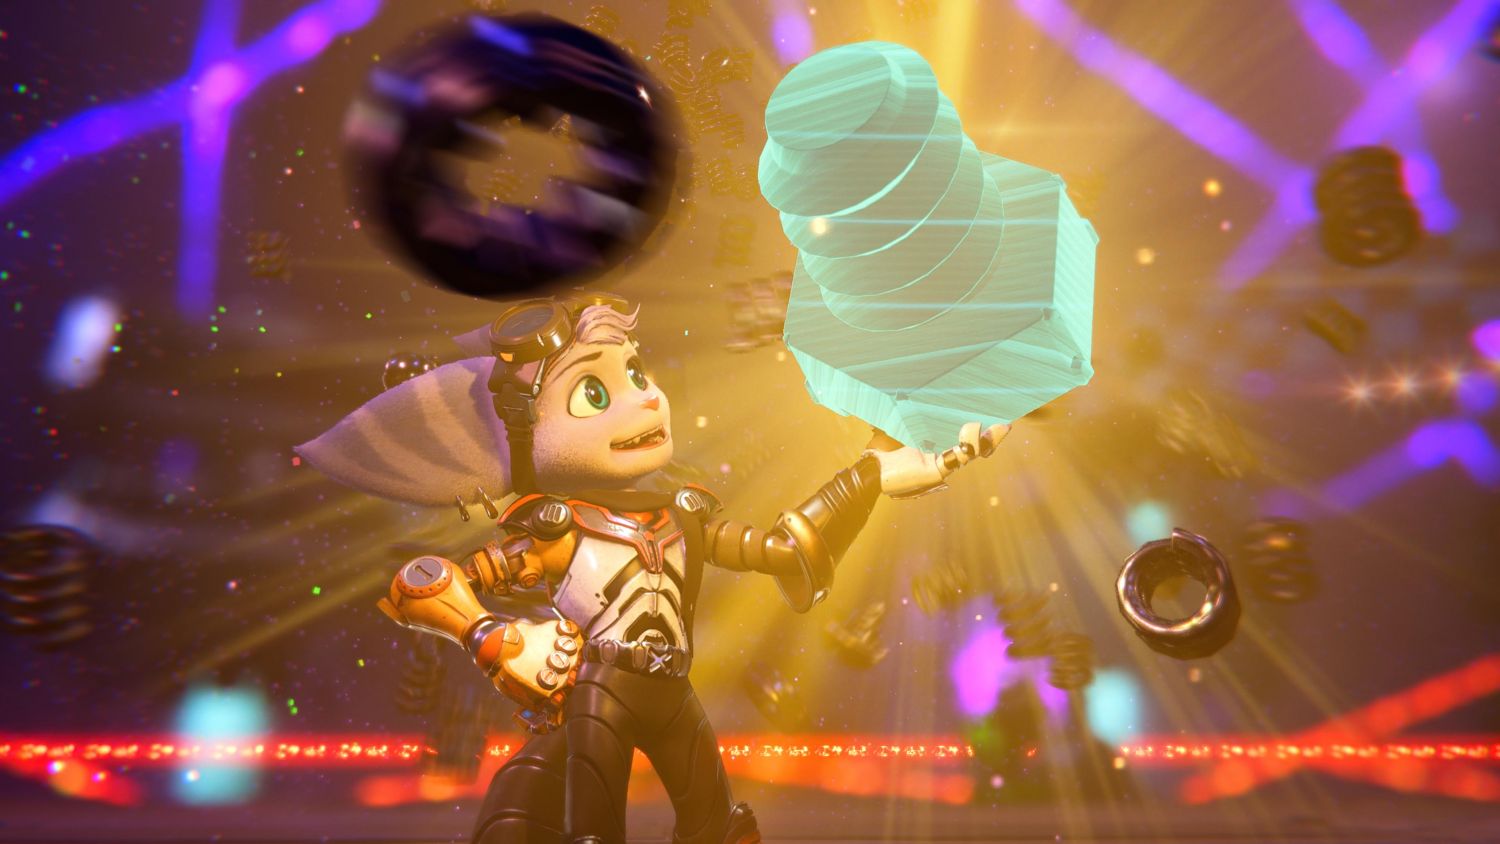
In every Ratchet & Clank game, the hunt is always on for the elusive Gold Bolts. Not only are they huge and shiny, these collectables also help unlock some really cool functions in the game, such as Infinite Ammo and different skins for a variety of items. Ratchet & Clank: Rift Apart is no different, and if you need some help locating all 25 Gold Bolts, this handy guide is perfect for you.
Be sure to also check out our Ratchet & Clank: Rift Apart Guide Wiki for other important information about Insomniac’s latest hit!
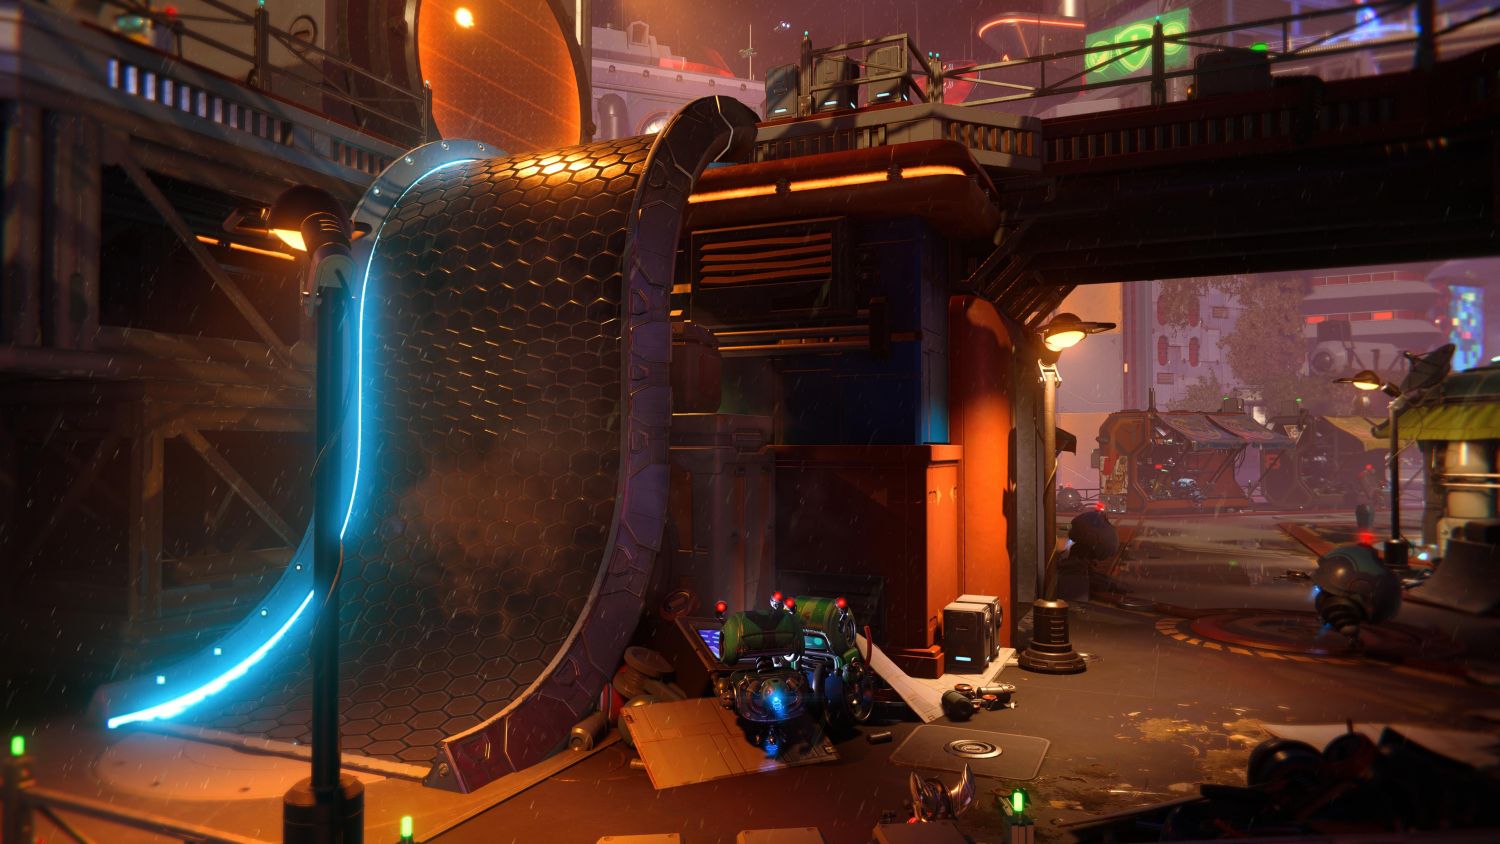
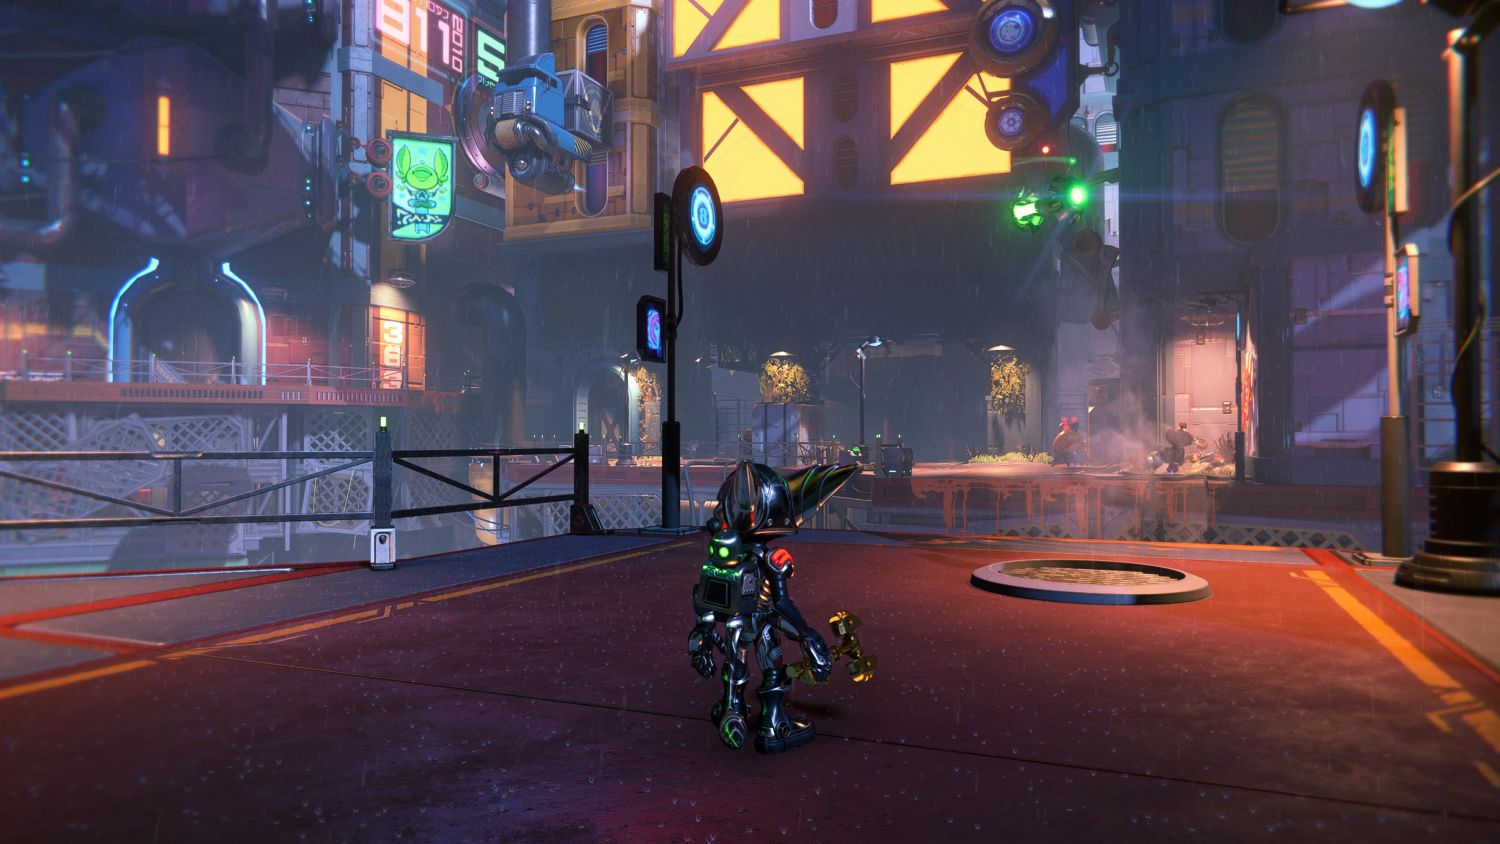
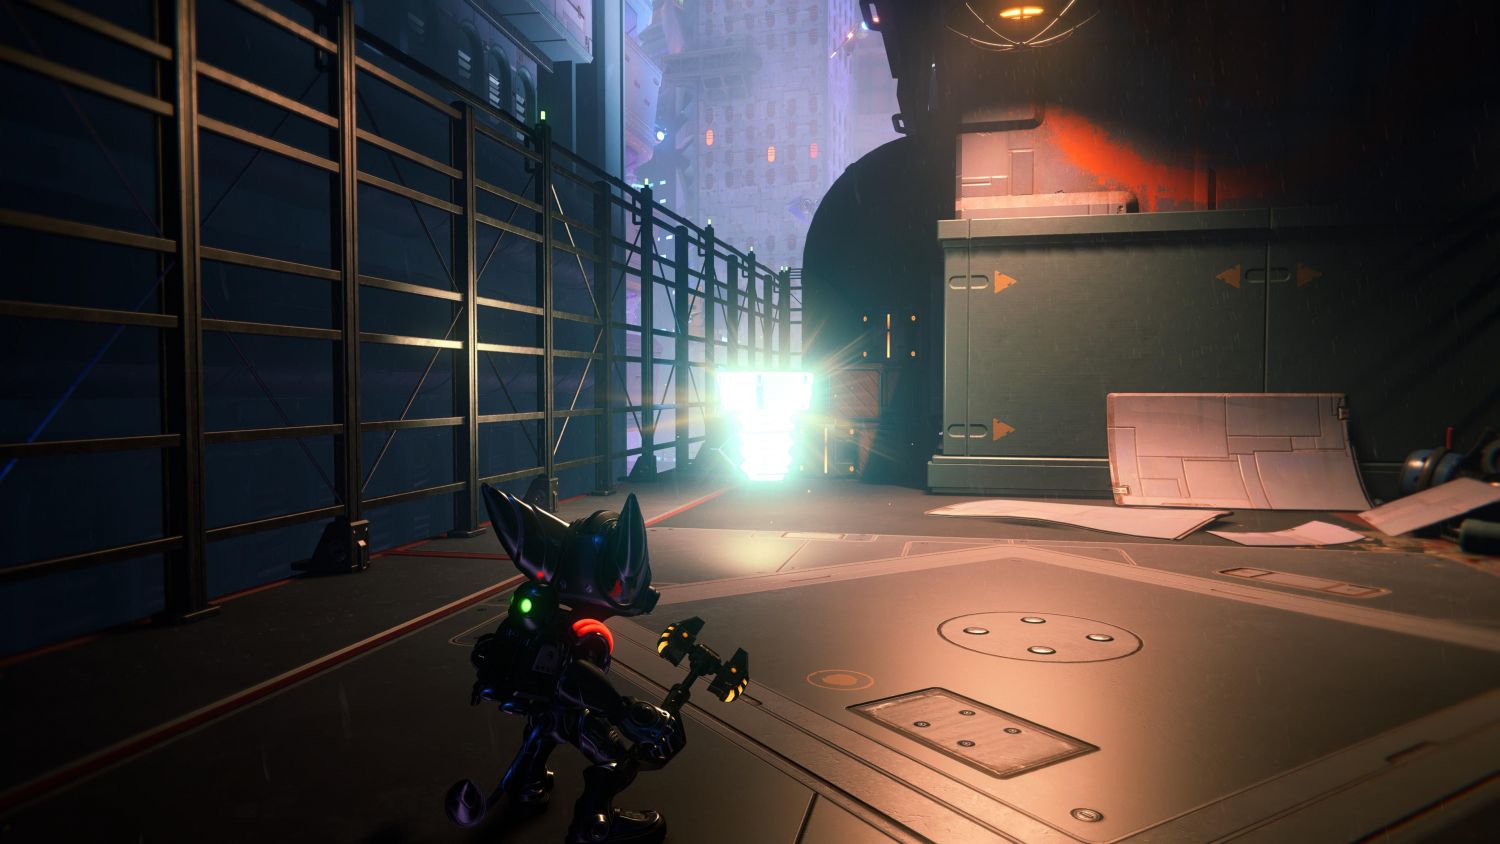
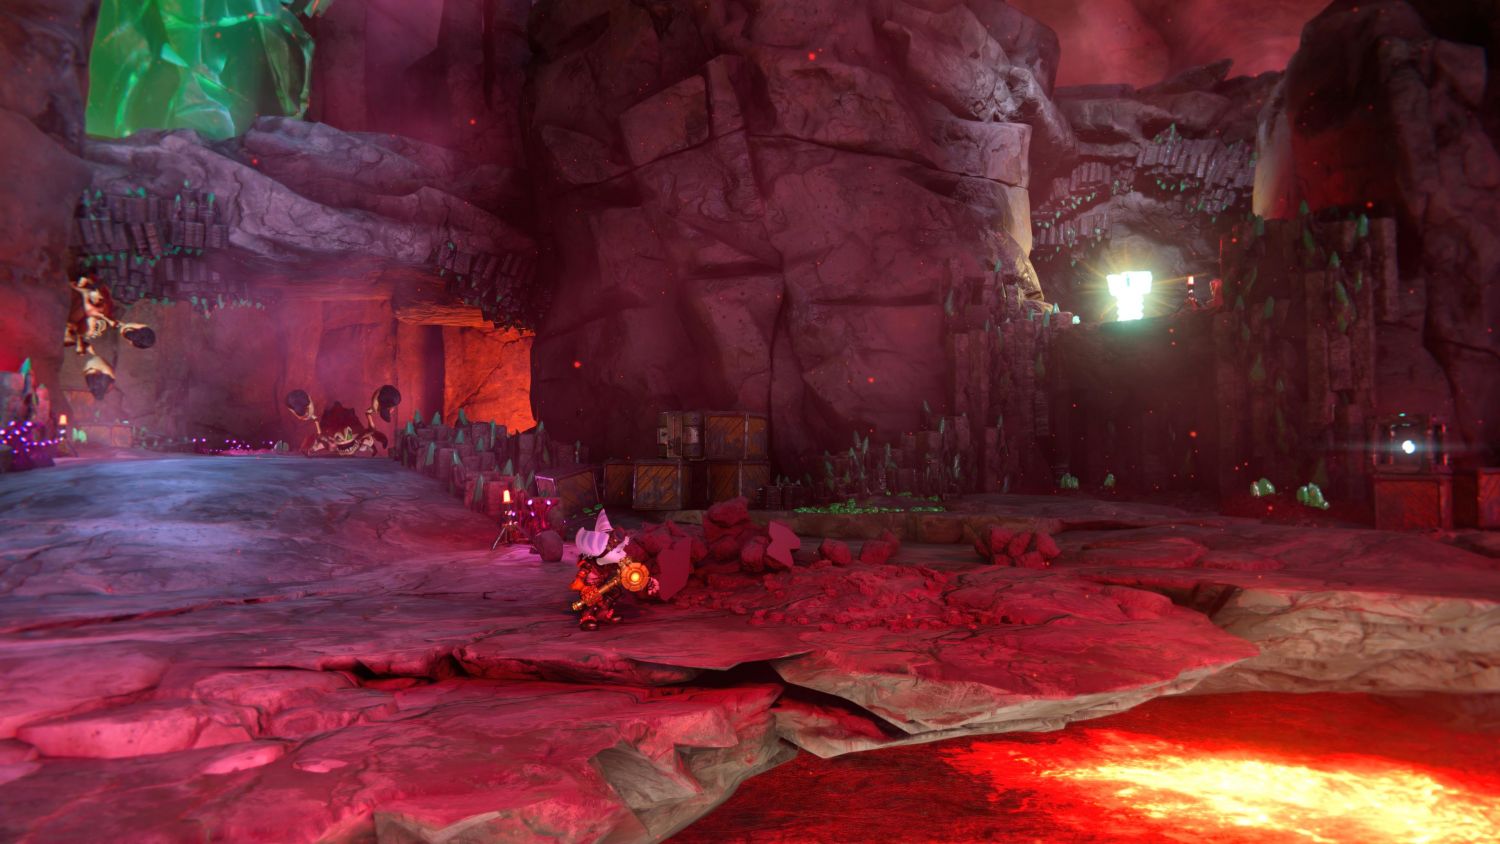
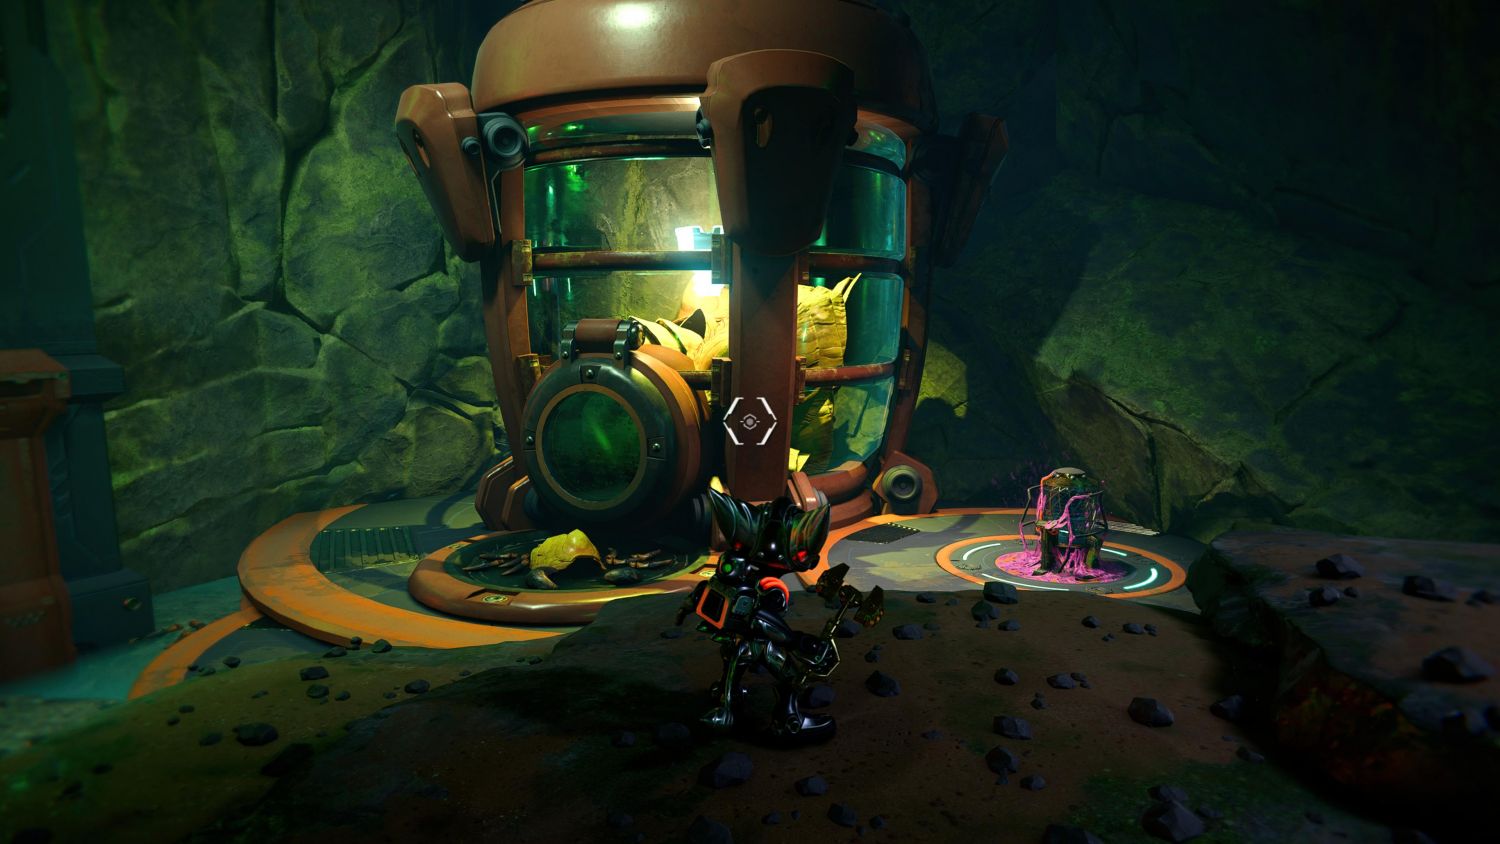
Corson V – Nefarious City
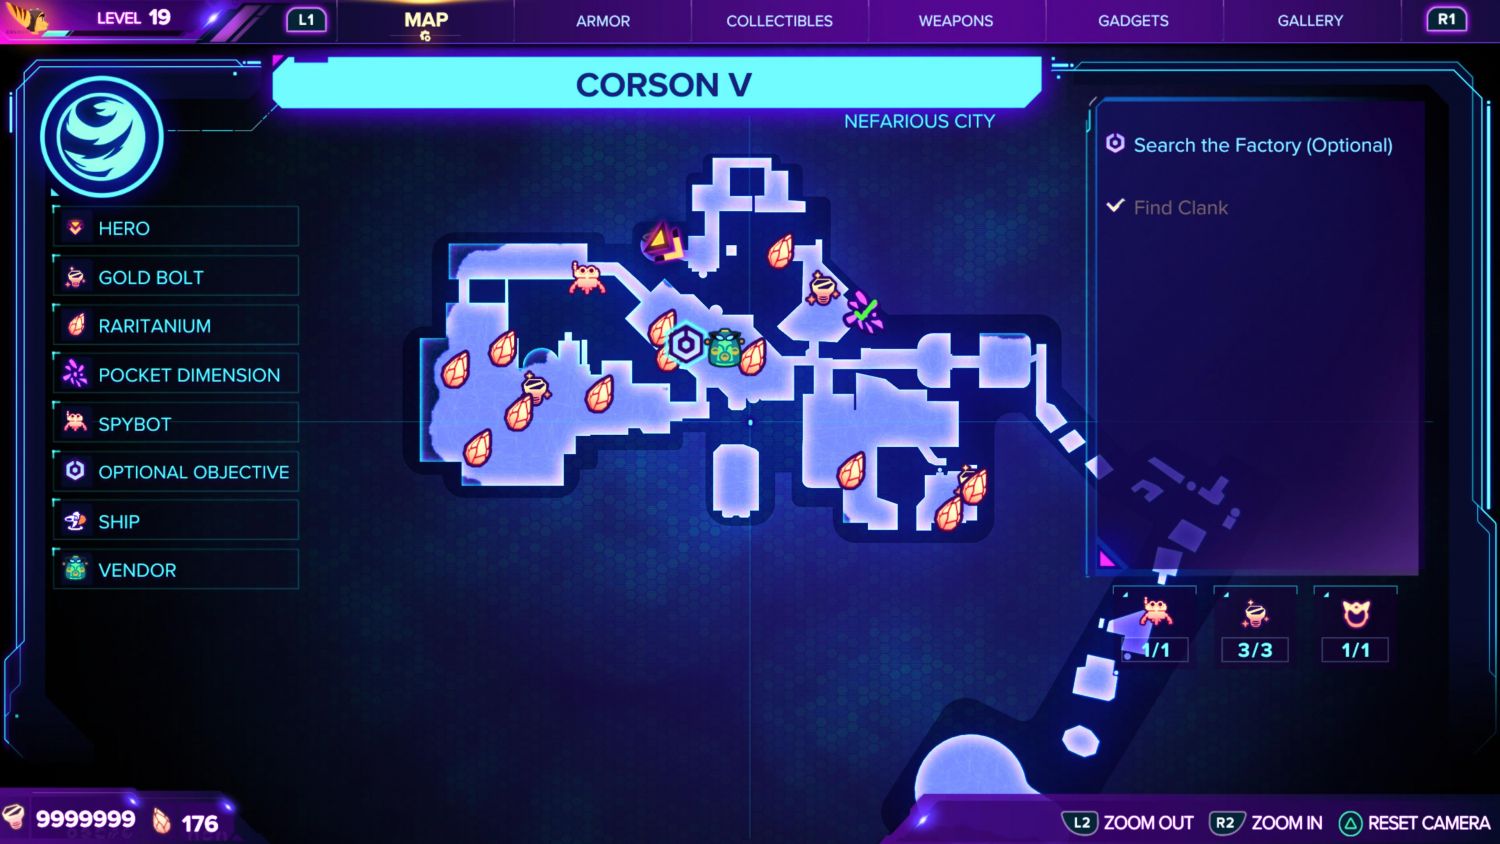
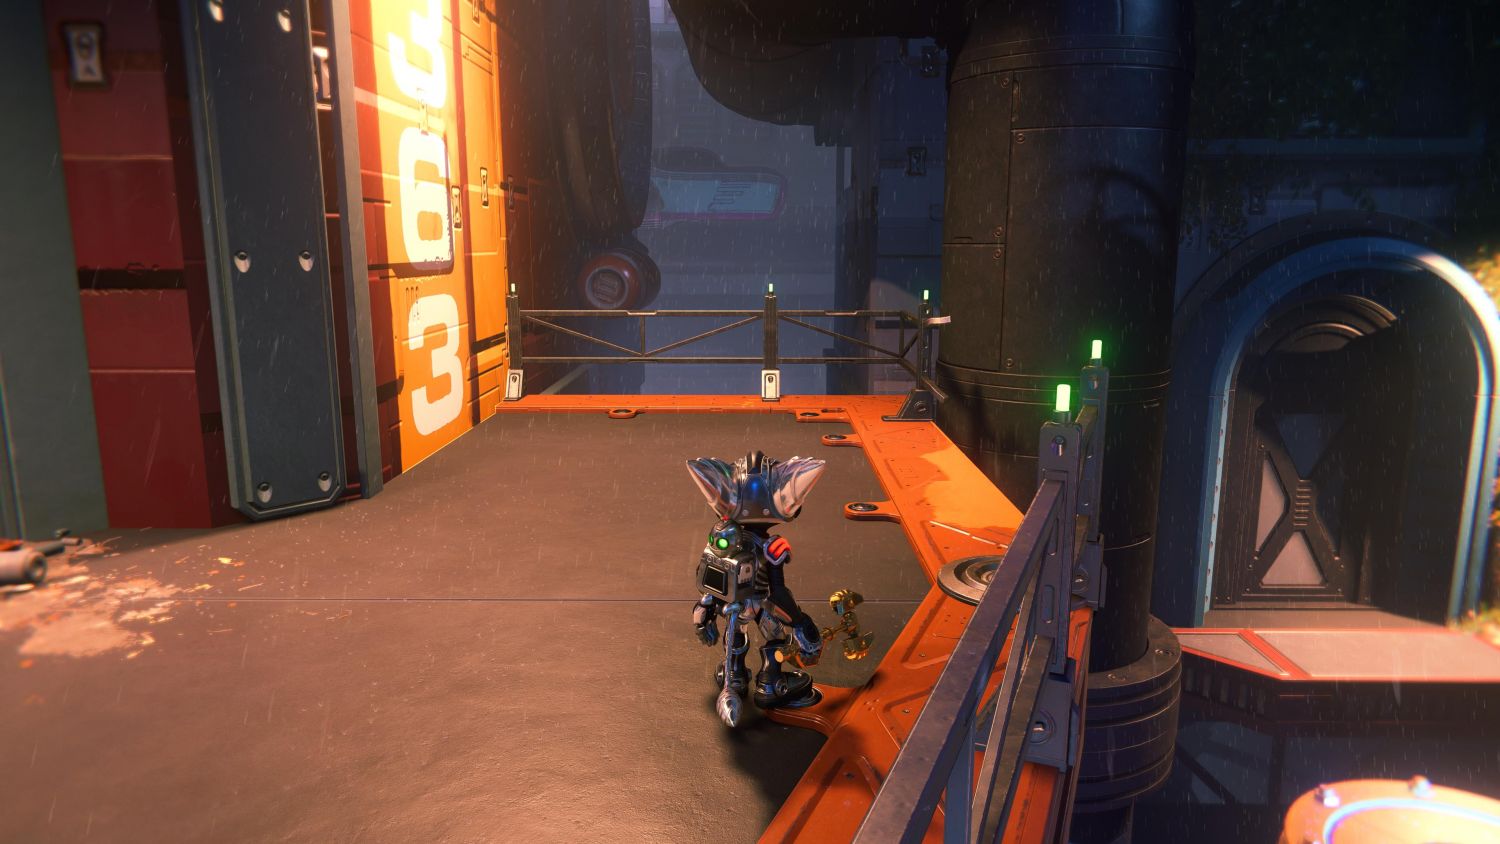
Gold Bolt #1 (Factory)
Head to the marketplace, turn right at Ms. Zurkon and head up the magnetic path around the corner. Follow the path upwards, fight off some enemies, train leaves. Spot the rift and tether over. Jump up using wall jumps, followed by tether. Factory entrance.
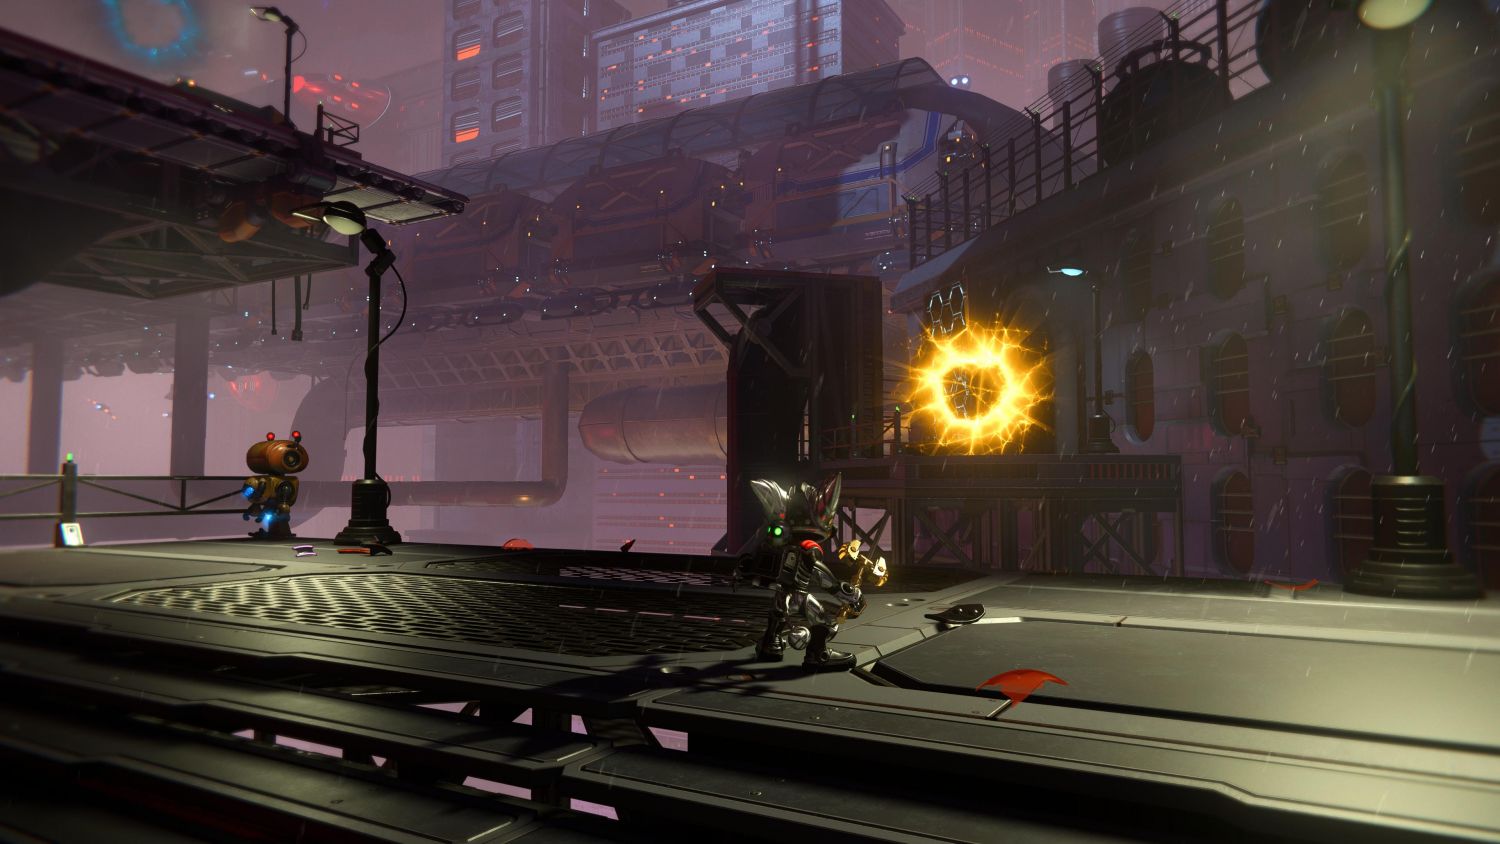
First section, aim is to get to the wall jumps on the opposite side. Use the moving boxes as platforms. Once on top, ignore the entrance on your left. Instead, look back opposite to spot the Gold Bolt. Get over there with the conveyor belts near the wall.
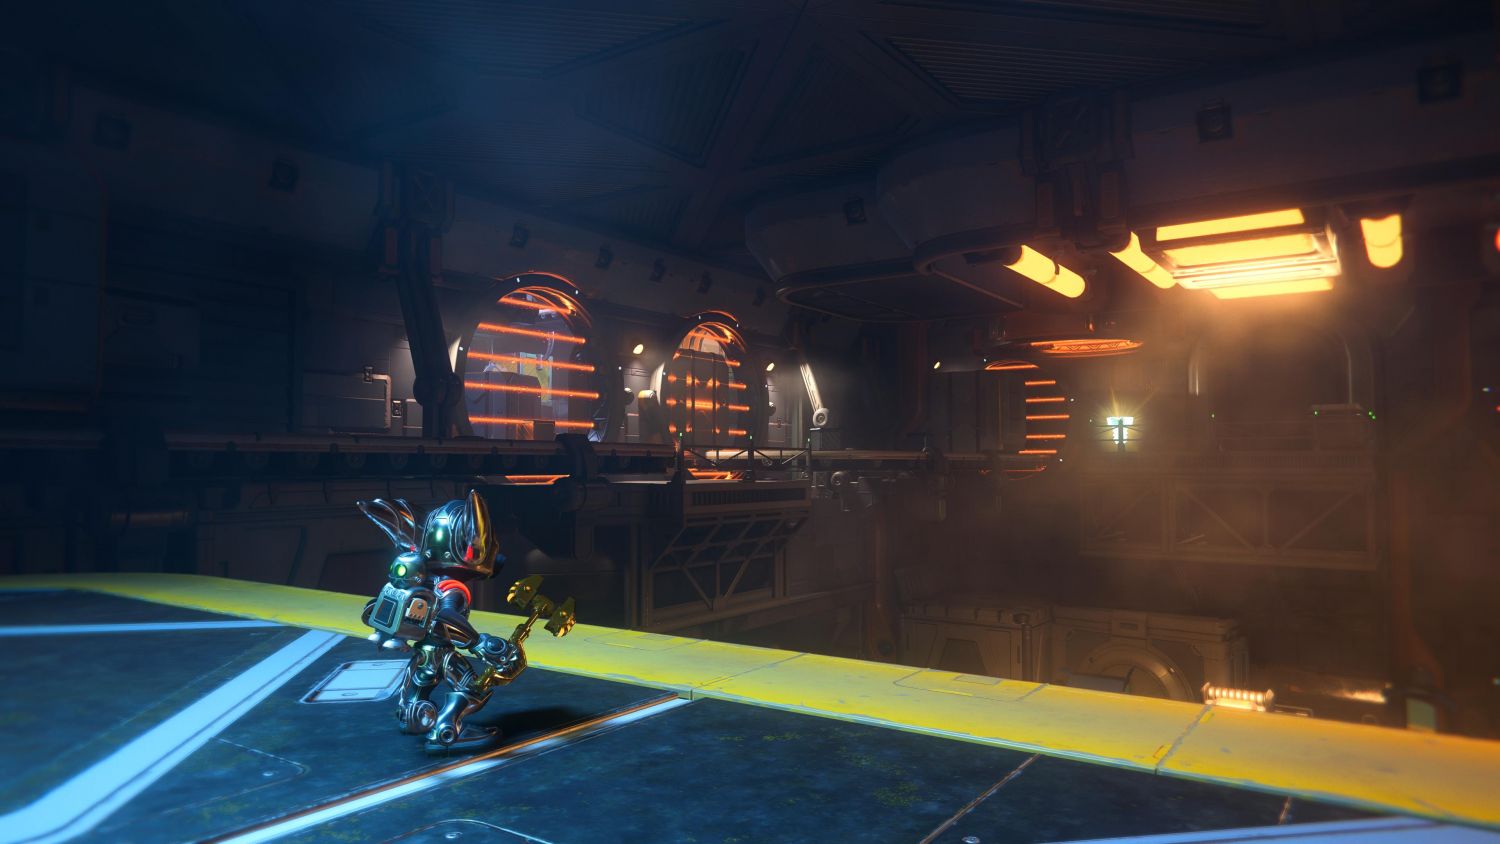
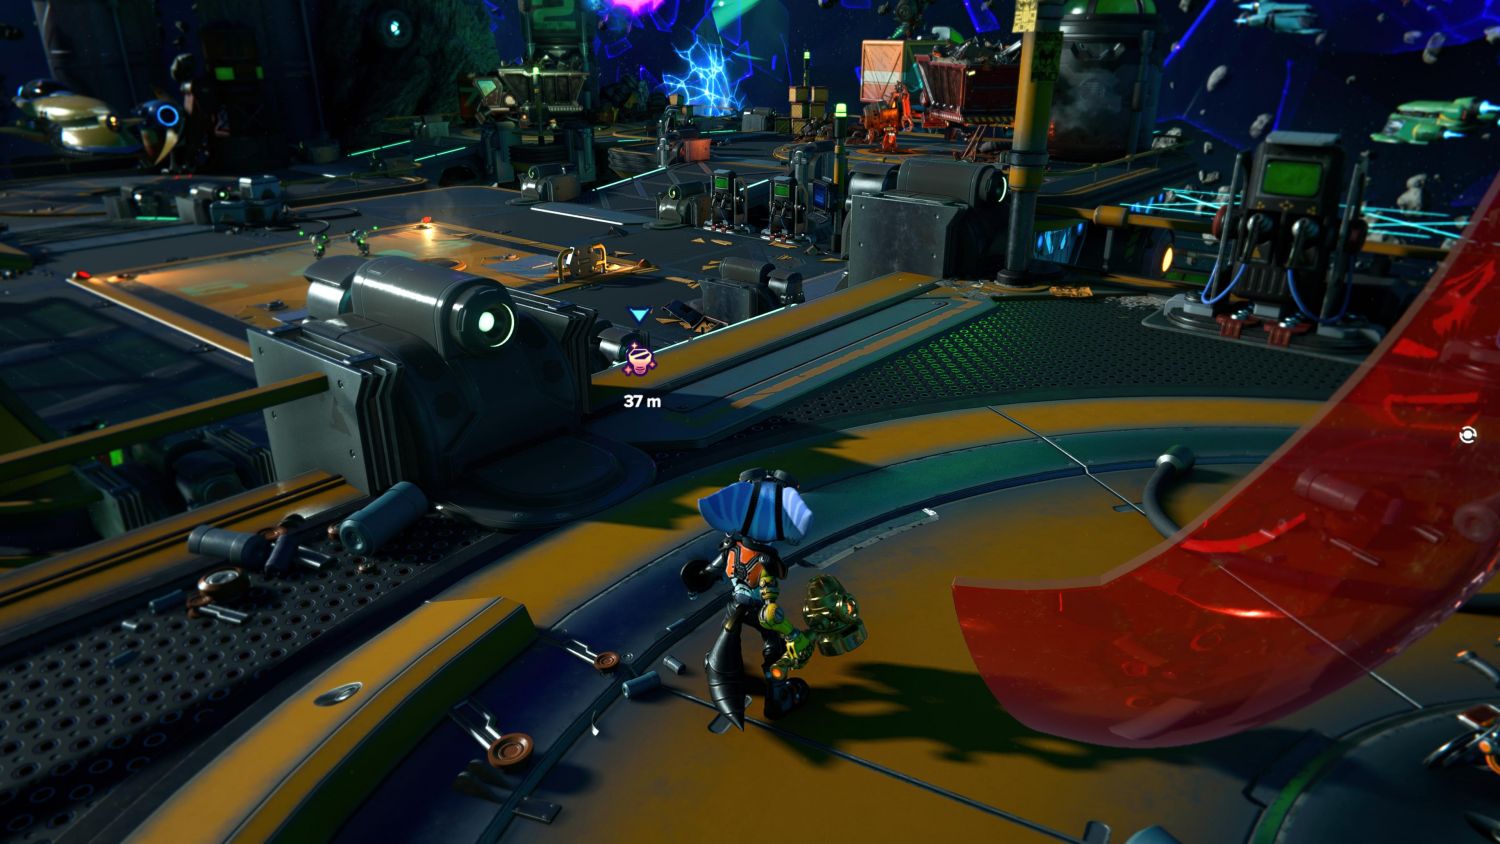
Gold Bolt #2 (City)
From where the ship lands, head down the stairs and go up the opposite platform. Here you will spot a wall-running section (you’ll need the Phantom Dash). Make it over and the Gold Bolt is yours.

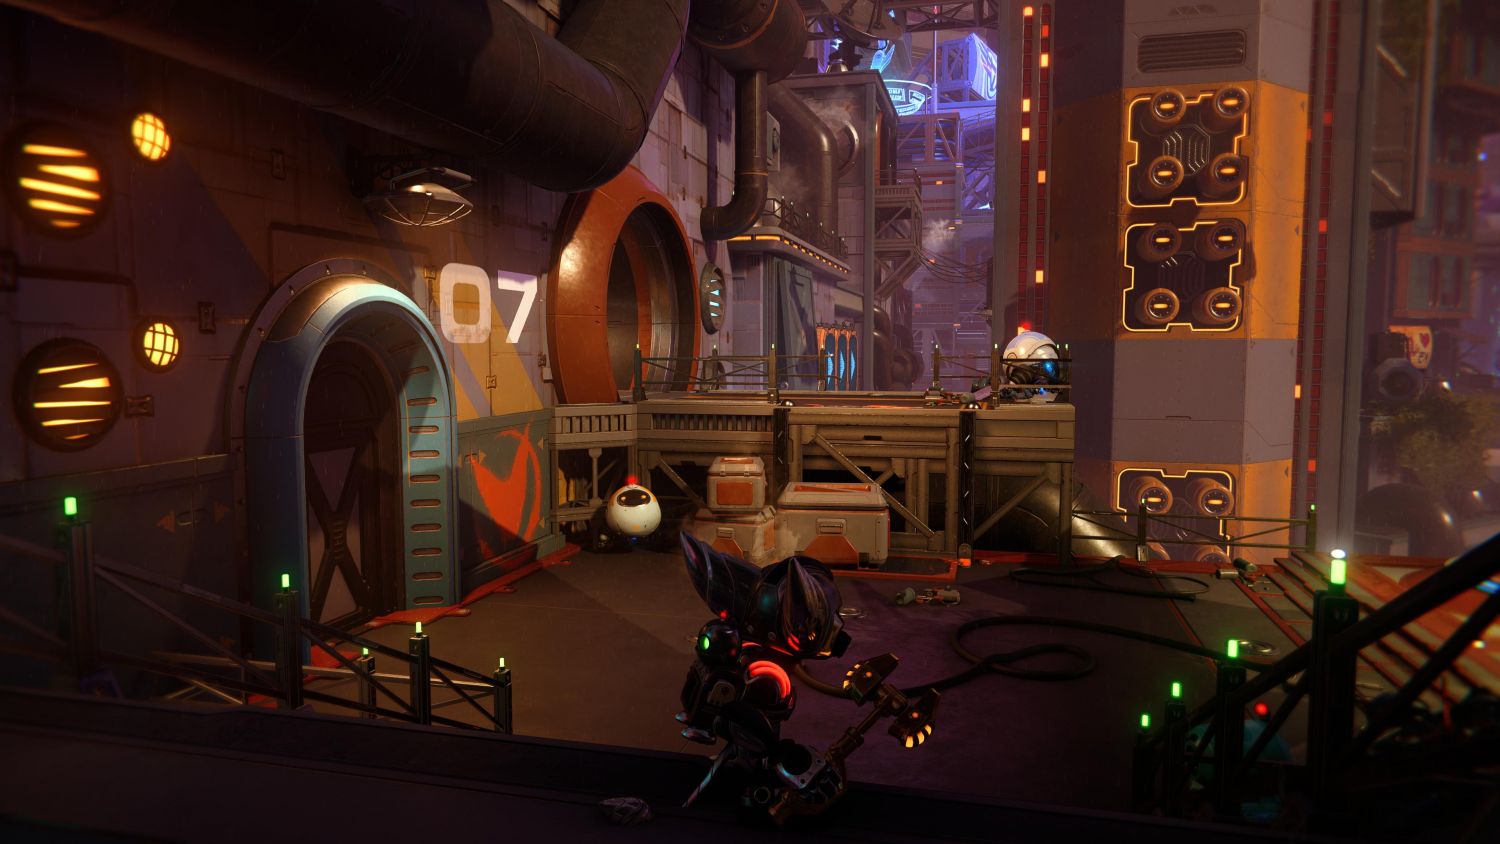
Gold Bolt #3 (City)
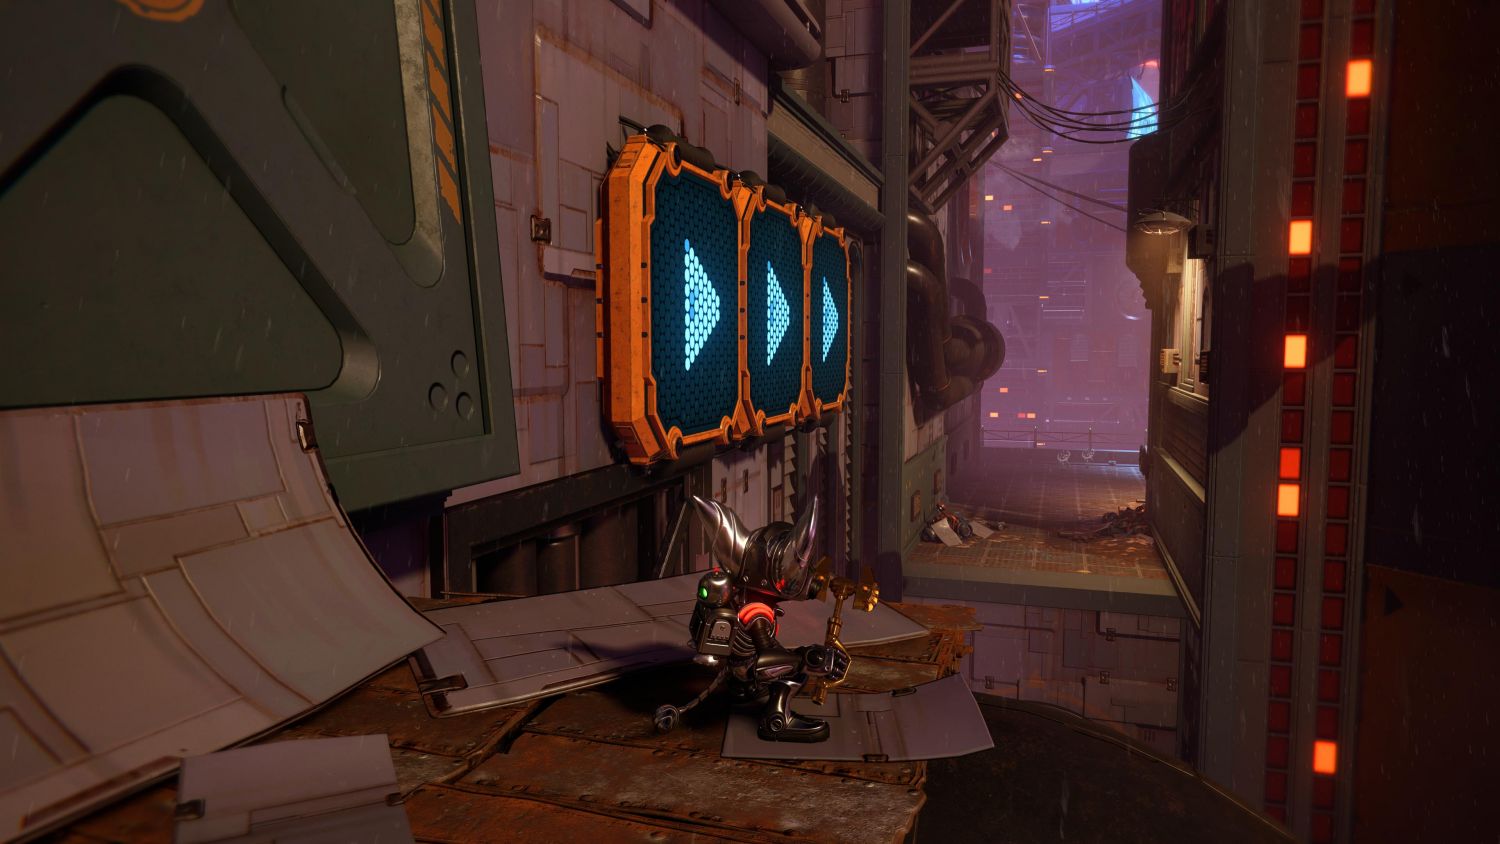
The next Gold Bolt is located behind Club Nefarious. Go through the club and out the back door. Make the swing across and then use the trampoline to get up to the next level. Here, turn to the right, and spot a gap where you can jump through.
Be sure to hold X to hover and tether to the Rift as soon as it turns yellow. Grab the bolt. Alternatively, you can continue after the bounce up and drop down a level, turn back and follow the path. Jump up the boxes where a Rift is and look to the right, tether over and the prize is yours.
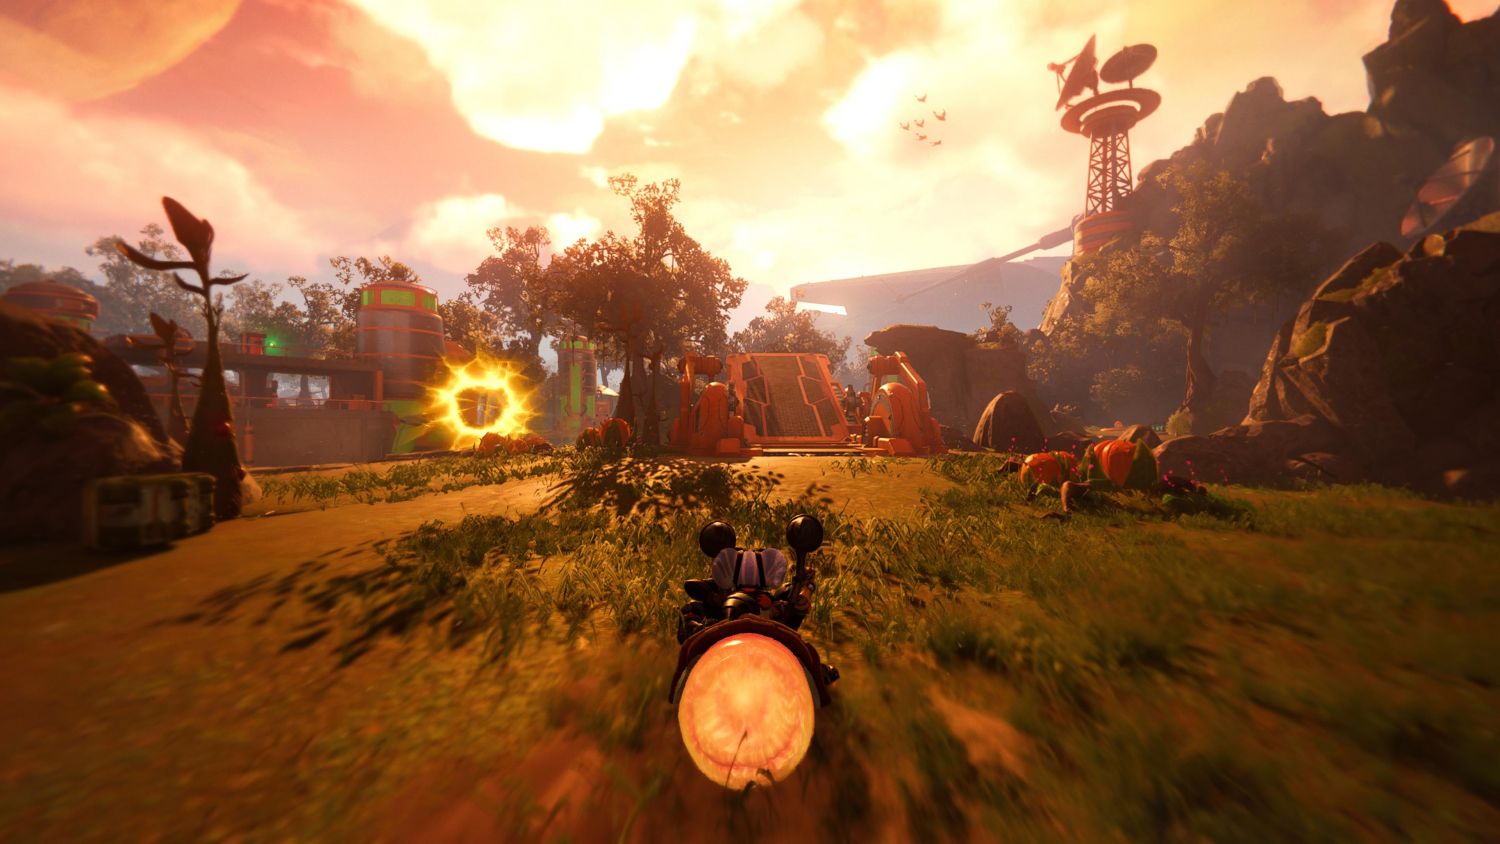
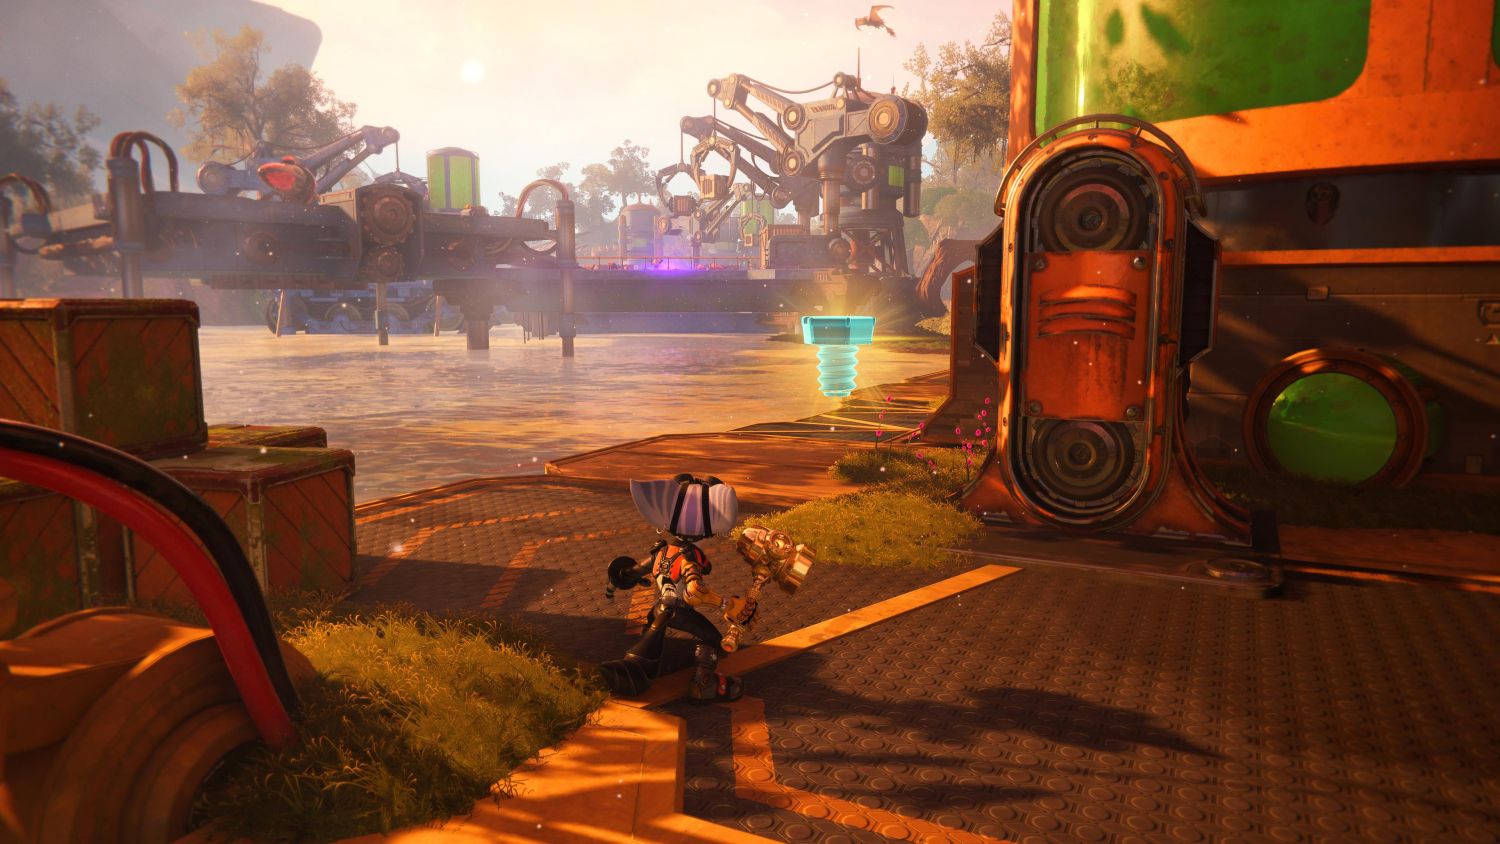
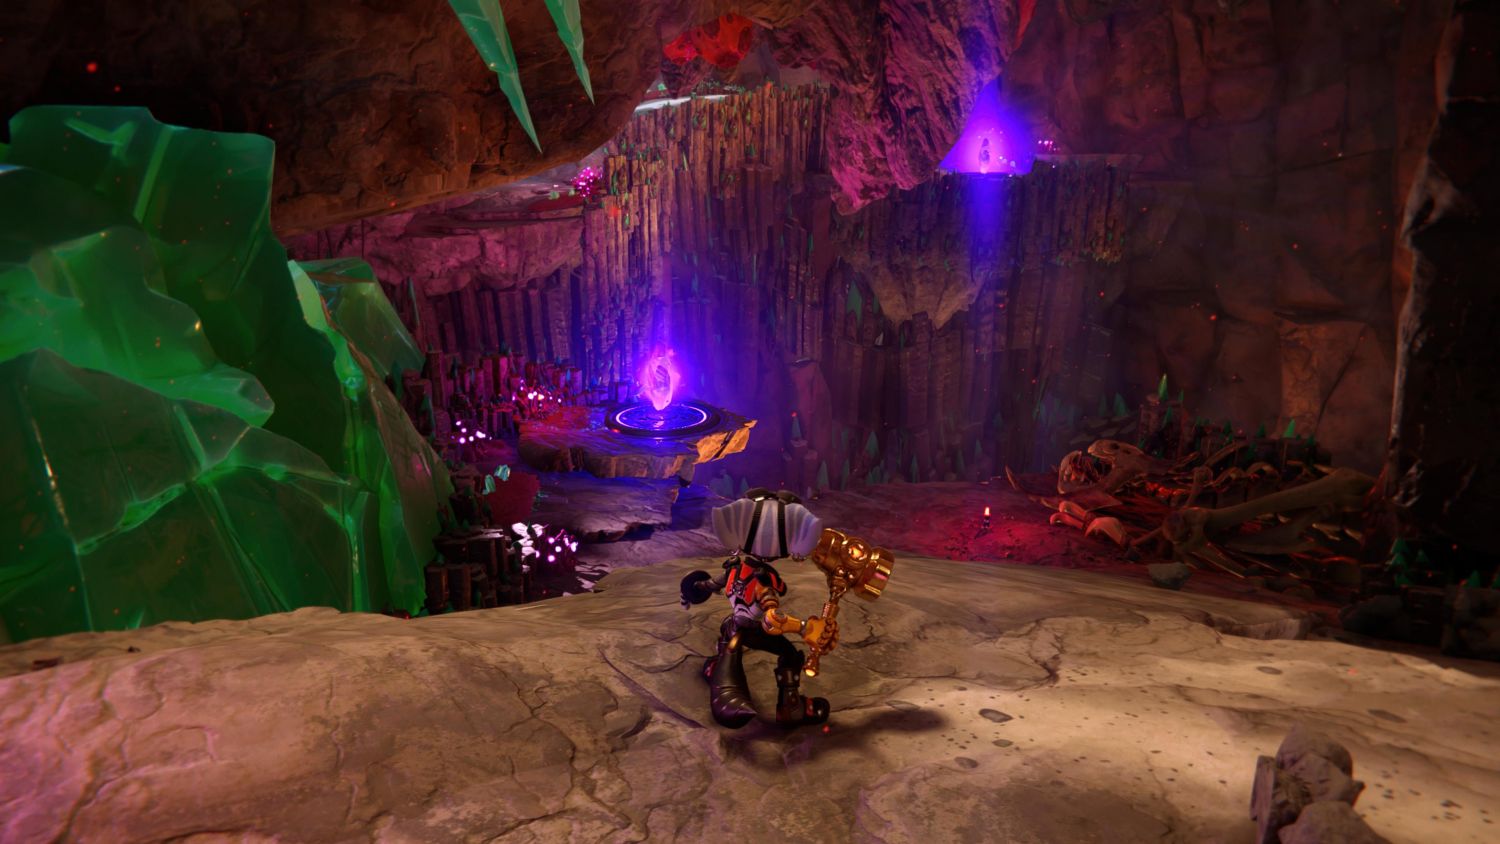
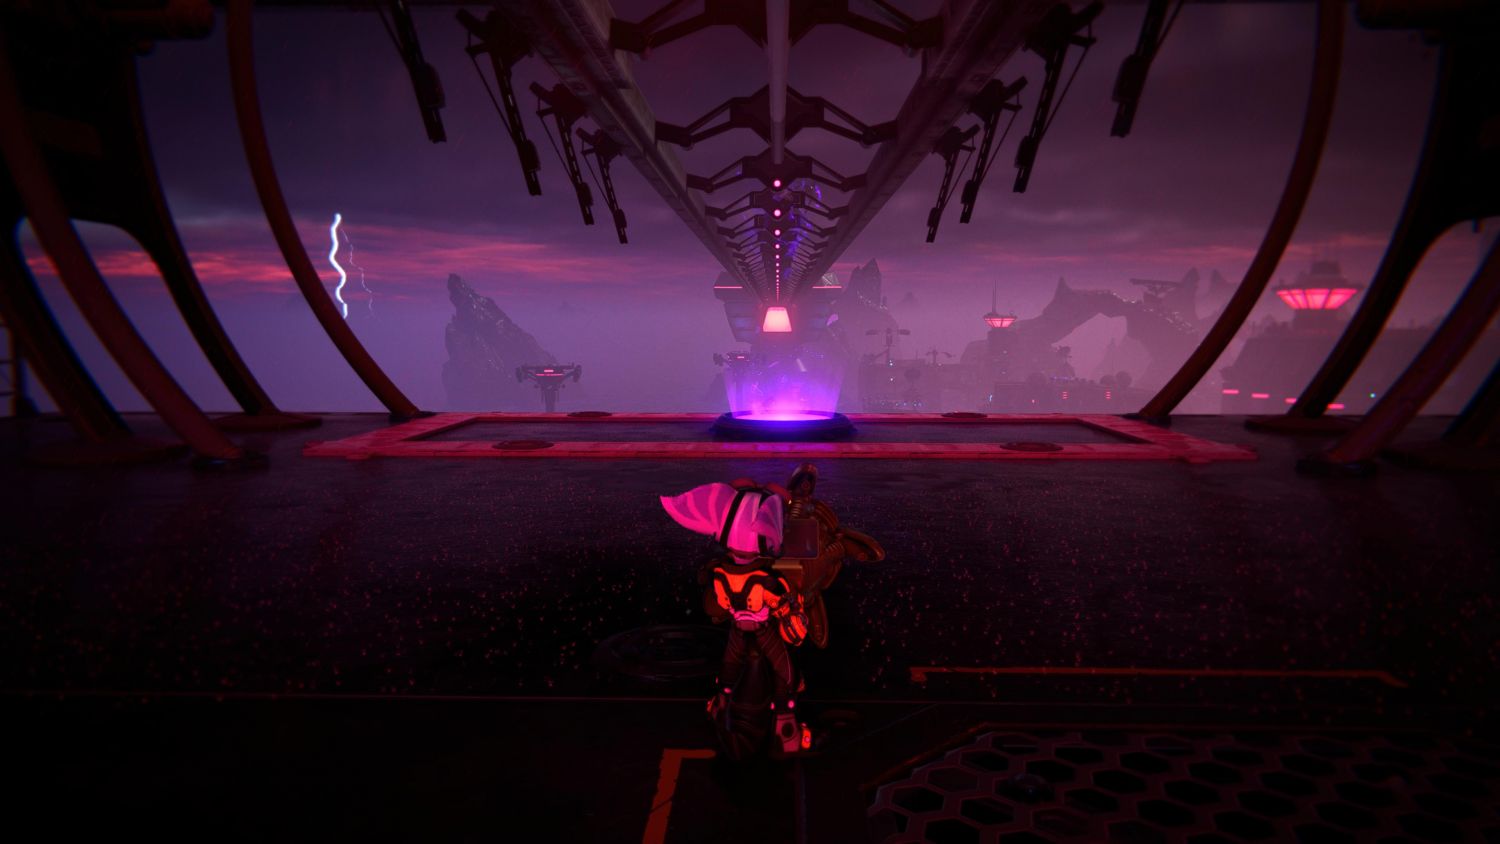
Sargasso – Outpost L51

Gold Bolt #4

Return to Sargasso once you are able to do. The first Gold Bolt on the planet can be found behind the factory where the ship lands. Simply make your way to the back, and spot the Rift. Tether over and get your first Gold Bolt on Sargasso.
Gold Bolt #5
Go to the platform left of the ship and get ready a Speetle. Ride it over the raised bridge and continue going straight to the industrial platform ahead. Go around, and claim your second Bolt.
Gold Bolt #6
This requires you to take on the Zurpstones quest for Mort and Trudi. The first two parts of the quest will net you two pieces of armour.
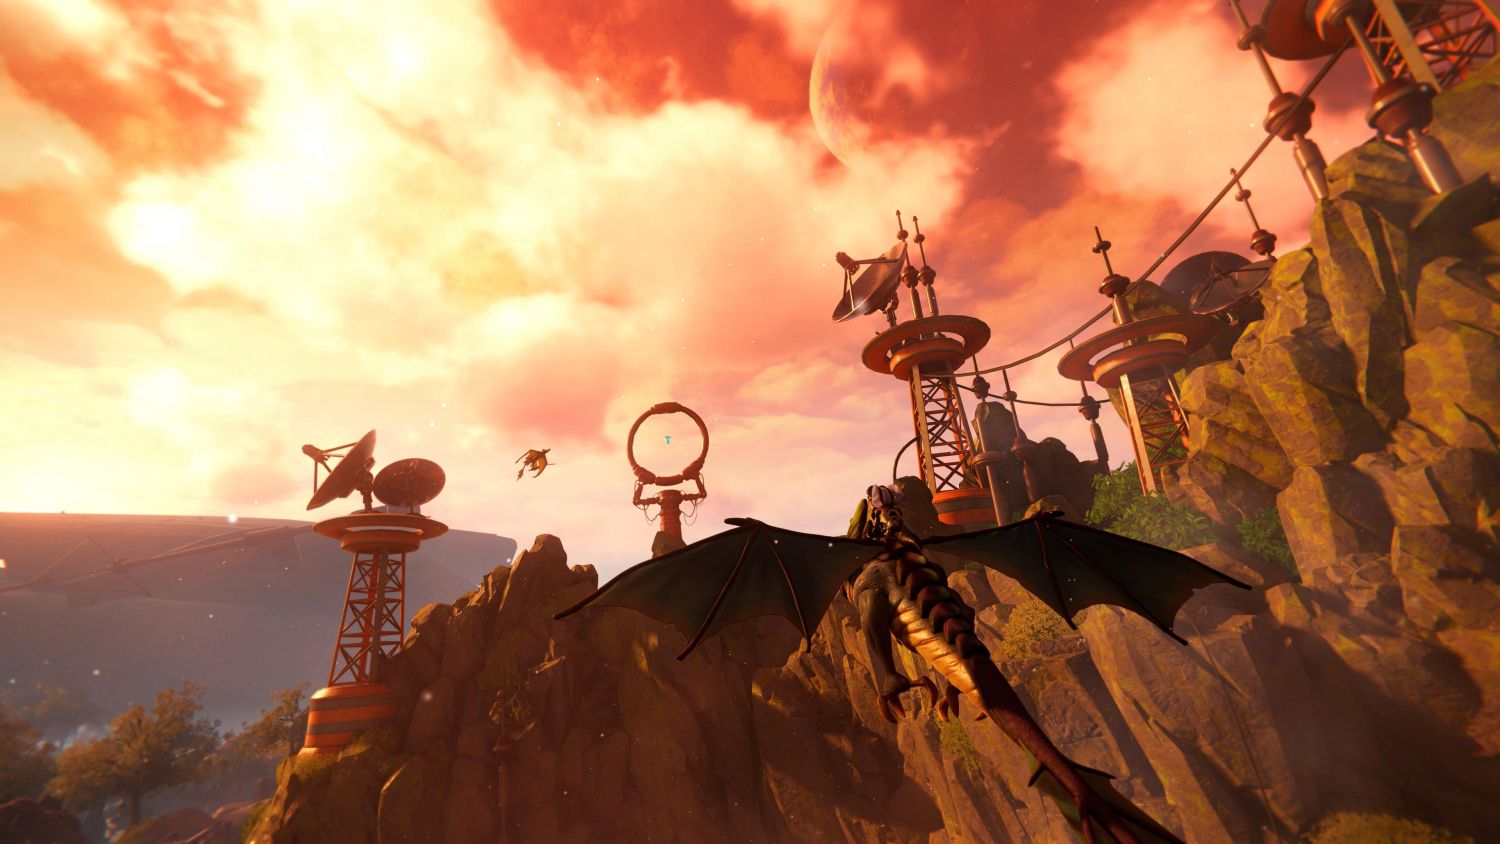
Following that, Trudi is available to mount and fly. Get on the noble steed and steer towards the right and up. You should be able to spot the last Bolt floating between rings.
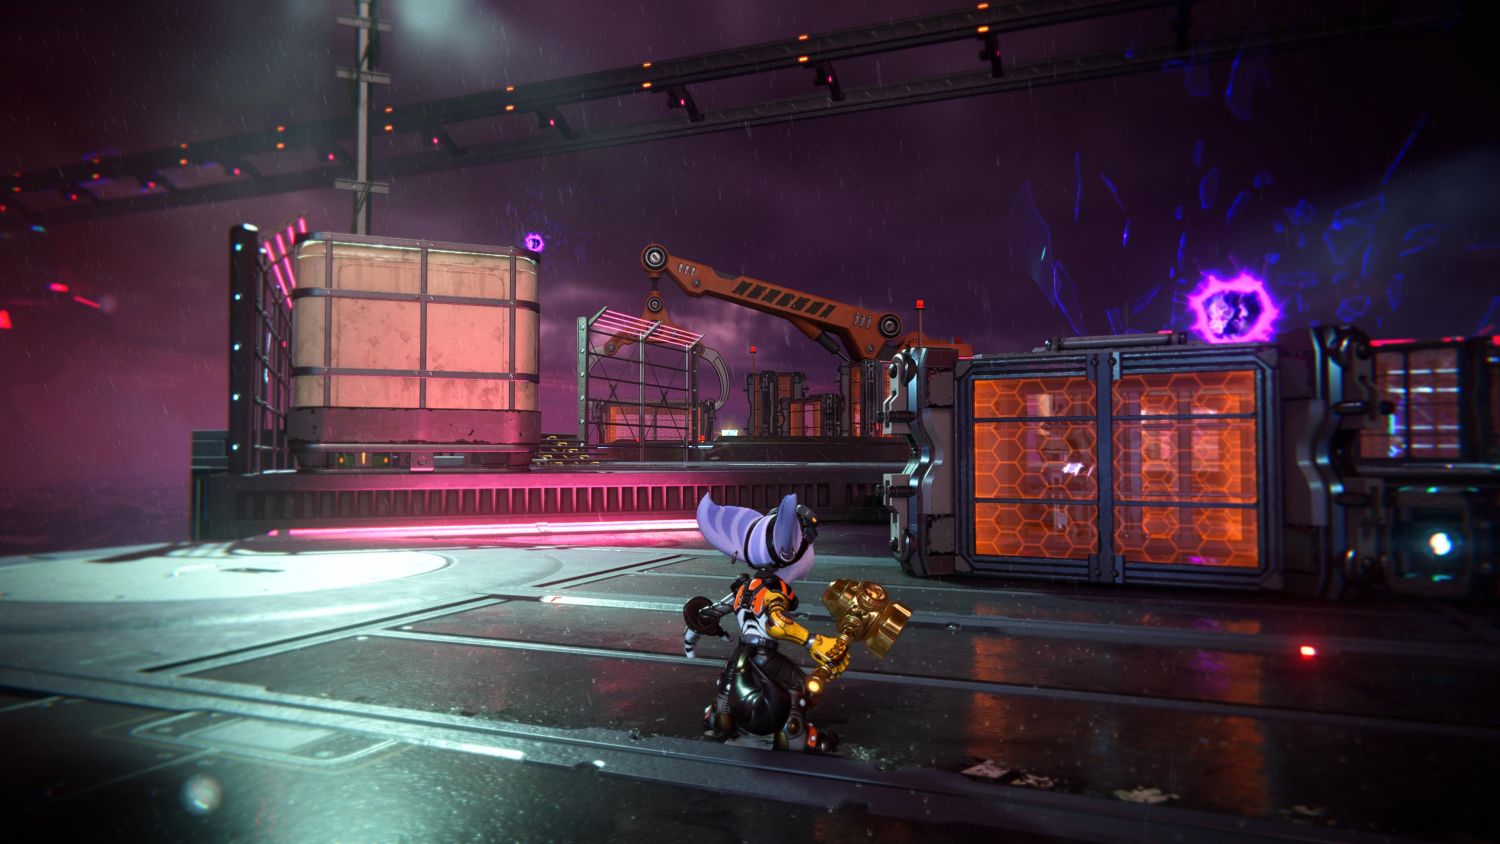
Scarstu Debris Field – Zurkie’s
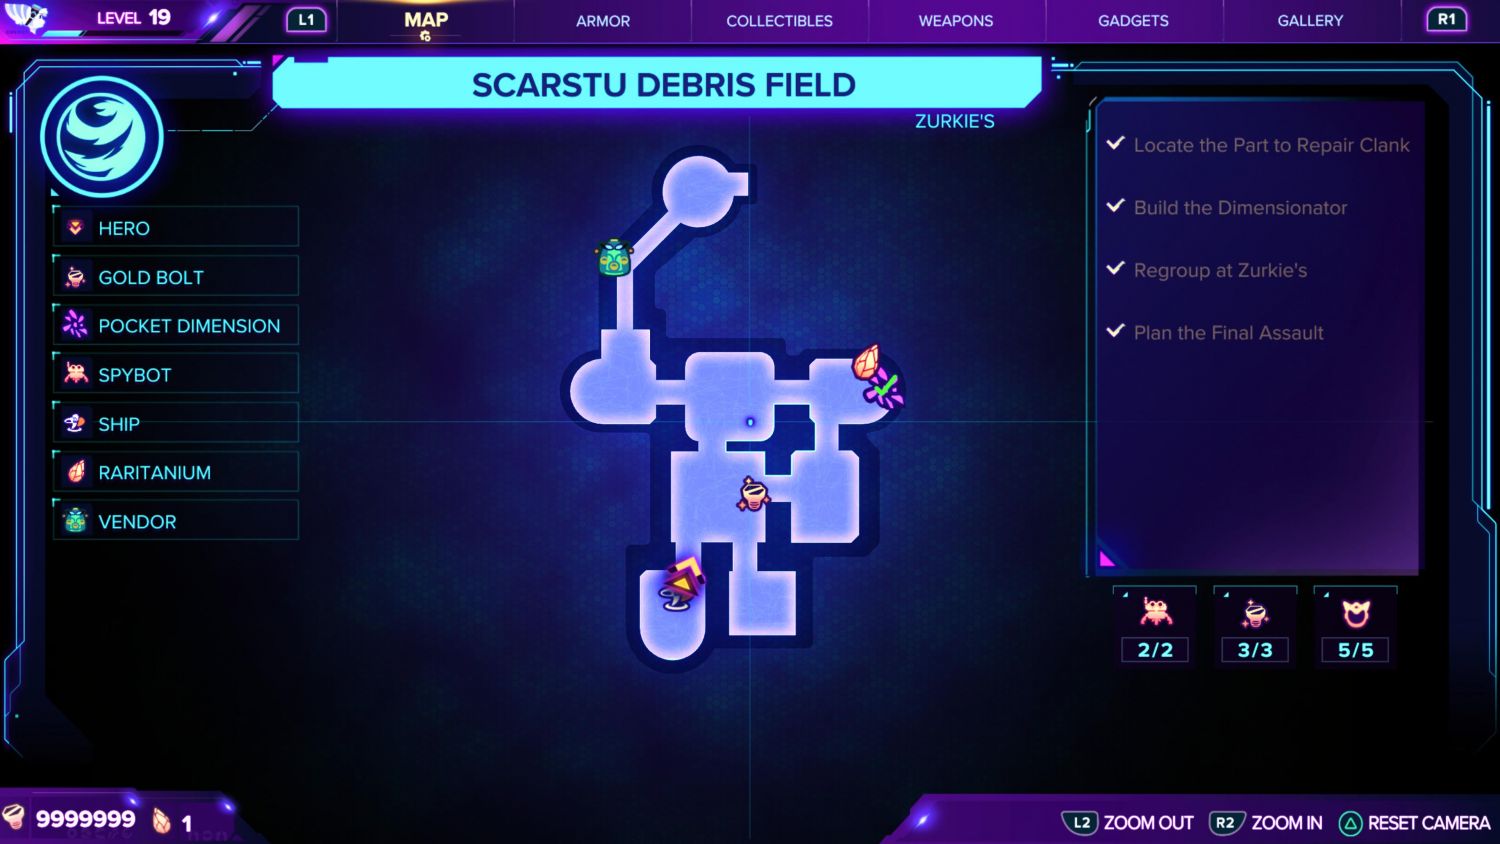
Gold Bolt #7
From the ship, head down to the next platform. The Gold Bolt is hidden under the bridge to the right where a garbage truck is. Jump and hover, once you are near it, Phantom Dash and grab it.
Gold Bolt #8, #9
Prizes for completing certain challenges at Zurkie’s. You can grab the first of the pair by winning the Awesome Bugtrax Done Quick course in the Bronze Cup.
The second is in the Silver Cup. Complete the Pest Control challenge and you have your prize.
Savali – Urfdah Mesa
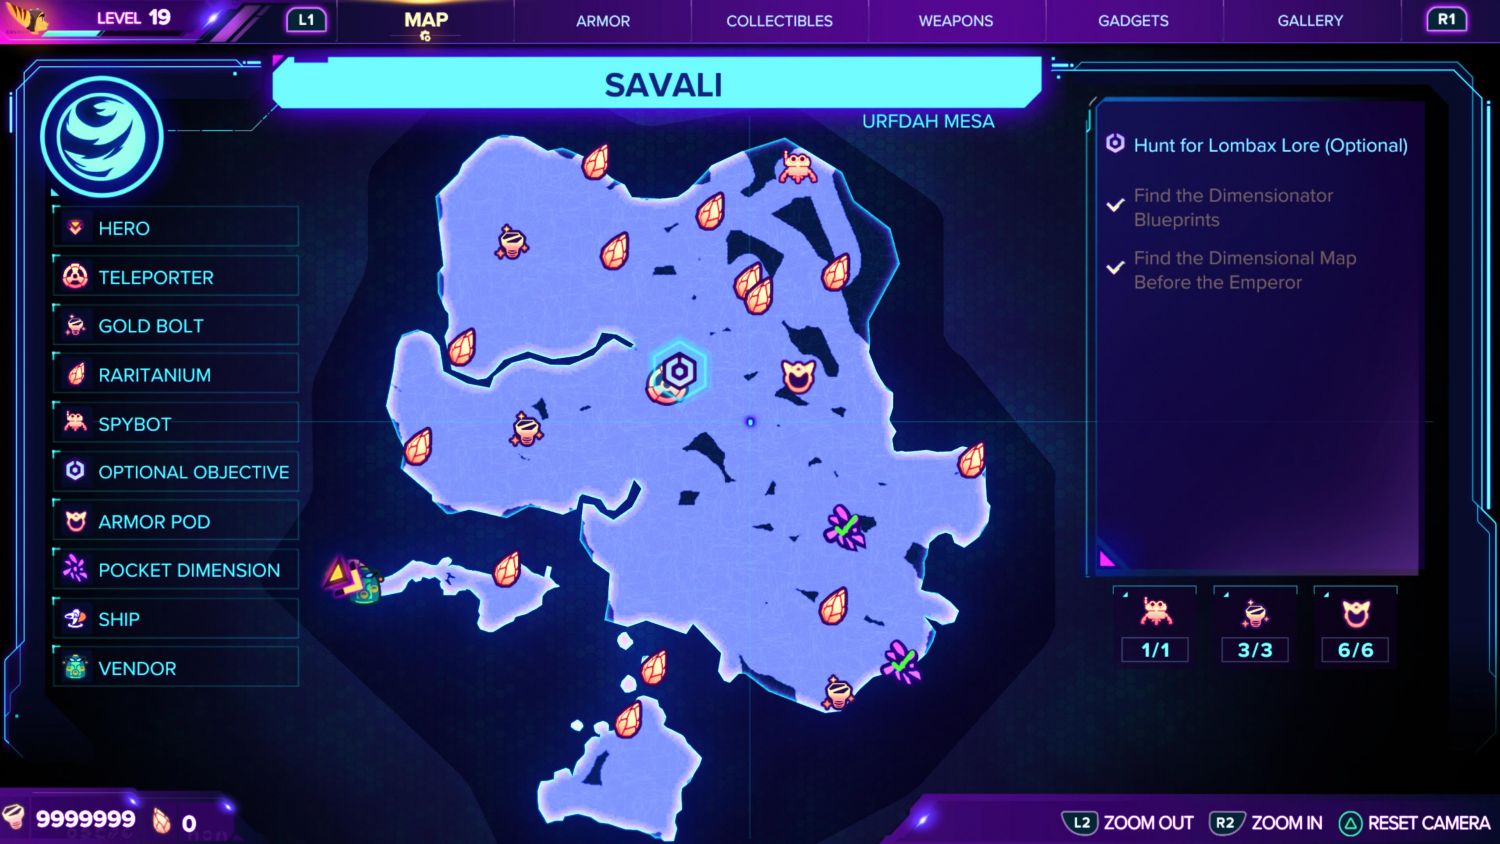
Gold Bolt #10
Head towards the southeast corner of the map. Look for a gigantic rock structure with a cave beneath. Here, you will find a floating platform housing the Bolt. Boost at max speed and catch up to it to claim your reward.
Gold Bolt #11
The western region of Savali is where you will find this bolt. It sits on top of a tall platform in the middle of the plains. To get to it, Found at the northeast of the map, head towards the northern, most central part of the map.
Here you will find boost pads that follow a track, head east down this path until you reach an arch with a button under it. Go over it and follow the track and hit the subsequent two buttons. This will open up a portal to your prize.
Gold Bolt #12
Located in the Catacombs in the northwest part of the map, you will need Glitch’s help to get past the locked door to access the Gold Bolt in Ratchet & Clank: Rift Apart. This is only available near the end of the game.
Blizon Prime – Blizon Mines


Gold Bolt #13
Once you have done the dimensional shift twice in the initial stages, you will be on the non-destroyed side of things. At the lava platforms, head left, and you will see a separate section where you will find the Bolt.
Gold Bolt #14
Head over to the east side of the map once you are in the main hub. From the same path to the Missing Chef optional quest, you will head into a cave where you need to hit a Blizon crystal, navigate through some magnetic paths, then hit a crystal again.
Now look left, and you will find a path to a different crystal. Whack that and grab your Gold Bolt.
Gold Bolt #15
Once you are on the main hub after the elevator ride down, spot the Blizon crystal just to the left. Head around the back to find some boxes to climb, and shift to the other dimension. Navigate past the magnetic paths, and the Bolt is yours.
Torren IV – Molonoth Gulch
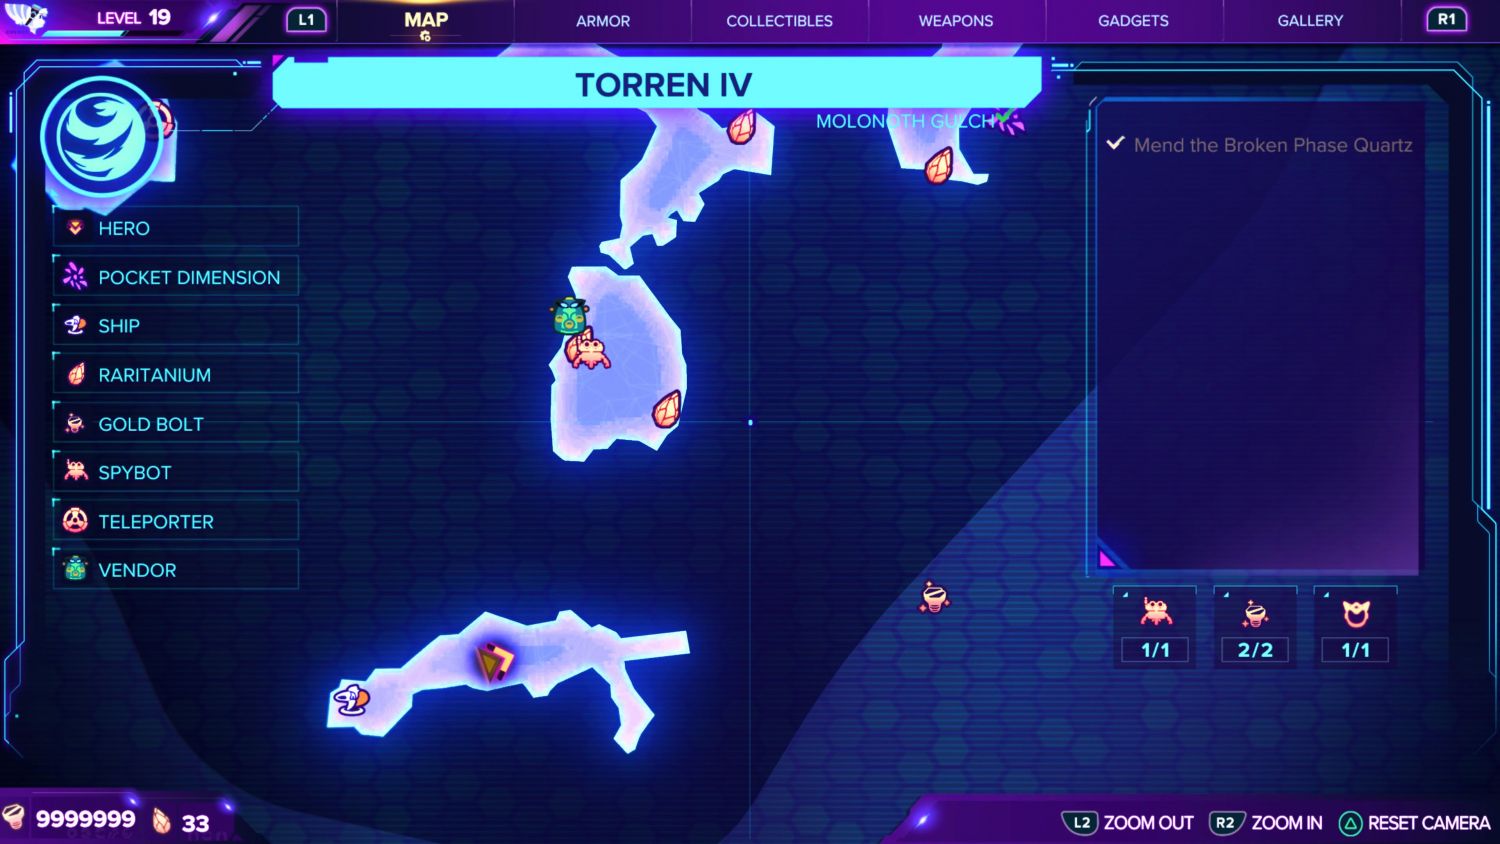
Gold Bolt #16
Upon landing, you will see the Bolt just straight ahead of you after a short trek. Look to the right for a small path, and start boosting your way across platforms and wall runs to obtain the Bolt.
Gold Bolt #17 (Missable)
Found during the grinding section with the Fixer, you will reach a point where there are three different grind paths to take. Be sure to jump off to the right to find the Gold Bolt as part of the track.
Cordelion – Kedaro Station


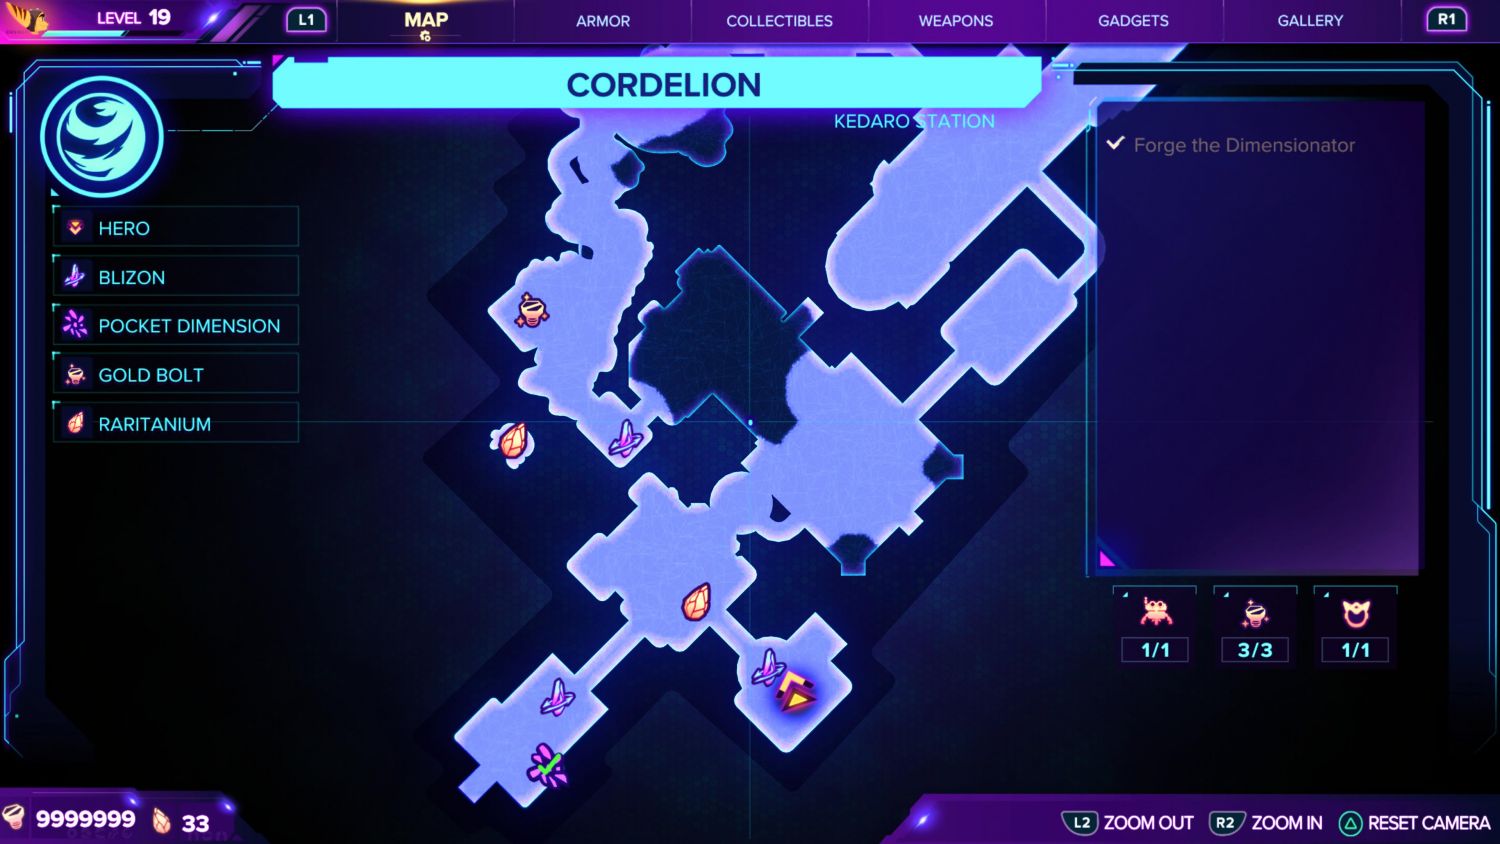
Gold Bolt #18
Take the moving platform to the central one, and head up the tower to shift dimensions. Once you are in the snowing world, head down and look to the left. You should see a floating platform with a crystal. Get a full boost, jump, and hover until you can tether to a Rift here. Shift dimensions again to grab the Bolt.
Gold Bolt #19
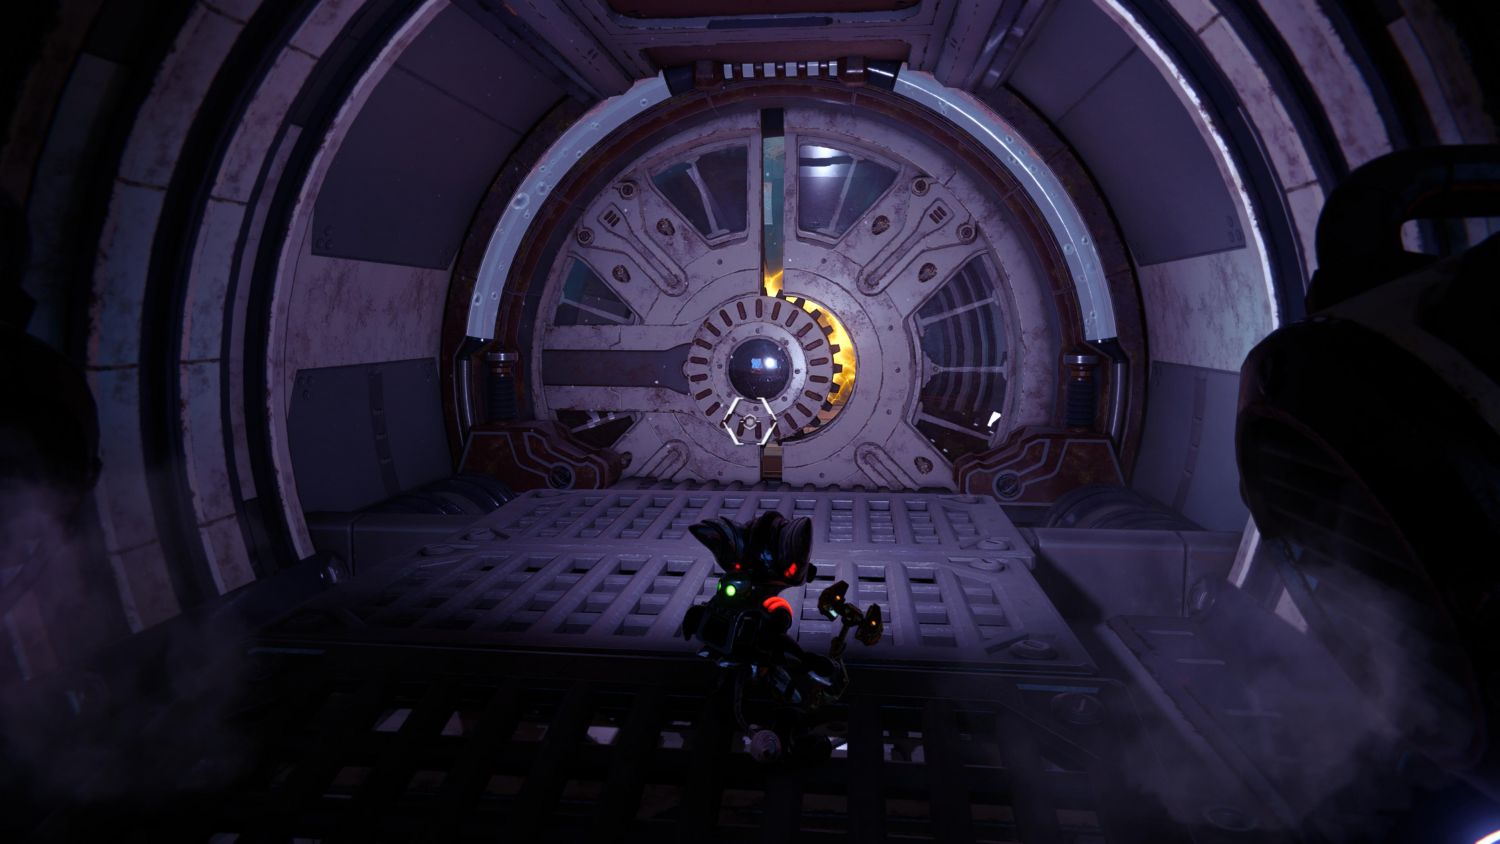
From the snowing world, take the elevator underneath the tower into the station. The first left you can take will lead to a malfunctioning door with a Rift. Tether through and the Bolt is yours.
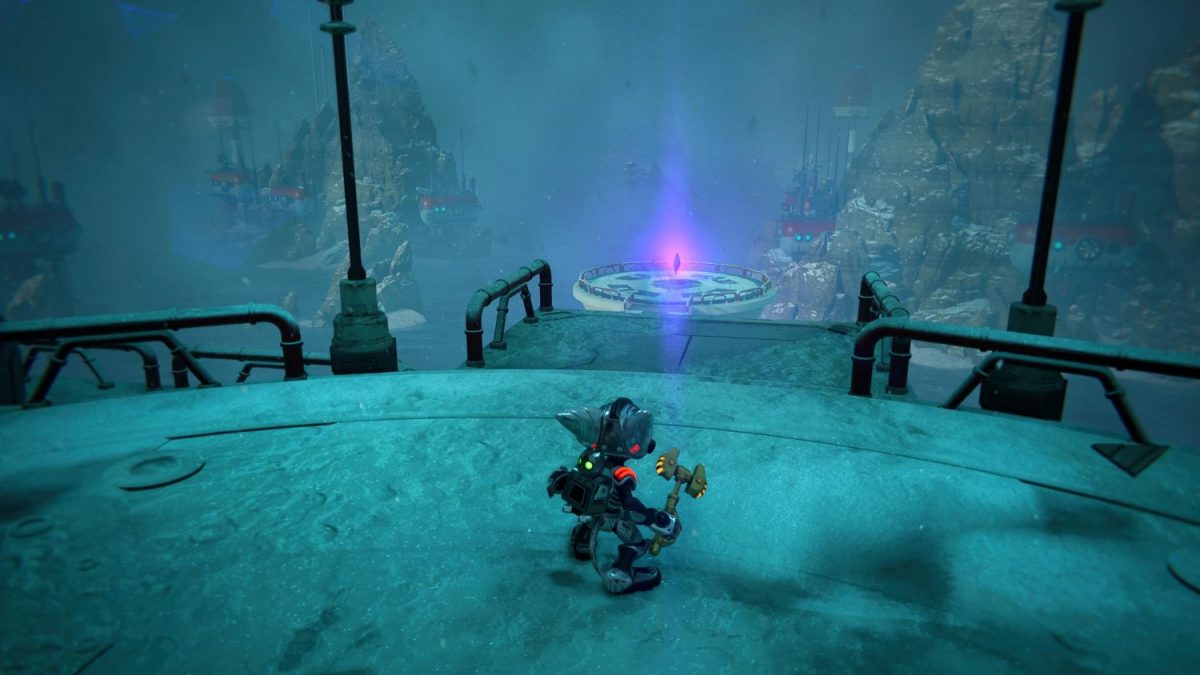
Gold Bolt #20
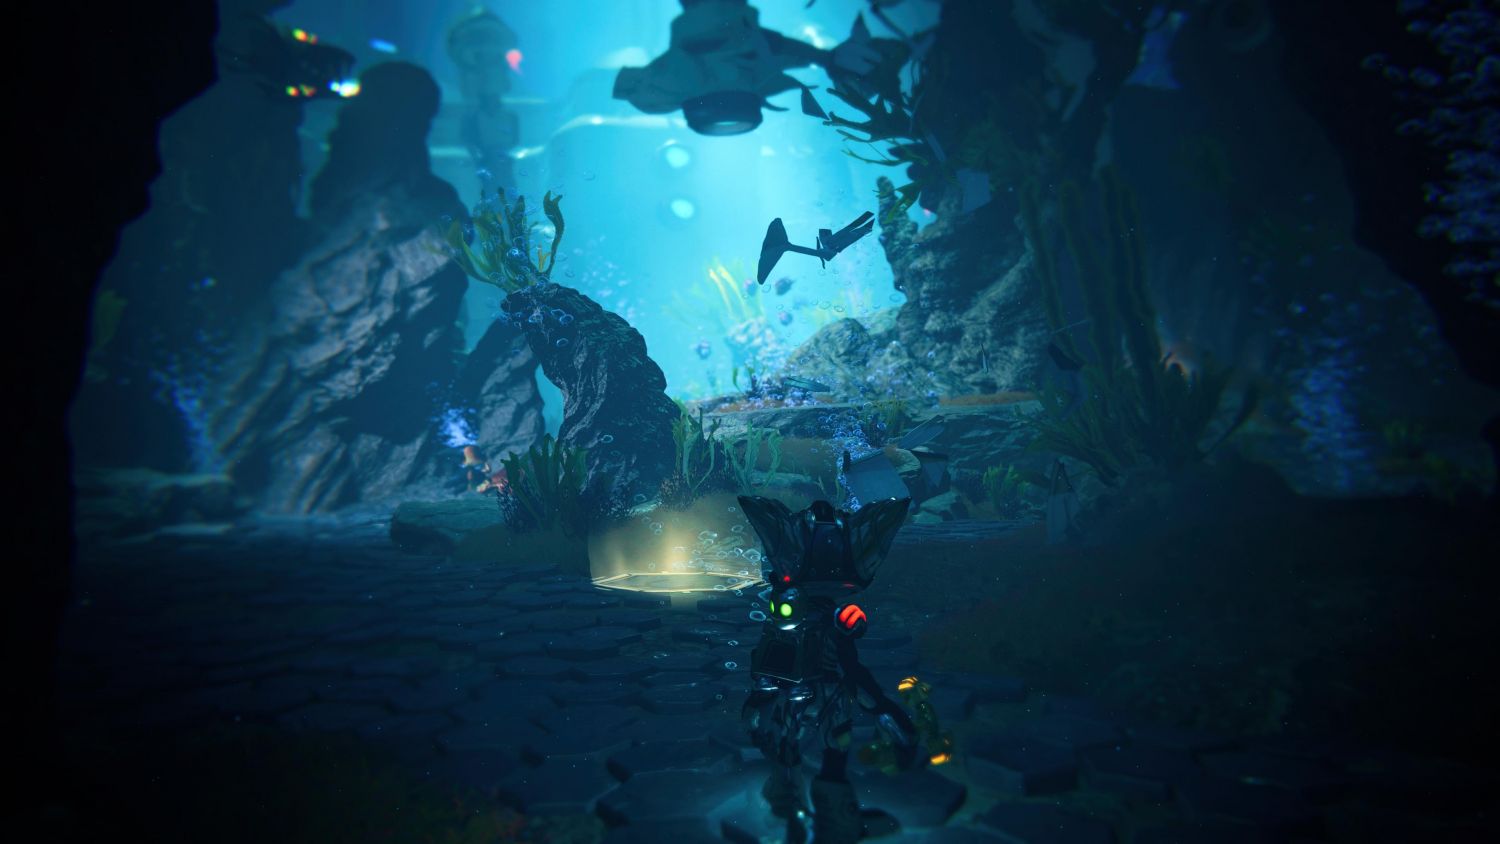
Eventually, you are going to reach an underwater section. Follow the path, until you reach a split. Head right up a cliff face to find this particular Gold Bolt in Ratchet & Clank: Rift Apart.
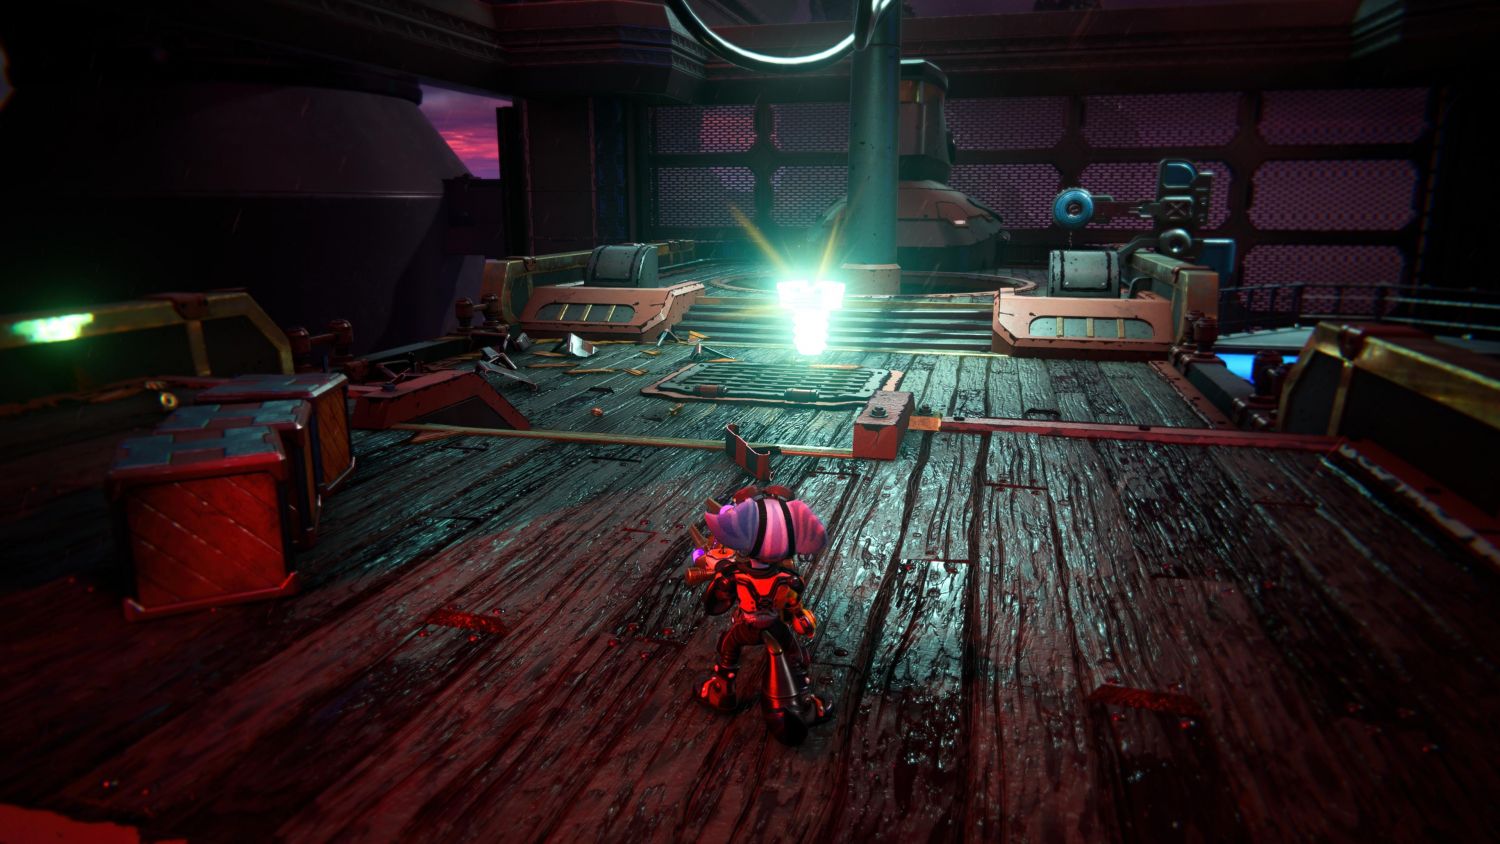
Ardolis – Pirate Base
Gold Bolt #21
From the Plunder Marketplace, boost your way to the pirate theme park. Once you are at the Speetle, head through the first ring of fire and start steering right. Go around the course, and eventually, you will jump a ramp and grab this Bolt.
Gold Bolt #22
Once you are at the Skull Mountain theme park, you will eventually reach a cavern with a Grunthor skeleton. On the left is a Glitch terminal that will unlock this Bolt.
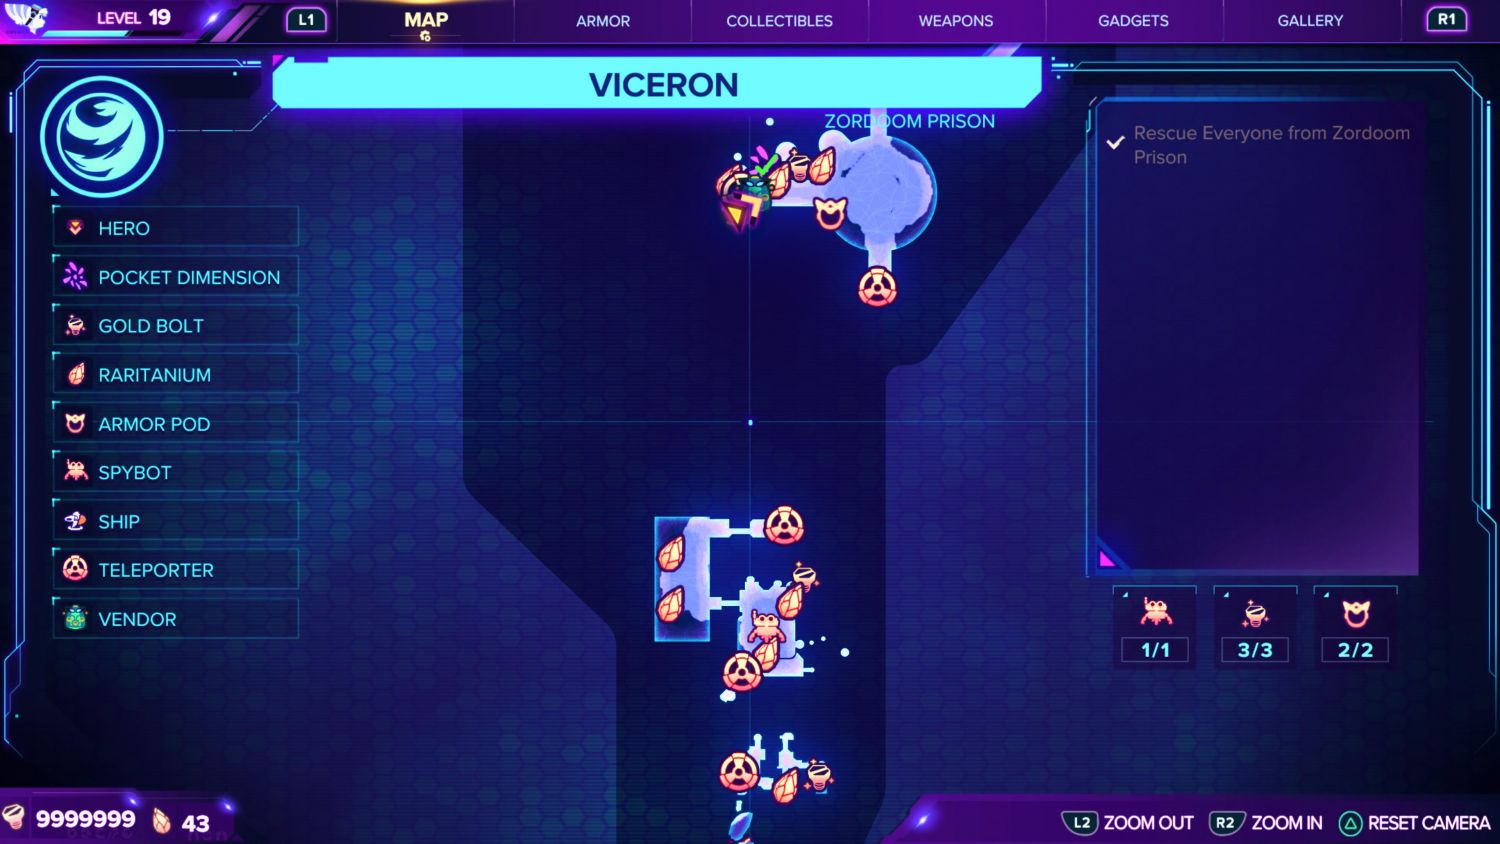
Viceron – Zordoom Prison

Gold Bolt #23

Return to Zordoom Prison after the big escape. Now, from where the ship lands, enter the cellblock and get up to the second level on the left. One of the cells houses this Gold Bolt.
Gold Bolt #24
Your next port of call is the Processing Centre. Use the teleporter at the southern edge of the cellblocks to get there. From the teleporter, make your way around to the crane. This is where you will find the second to last Gold Bolt in Ratchet & Clank: Rift Apart.
Gold Bolt #25
From the Processing Centre, make your way south again to the next teleporter, which will take you to the Scrapyard. From Ms. Zurkon, platform your way to the east.
After going through more gates with the Phantom Dash, you will reach an impounded pirate ship with the final Gold Bolt.
There you have it, all 25 precious Gold Bolts in Ratchet & Clank: Rift Apart are now in your inventory. Be sure to check out some of the cool options that have been unlocked to have more fun in the game. For more help and guides for everything Ratchet & Clank: Rift Apart, be sure to check out our guide wiki for all the other information you need!
Jake is a full-time trophy hunter and achievement gatherer on consoles, and part-time Steam Sale victim. He has a thing for Batman and awesome statues, and running out of space for both. Send help.


