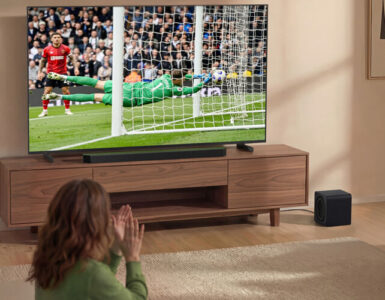
Sometimes, going big isn’t enough. The Samsung Neo QLED QN90C 4K TV, with varying sizing options and topping out at 75 inches, has the quality and viewing real estate covered, but it also comes with an added performance edge –AI-powered Neural Quantum processor.
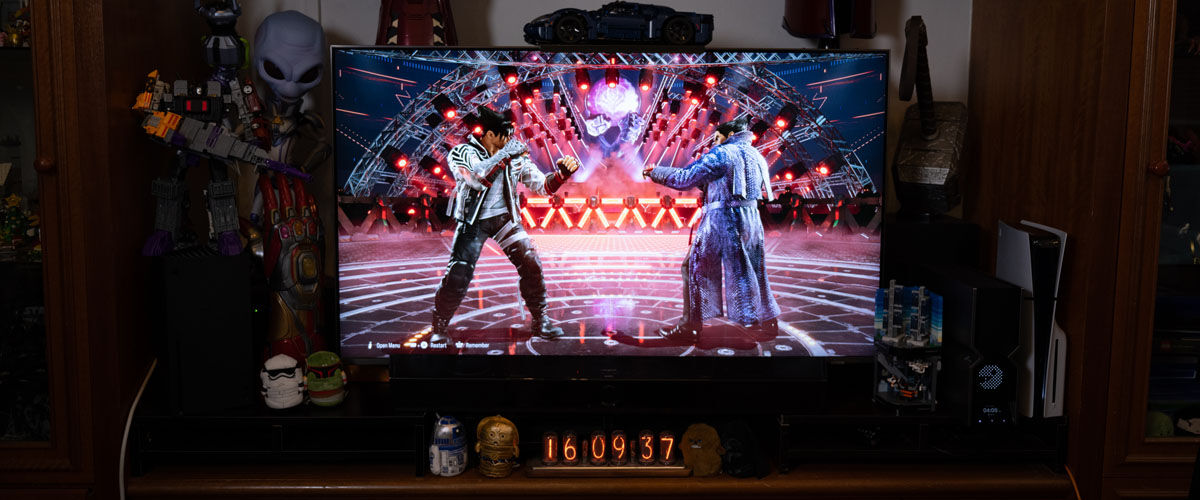
Suffice to say, any form of casual entertainment on this Neo QLED display delivers the guarantee of immersion. Gaming enthusiasts, in particular, can take delight in a host of nifty connectivity options, including HDMI 2.1 ports, 120Hz gaming on 4K resolution (3,840 x 2,160), a variable refresh rate (VRR), FreeSync Premium support, and Auto Low Latency Mode – the latter two of which work to eliminate screen tearing and offer smooth, responsive gameplay.
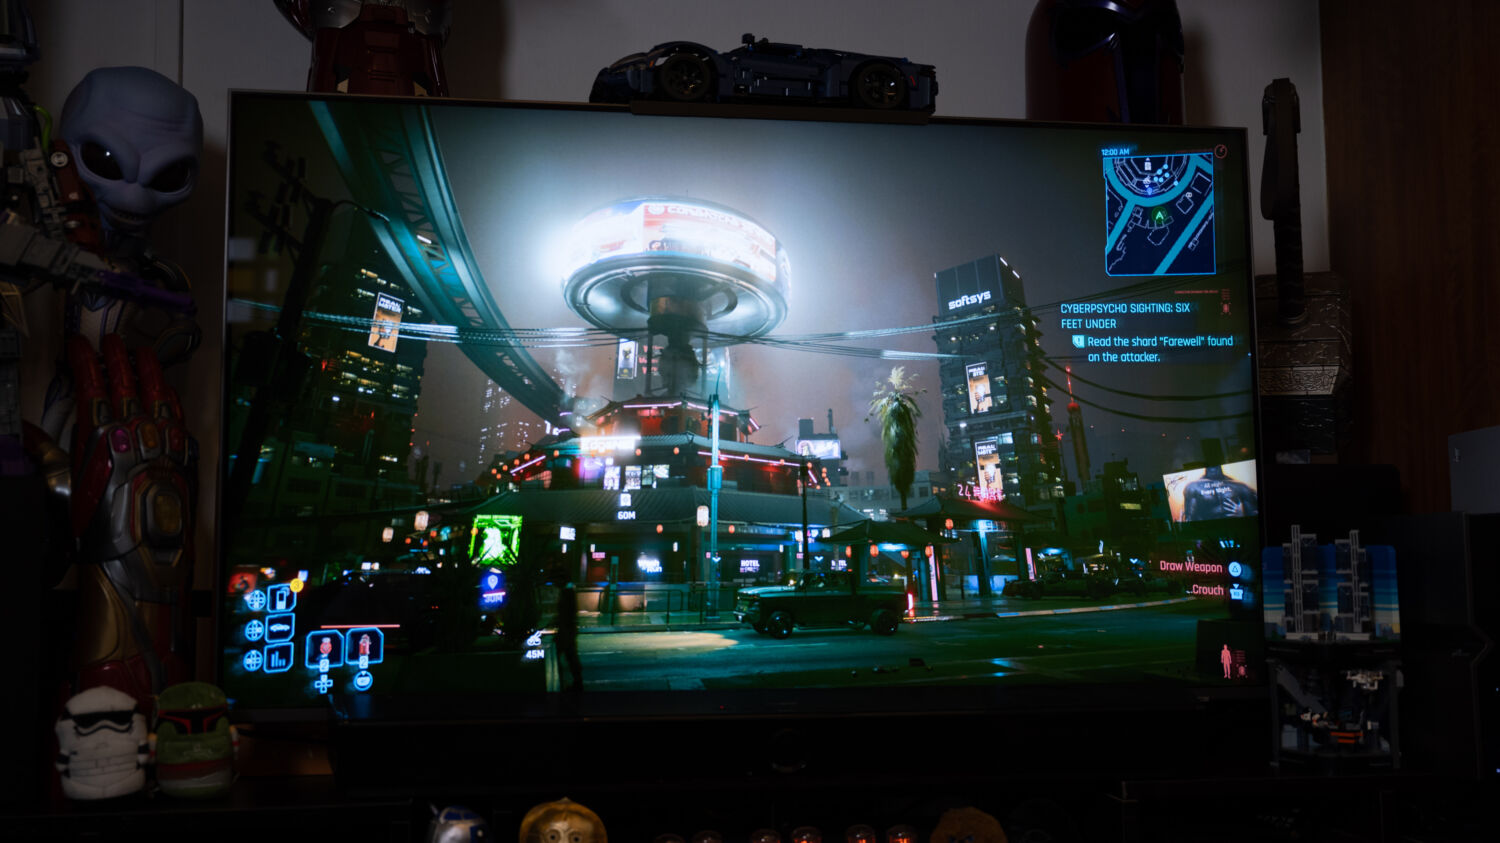
But why stick to the default experience, when you can settle for the best? Regardless of the video game console or desktop of choice, this smart TV can be tailored in such a way that users are able to get the most out of it, from experiencing breathtaking landscapes to frenetic and high-octane action scenes, as it works to display everything in great detail.
The first step to better gaming performance begins with the Game Bar. A nifty feature, it displays relevant information, such as input lag, frames per second (FPS), and variable refresh rate (VRR), all while offering quick access to gaming features, options, and preferences. Simply connect any console to the QN90C, and the Game Bar will automatically pop up; in the case it doesn’t, press and hold the Play/Pause button on the remote control.
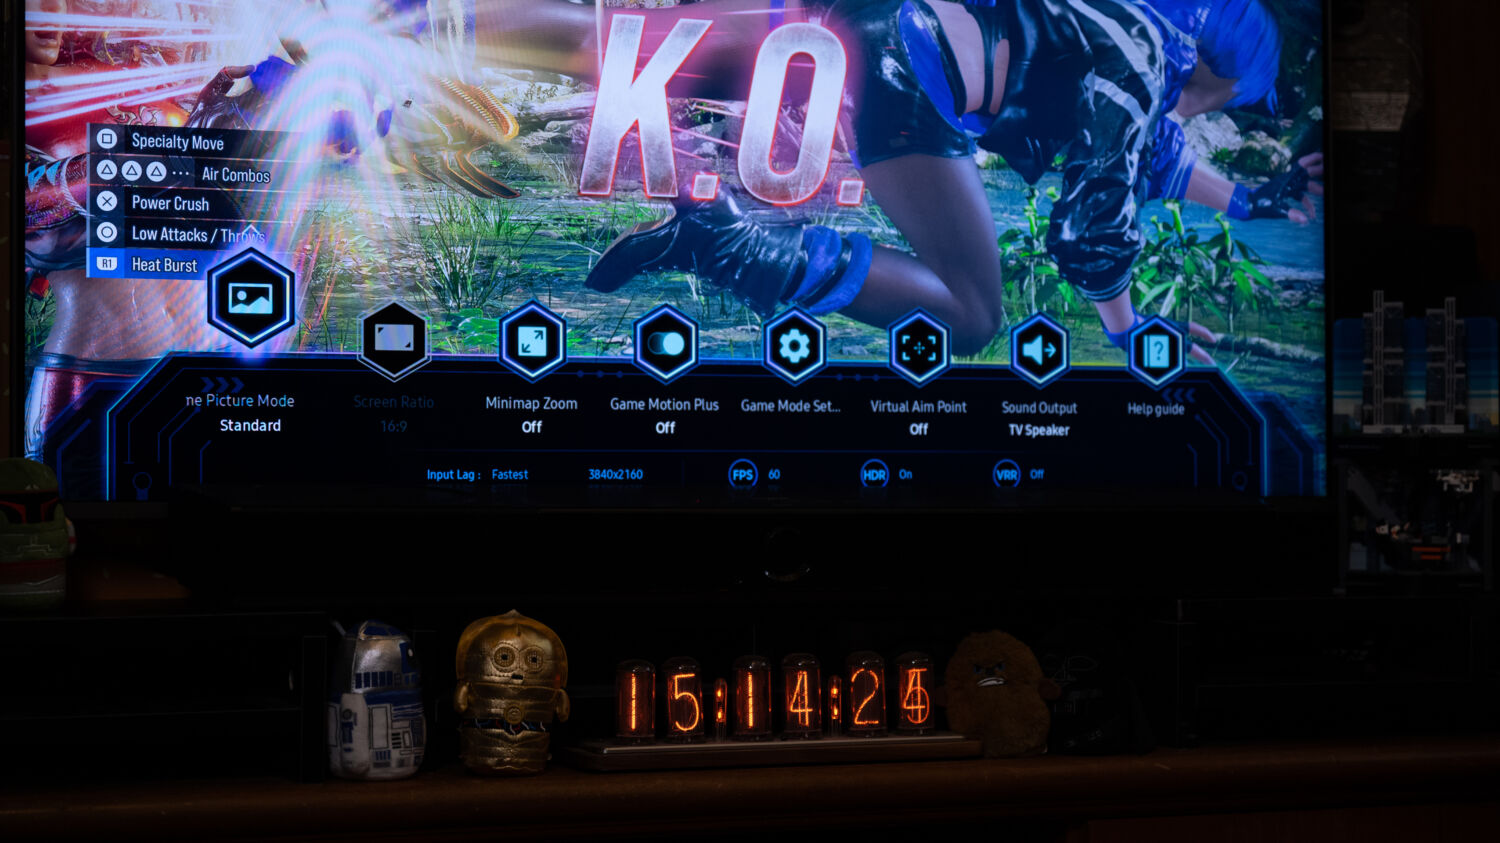
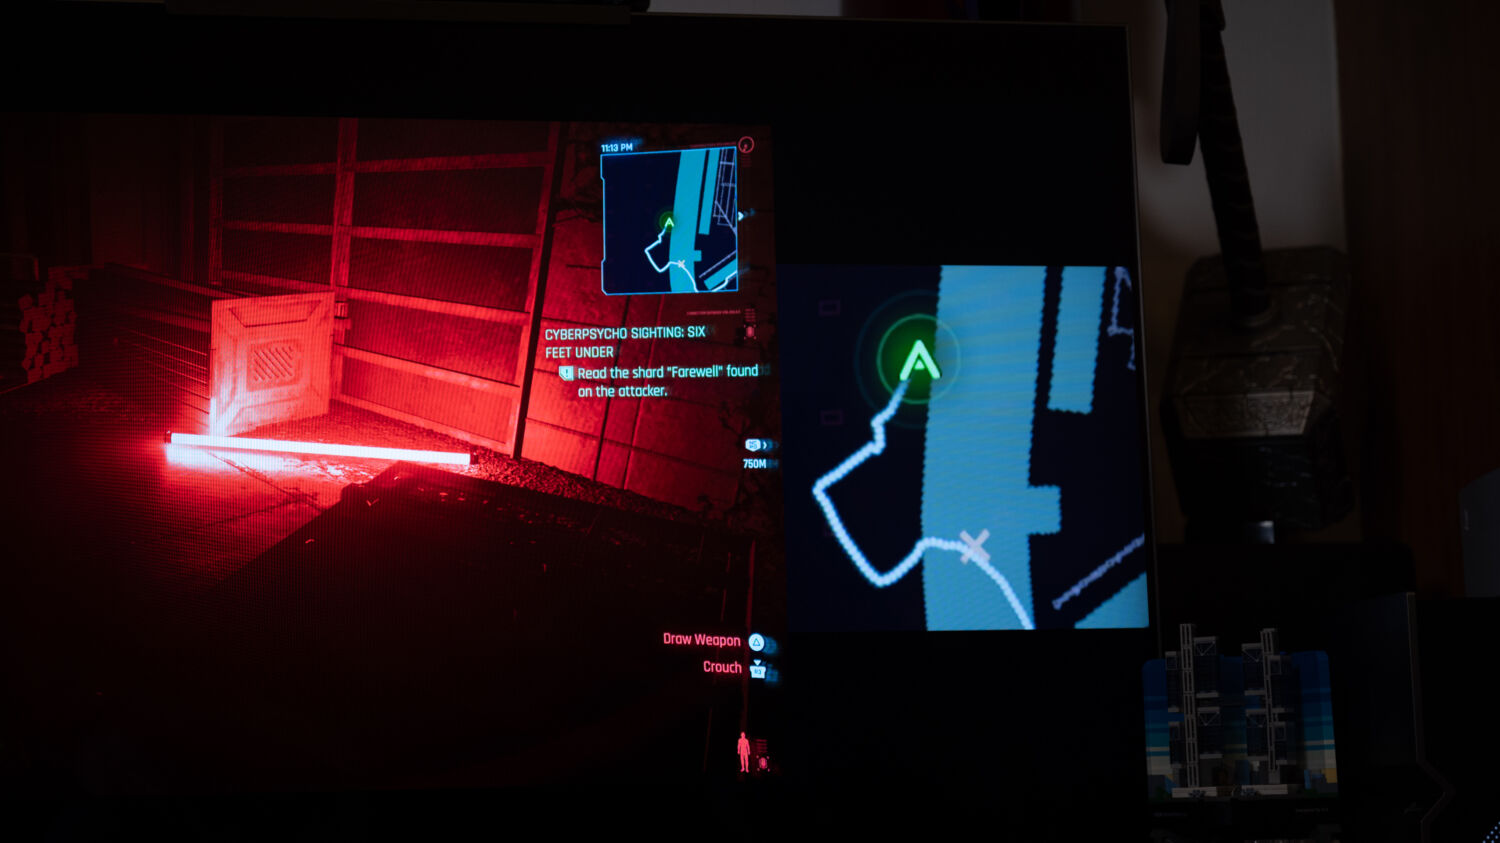
Among the list of features, the minimap zoom which is available for PC only, is easily one of its biggest standouts. Appearing as the third option on the Game Bar, it switches the TV into a split-screen mode where a blown-up version of the game minimap is shown on a small portion of the display, adjustable via the remote. PC Users who play first-person shooters stand to benefit most from this, as they often demand the constant monitoring of enemy locations, but the casual gamer also gets to enjoy a clearer look at various map elements, including connected pathways, quest objectives, and more.
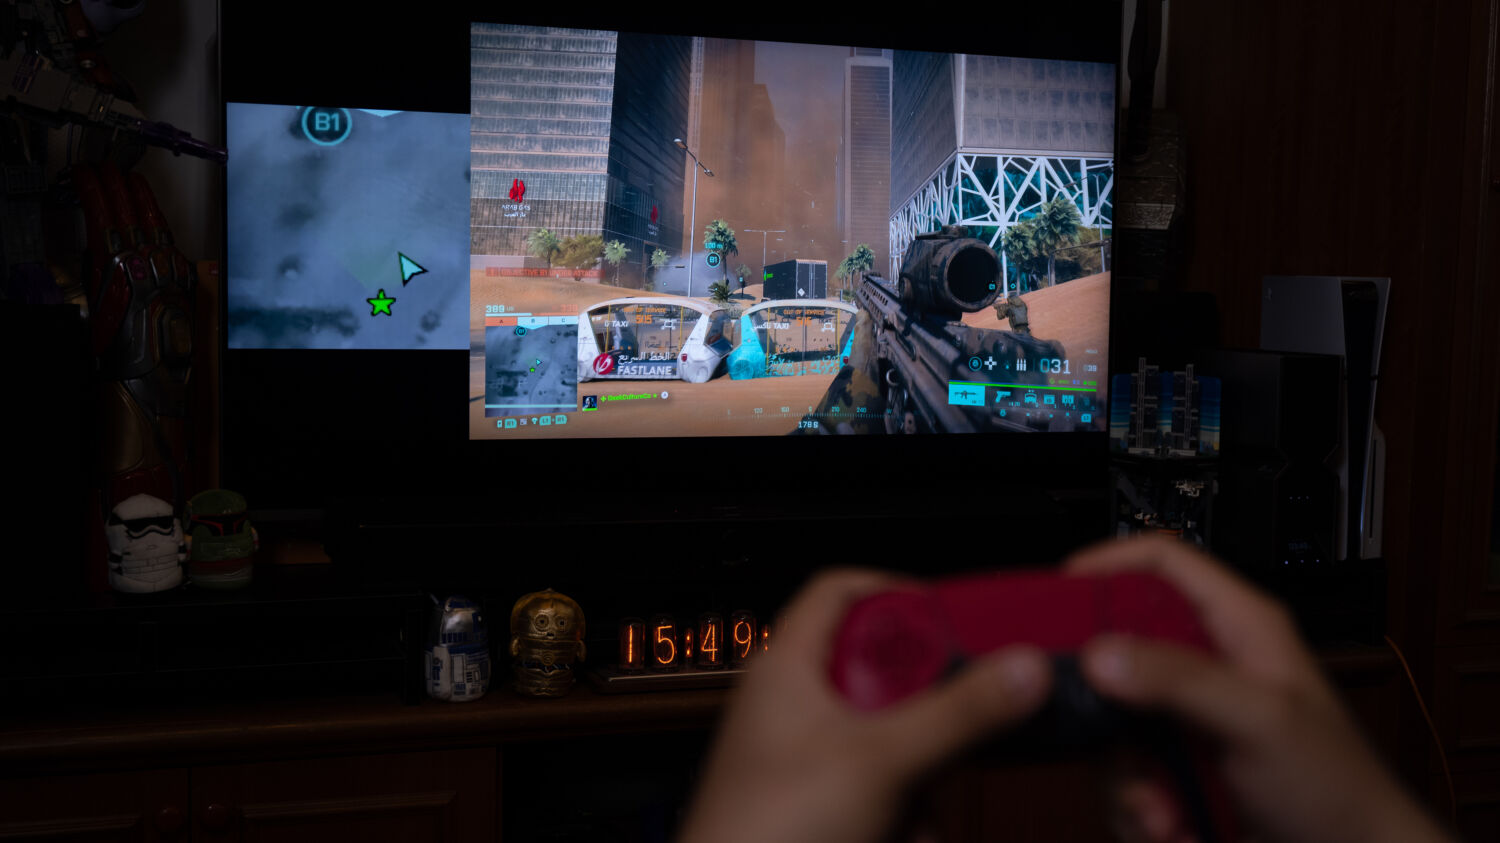
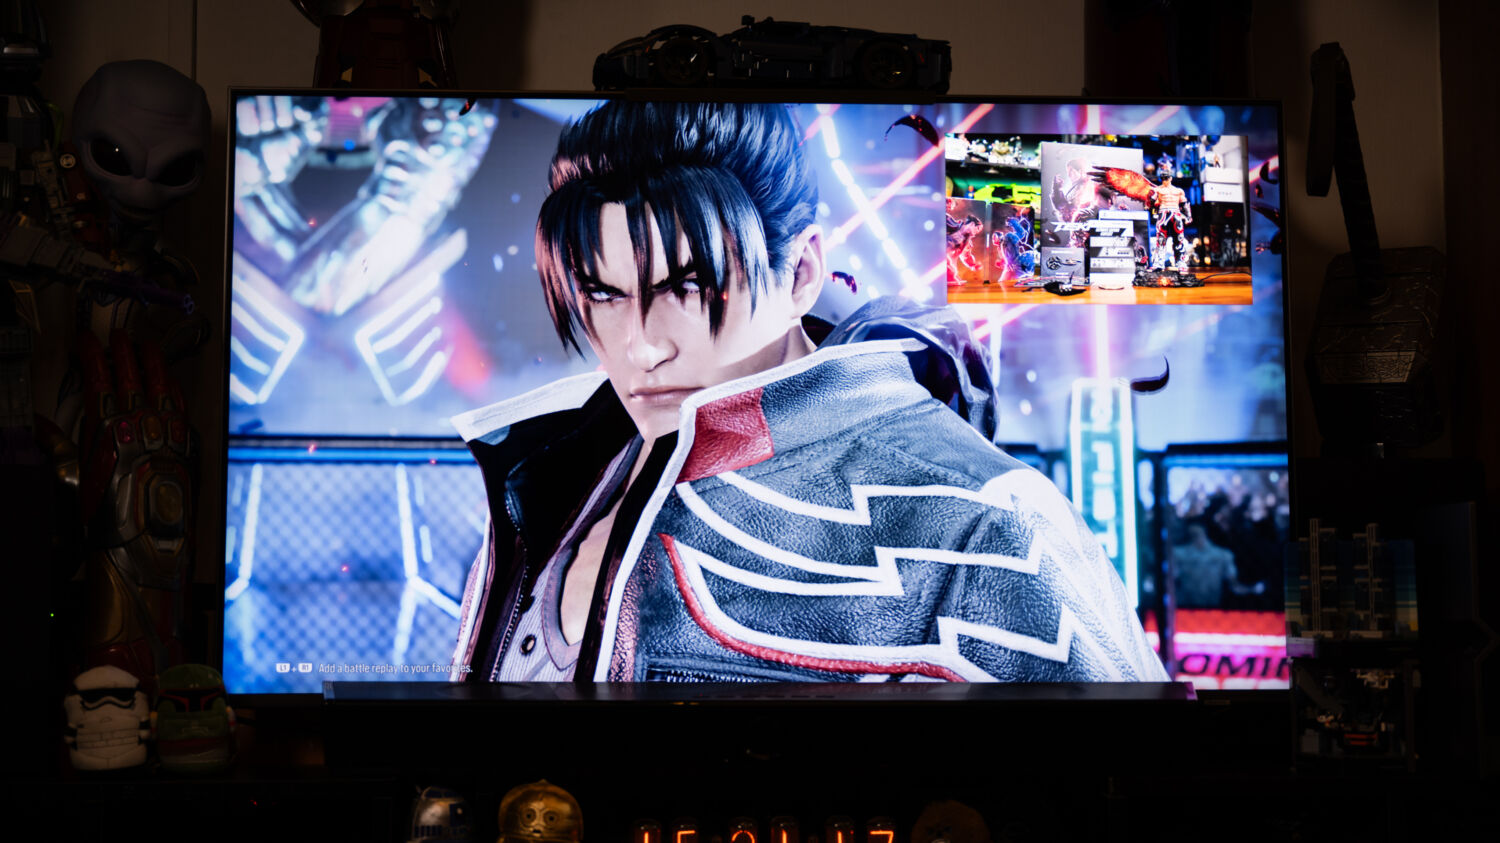
For wider versatility, the QN90C TV offers the Multi View function, accessed by pressing the Home button, then Multi View. Once activated, the screen will be split into two, with the chosen content displayed on the left side. There are a few ways to go around the setup – mirror and cast content from a mobile device (Smart View / Screen mirror button on Android, and Airplay on iOS), mirror a laptop of PC screen with the ‘Project to a screen’ feature, or connect to a SmartThings camera or webcam.
While use cases can vary, a good use of PIP (Picture in Picture) Position is having a dedicated window for game guides or walkthroughs, which will come in handy when players need help to solve puzzles, defeat a boss, progress with the story, and the like. There’s no need to fret over the presentation of content either, for the sizes of both screens can be adjusted to suit different viewing preferences.
Adding to the overall immersion factor is, of course, the visuals. It’s important for a game to look good on the big screen, but not every console works in the same way to do so, requiring some calibration on the user’s part. For optimal SDR output on Xbox systems, select “Gaming Only” from the VRR menu, accessible via the dashboard. Choose the Standard profile when the Game Bar pops up to ensure colour accuracy, then turn on Game Mode (Settings > Connection > Game Mode Settings).
Next, head into Game Picture Settings, nestled within Game Mode Settings, to switch off both HDR+ Gaming and Game HDR. Complete the setup process by entering Picture Mode and Expert Settings, adjusting the latter to the following:
- Brightness: 35
- Contrast: 25
- Sharpness: 0
- Colour: 15
- Local Dimming: Low
- Contrast Enhancer: Off
- Gamma: BT18.86
While these are the recommended settings, some of them can be further tweaked to fit personal preferences. A Standard or High option for Local Dimming, for instance, would be more ideal for users who lean towards punchier and brighter visuals. Hence, it’s important to remember that a one-size-fits-all solution doesn’t need to be the only option to exist here.
The process is more straightforward with Game Mode HDR. Start by going into the HDR Setup menu, and hit both bumpers and trigger buttons on the Xbox controller to pull up a little window on the upper right of the screen, which reveals some values. After setting it to zero for the black screen, select the Picture tab and click in, into Connection, Game Mode Settings, Game Picture Expert, and finally, Game HDR. Choose Basic, then fix the settings as such:
- Brightness: 50
- Contrast: 50
- Sharpness: 0
- Colour: 25
- Local Dimming: High
- Contrast Enhancer: Off
- HDR Tone Mapping: Static
- Gamma: ST.2084 (+1)
Once that’s done, it’s time for the final touches. Locate Colour Space Settings, tap on Custom, and lock in the BT.2020 setting to enjoy HDR content in the comfort of your home. As there will be visual differences between SDR and HDR output, users should go with the feature that best suits their aesthetic taste.
PlayStation 5 owners, likewise, are subjected to a quick calibration process. It can be slightly tedious, however, as some manual input is required. After pulling up the Adjust HDR menu (Screen and Video > Video Output > Adjust HDR), they will have to bring screen brightness down to the lowest, and hit the upward-facing key on the D-pad to drive brightness up. Each press of the D-pad offers incremental brightness, available to a level of precision such that it takes a total of 19 clicks to reach the optimal level. The same applies for the subsequent pages – count 19 clicks, then go all the way down the brightness slider when the Black Level screen appears, but it means you choose the brightness that suits your home set-up..
Depending on whether a game has its own HDR sliders, there may also be additional steps. Generally, the brightness level should be fixed at around 1,700 nits, while 25 is the recommended midpoint value for QLED TVs.
Again, these settings aren’t cast in stone, and will likely vary from one individual to another. Instead, they act as a good baseline for those looking to upgrade their gaming experience, but don’t know where to start. The Samsung Neo QN90C 4K QLED offering is quite the investment, after all, and it’d be a pity if it doesn’t get to live up to its fullest potential, no matter the size.
Coming in at S$2,199 for the base 43-inch model, the TV is also available in 50-inch (S$2,699), 55-inch (S$4,399), 65-inch (S$5,899), and 75-inch (S$8,099), easily meeting the various demands of casual users, gamers, and everyone in between.

Si Jia is a casual geek at heart – or as casual as someone with Sephiroth’s theme on her Spotify playlist can get. A fan of movies, games, and Japanese culture, Si Jia’s greatest weakness is the Steam Summer Sale. Or any Steam sale, really.


