- Shares
- 62
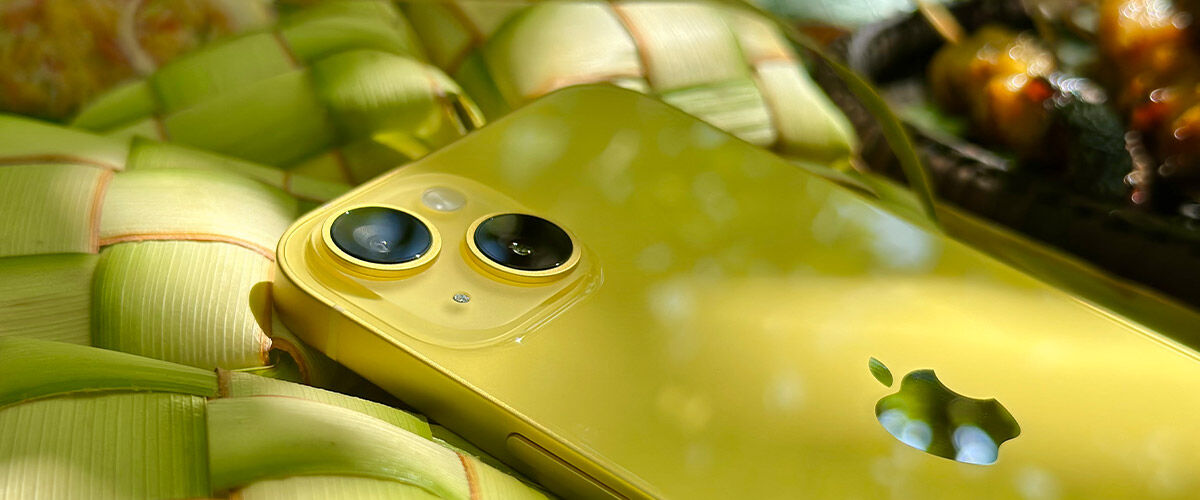
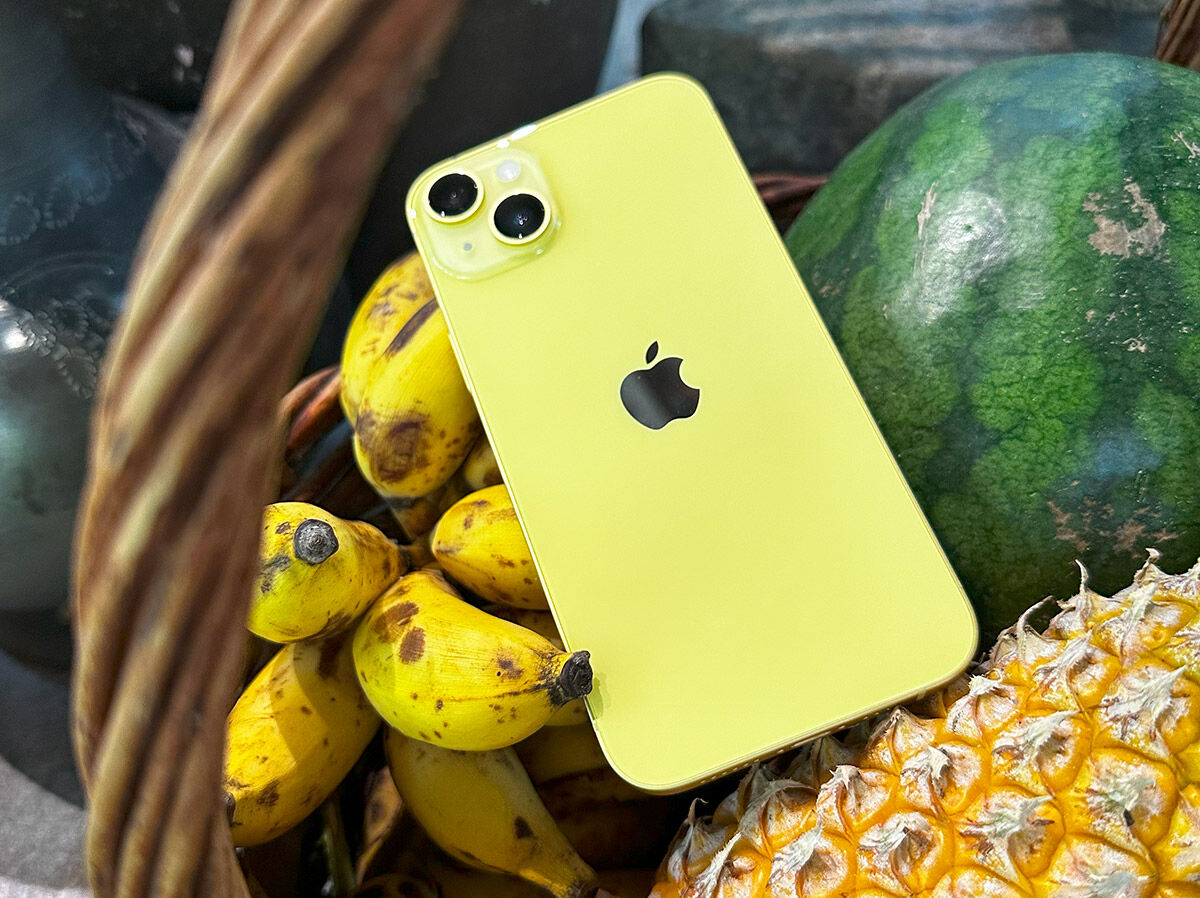
With the recent launch of the yellow iPhone 14 and 14 Plus, there’s no better time to up your social media game with some photography and videography tips, especially with Ramadan season in full swing this time of the year.
We enlisted the help from four experts in the region – Malaysia-based Zarnizar (Photographer / Content Creator), Annice Lyn (Photographer) and Jason Goh (YouTuber / Content Creator), as well as Singapore-based yk (Photographer / Content Creator) to provide some useful tips on getting the best out of their iPhones and one thing is clear – all of these can be done with only the iPhone. Having an iPad or MacBook helps but if you’re traveling or don’t want to carry along too much hardware, the iPhone 14 is all you need.
We came together recently for a quick getaway in Langkawi to capture a bunch of ‘Balik Kampung’ themed moments, while learning from each others’ craft and best practices, and yes, everything you see here was shot entirely on the iPhone.
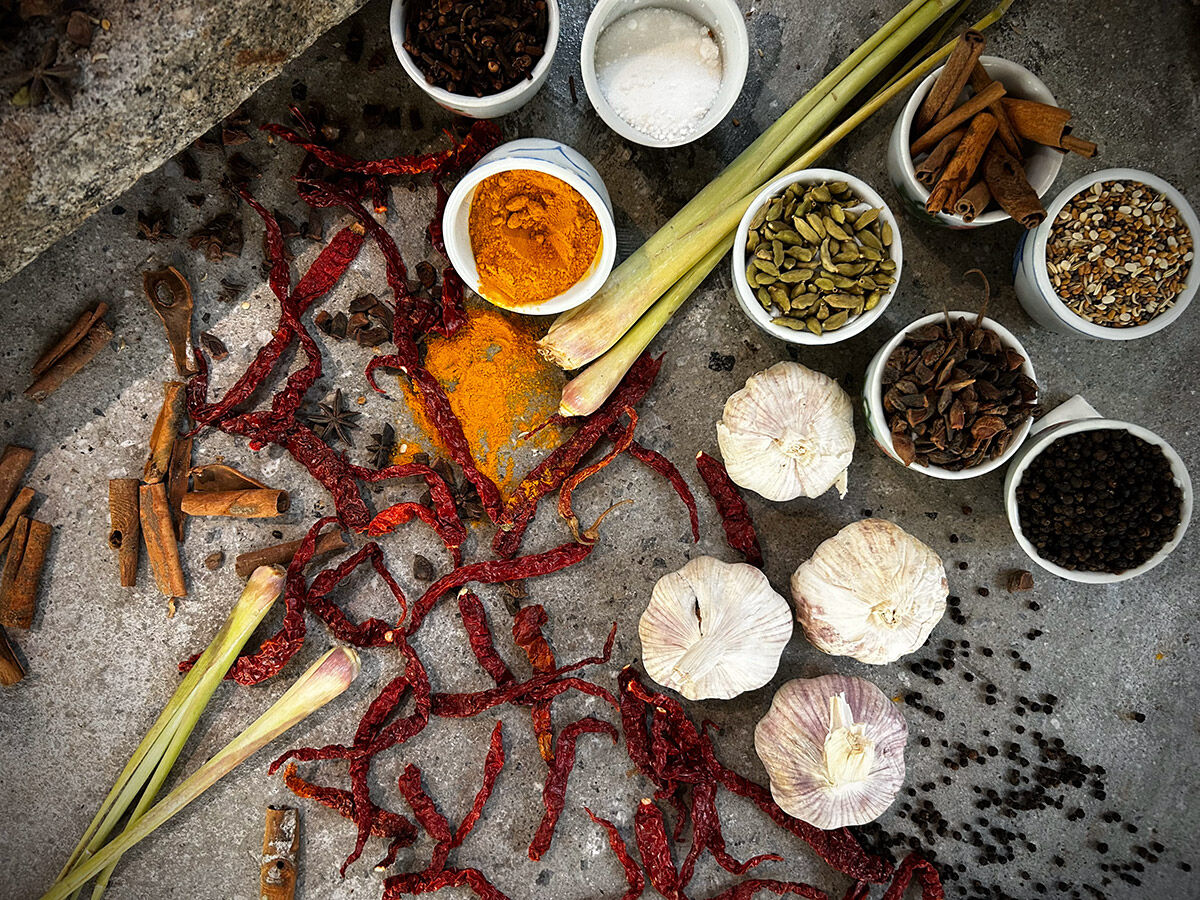
Food Photography (by Zarnizar)
For the craft of food photography, Zarniar strongly recommends turning on the “grid” feature on the iPhone’s camera and it will not only help you frame your shots effectively, but also comes in handy with aligning your flat lay shots. With the grid enabled, a stationary and moving cross appears on the screen when you place your iPhone facing downwards Ensuring that both crosses overlap means you have achieved that perfect 90 degrees alignment. The art of flat lays is a game of balance, and making use of the straight lines on the table will help guide your frame.
“Be experimental and try different styles until you find your own,” shares Zarnizar.
“Try to show depth in your photos. Most photos look better when they convey a sense of depth. Creating depth helps draw the viewer’s eye into the scene.”
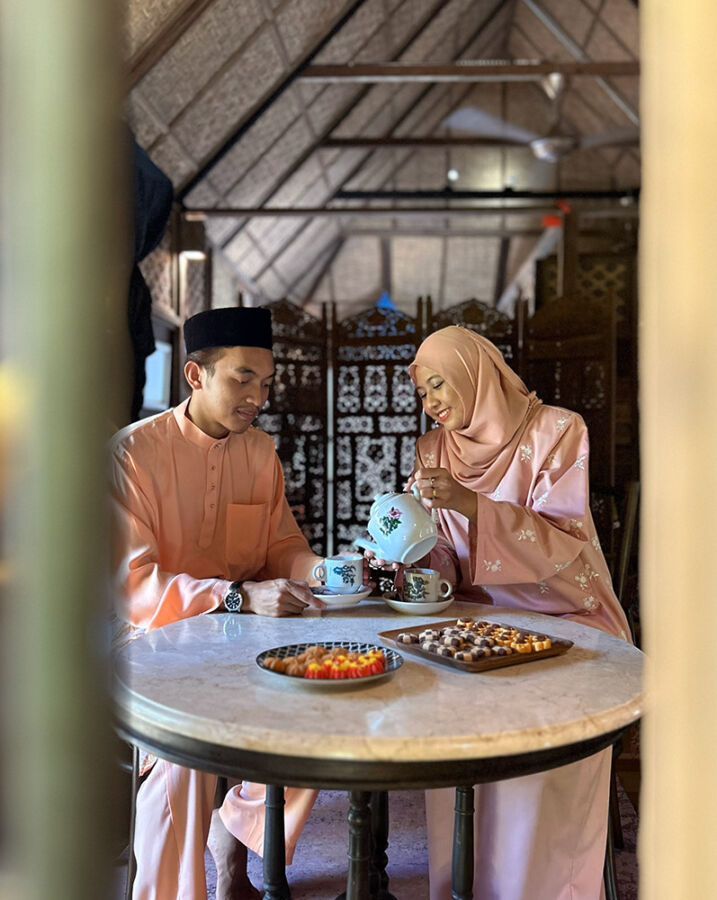
There’s also nothing like taking Slow-mo or Burst mode shots for that added “wow” cooking moment, and in this example, the best way to capture the flames from a live satay cooking session.
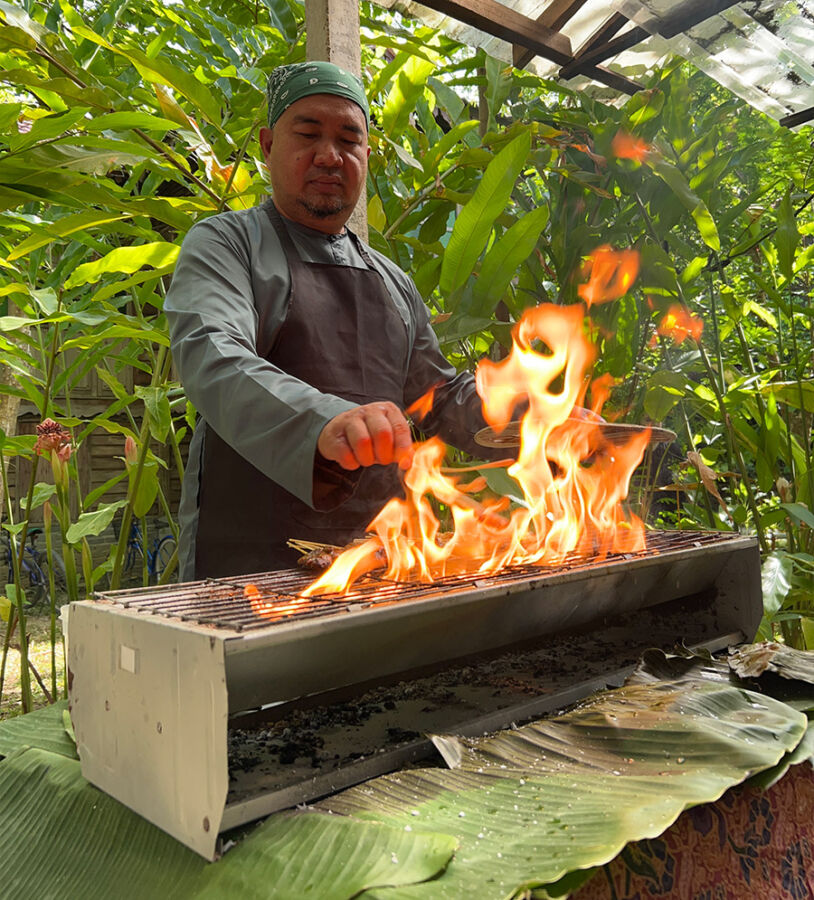
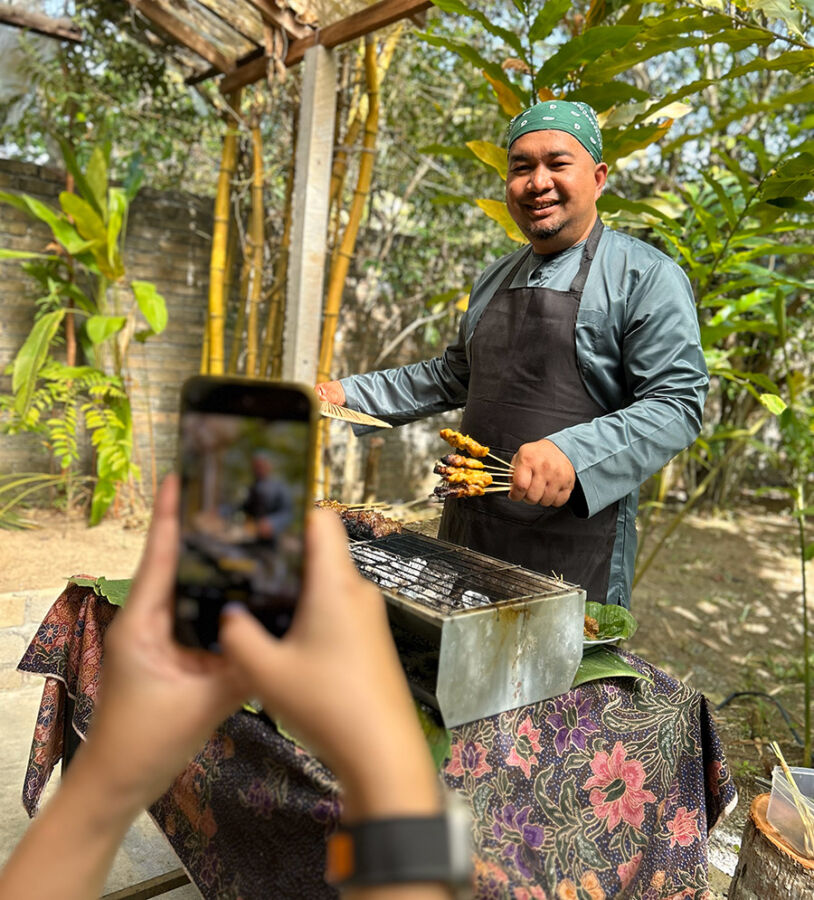
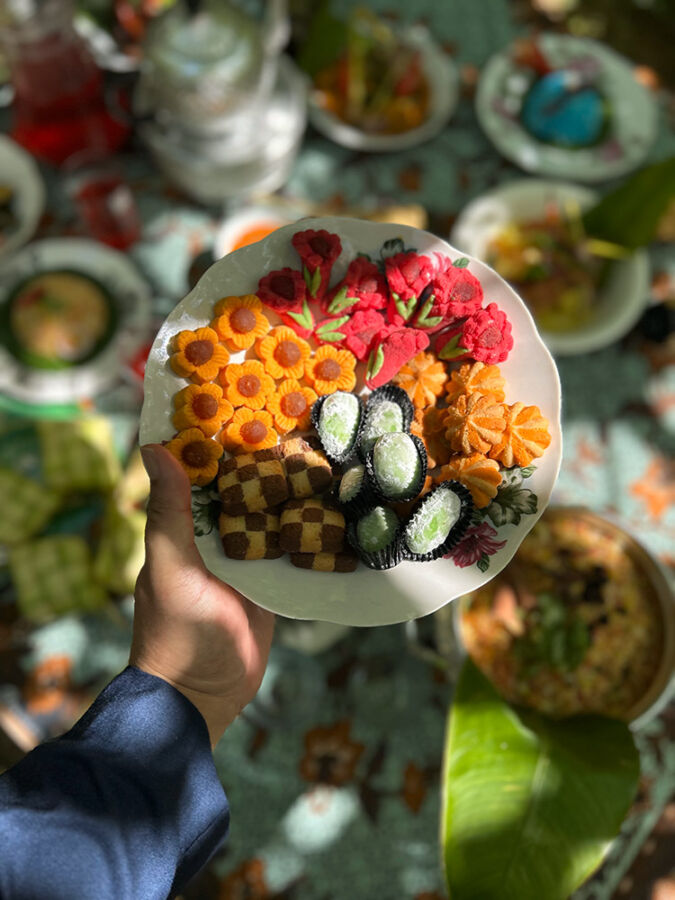
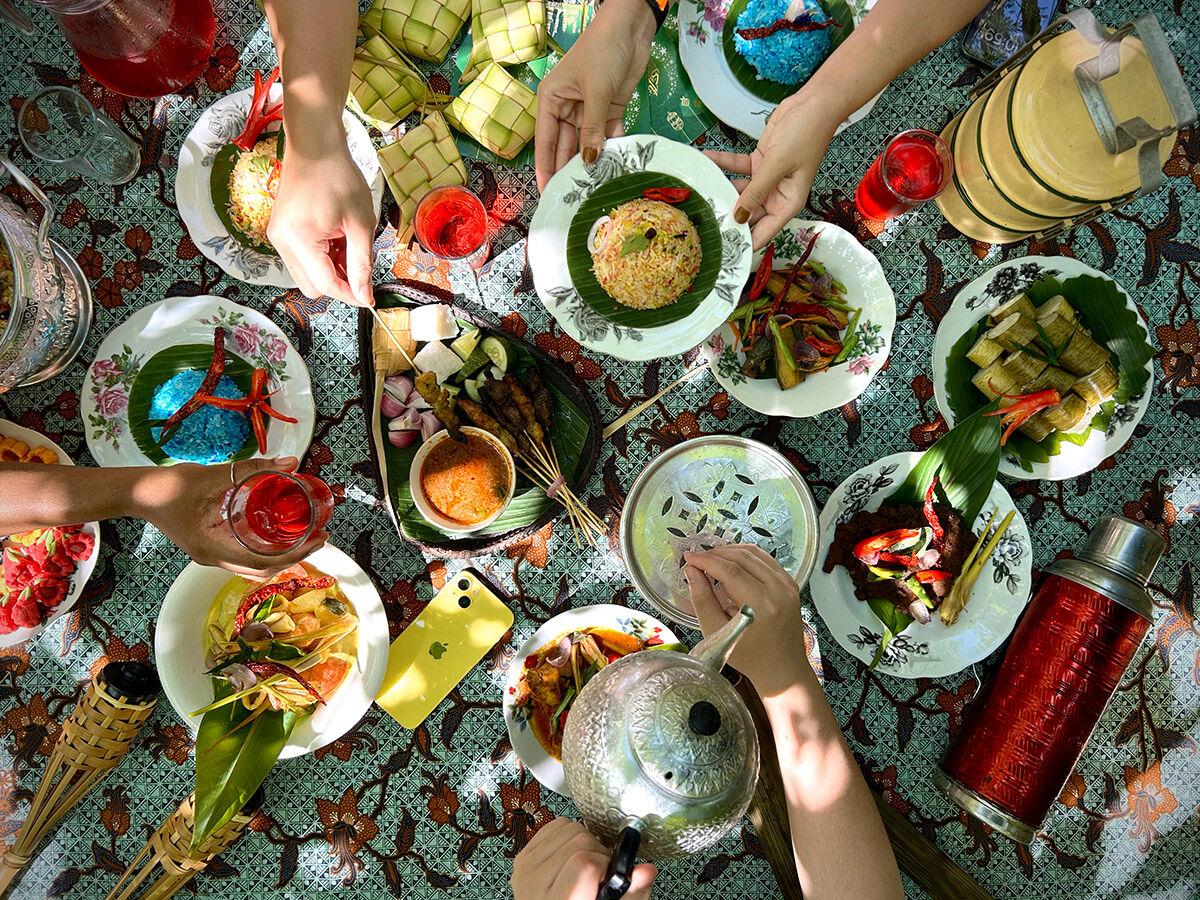
Here’s a gallery of photos we captured, thanks to Zarnizar’s tips and guidance, shot on the iPhone 14 Plus. A mixture of wide angle, portrait mode and flay lay techniques were used to achieve the shots, with minor edits made via the iPhone’s built in photo editing tools. Notice how the shots bring out the vibrant green and blue colours of the dishes, along with the effective use of shadows cast from the trees above, in an outdoor setting.

Here are some useful tips to try:
- Go to Settings > Camera and turn on “Grid” under “Composition”.
- Turn off “Live Photo” mode by default by heading to Settings > Camera > Preserve Settings and enable the “Live Photo” option. This will help preserve your last Live Photo setting, instead of defaulting back to being on each time you open up your Camera. Now open up your Camera app, and tap on the top-right icon to ensure Live Photo mode is off.
- When you tap to auto focus on a subject, hold your finger down and slide down to lower the photo’s exposure slightly, especially during outdoor shoots. This will help retain the details of your shots, which you can adjust later when editing the shot on your phone. If the shot is too overexposed, you won’t have the image information to tweak afterwards.
Not many know this, but there is an easy way to do “Burst” mode simply by sliding your finger left (after holding down on the shutter button). See the animation below to see how it’s done. Sliding your finger right will record a video instead, which will be handy if you want to make an instant switch to video for some reason. Alternatively, you can also hold down the volume up button for Burst mode and volume down button for a quick video recording.

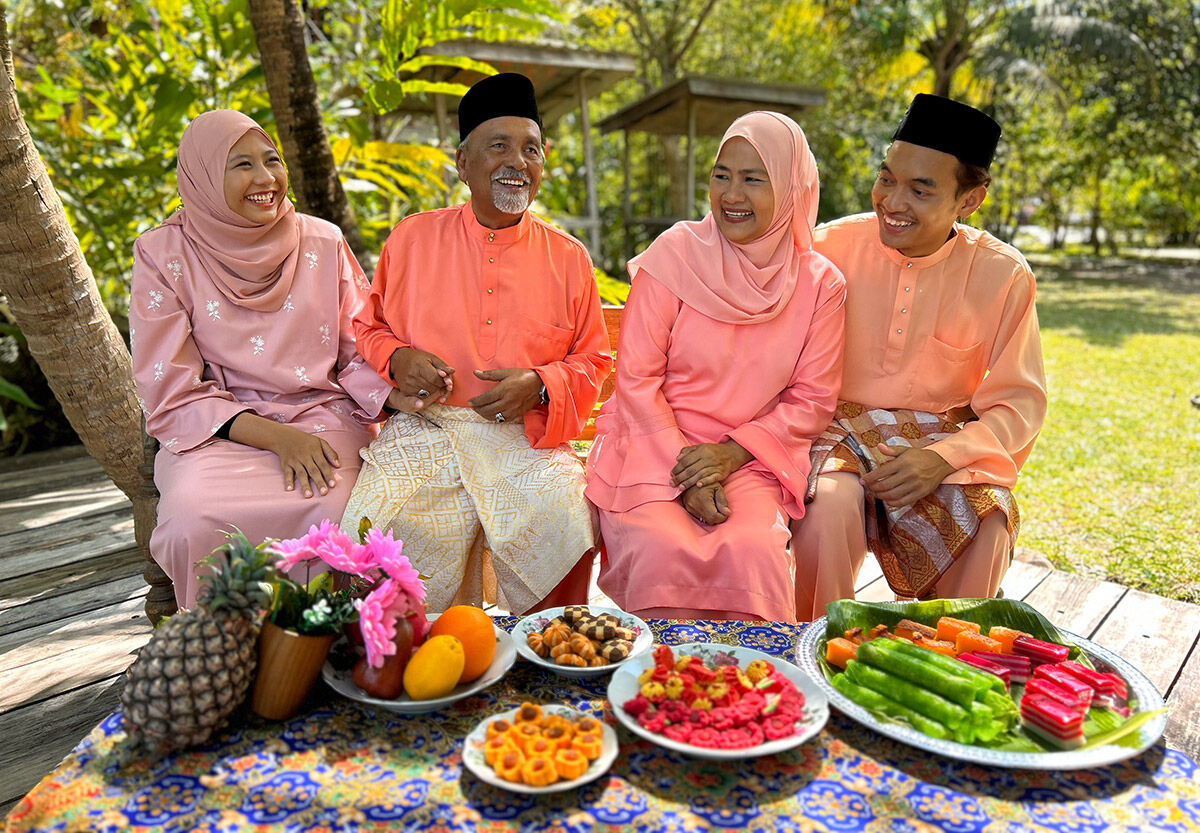
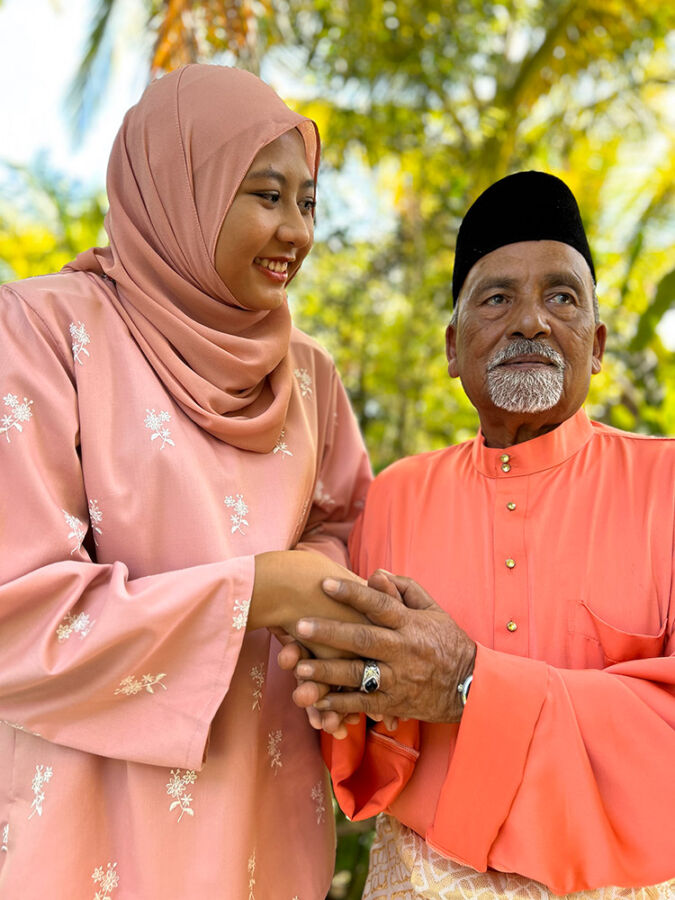
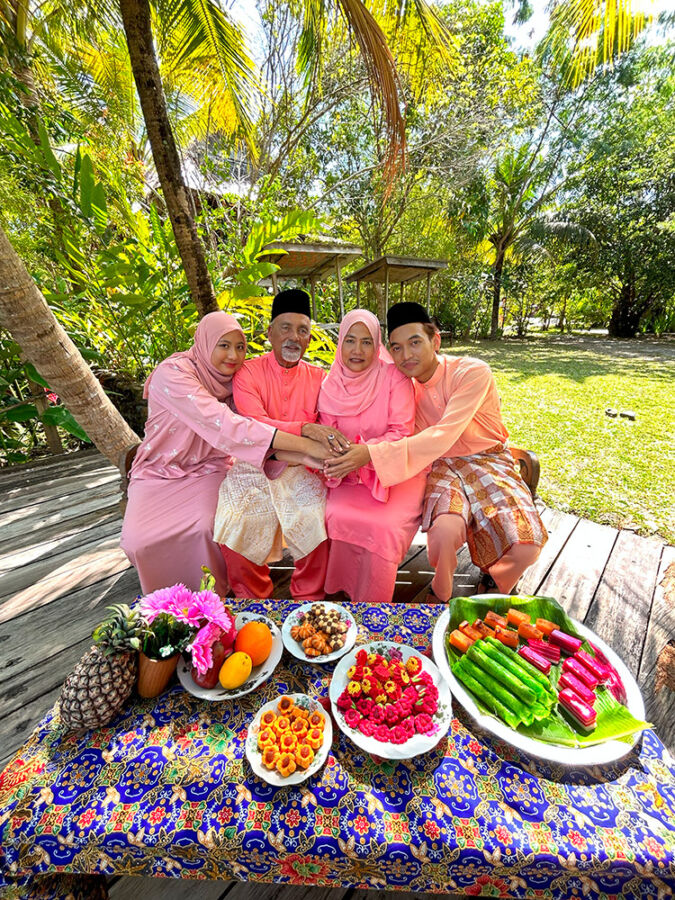
Outdoor & Indoor Portrait Photography (by Annice Lyn)
Annice Lyn is a photojournalist who has done work for National Geographic and Time magazine, so she knows a thing or two about telling stories through her pictures.
So what’s the key to working with people or talents?
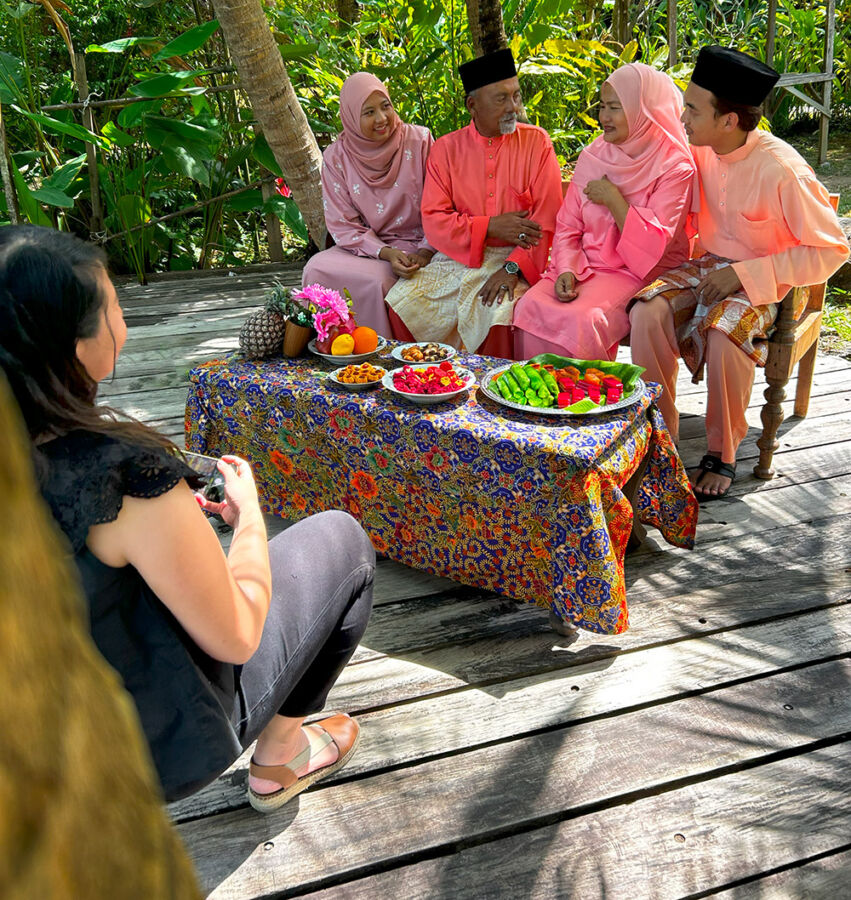
“Build a rapport with them, because capturing special moments takes more than just an iPhone to point and shoot. The process of creation is beyond that and how you interact with your subject matters,” shares Annice.
Building that rapport involves chatting with the people and talents, getting them comfortable with each other and being in front of the camera. The chemistry between the photographer and subjects will then come naturally, which helps with directing particular shots and capturing of human emotions.
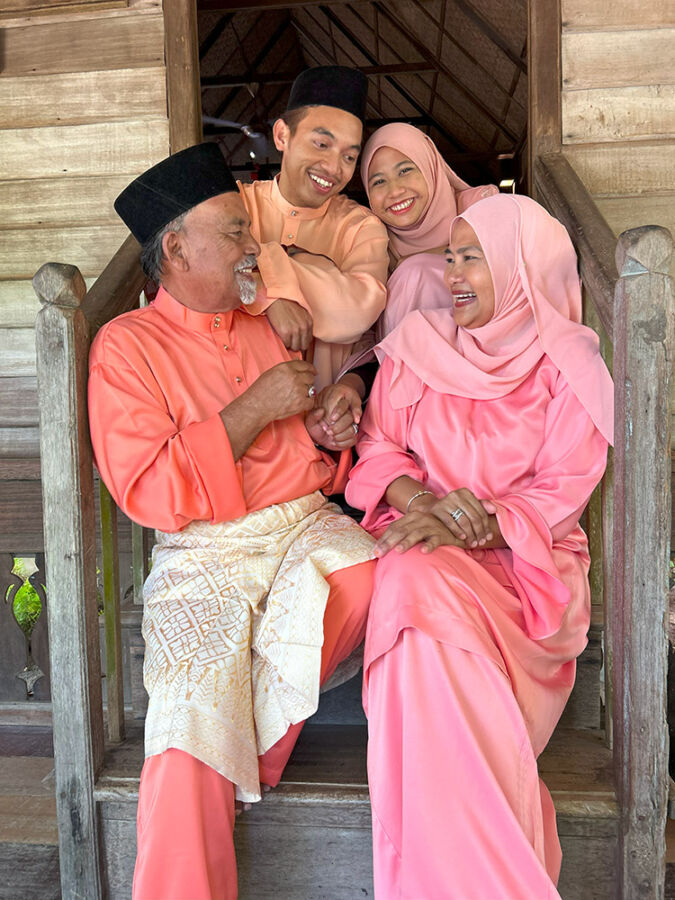
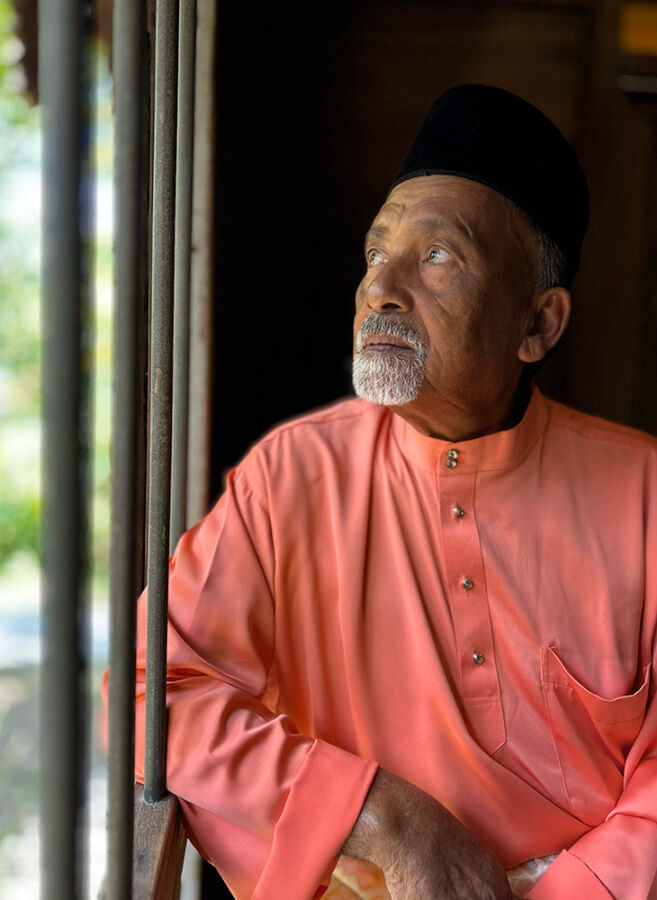
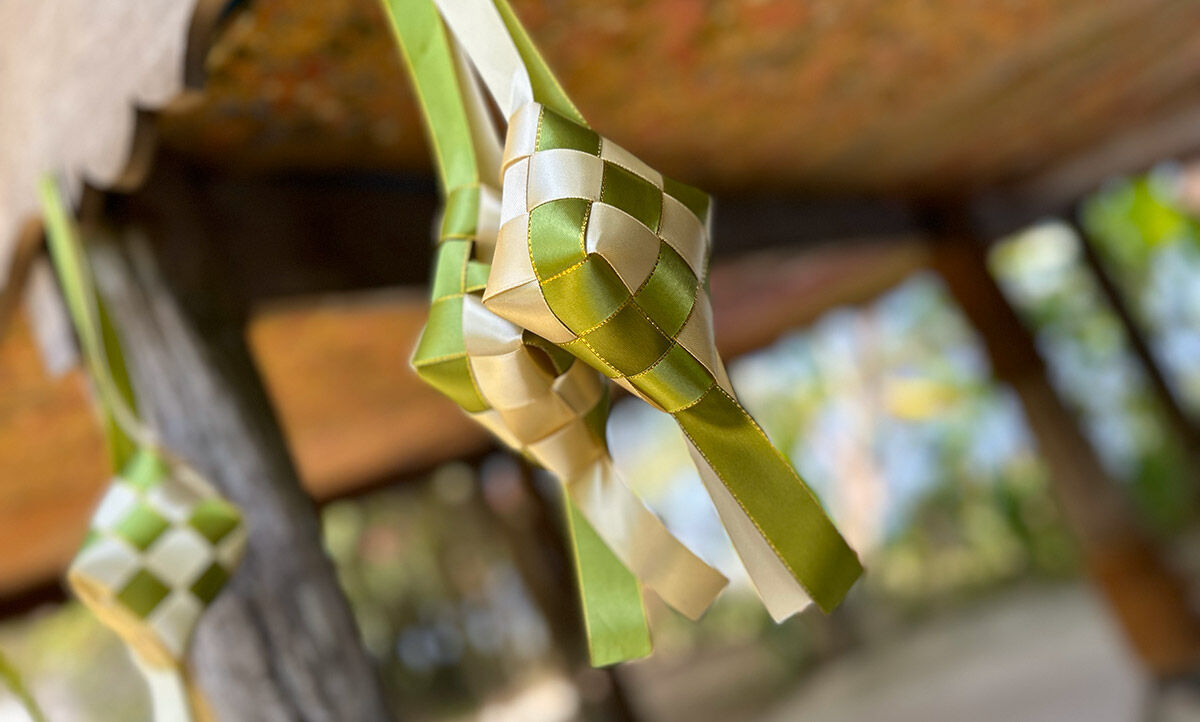
Here’s a photo gallery of photos of a Malay family in festive outfits. A mix of wide angle and portrait shots were used, with natural outdoor lighting. All photos were unedited and taken straight out of the iPhone 14 Plus.

Here are some useful tips to try:
- Further enhance your portrait shots by directly editing the portrait light effects, and you can choose from 6 different lighting effects and adjust the intensity accordingly. In case you didn’t know, you can also adjust the level of background blur in your portrait shots by tapping the “f” icon at the top of the screen and sliding Depth Control slider to achieve the desired background blur effect.
- The iPhone has very powerful built-in editing tools for you to achieve that perfect shot composition. But if you have painstakingly edited a particular shot and want to apply the same settings across a series of other photos, simply hit the 3 dots at the top-right corner of the screen, apply them to all photos with a few taps. Simply select “Copy Edits” and then head to your Album, and the photos you want to apply the same edits for. Hit the 3 dots on the bottom-right corner this time and “Paste Edits” to see the same edits applied. This works for videos as well and don’t worry – you can easily opt to “Revert to Original” at anytime, by using the same steps.
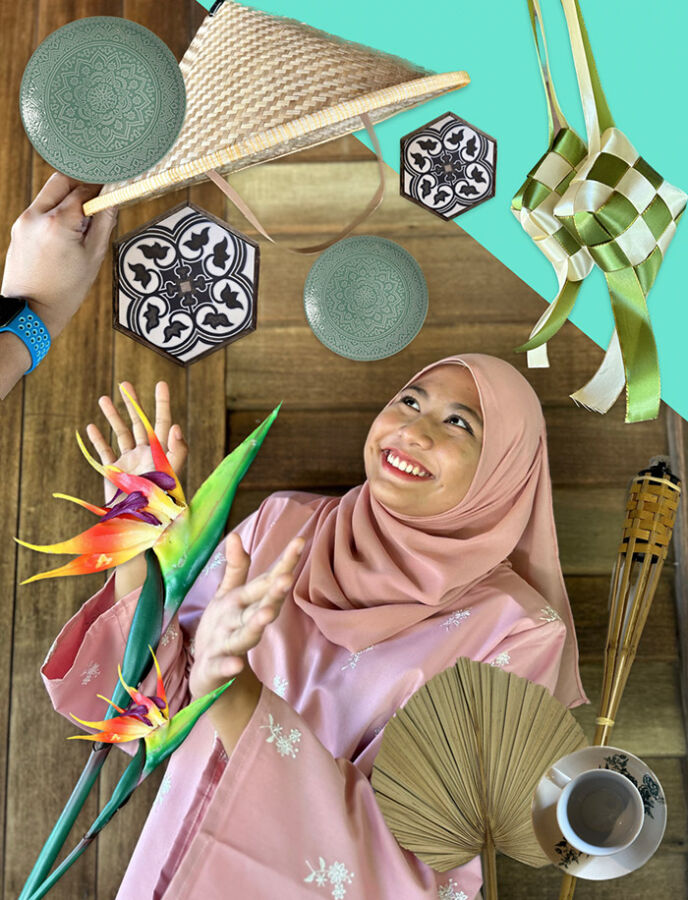
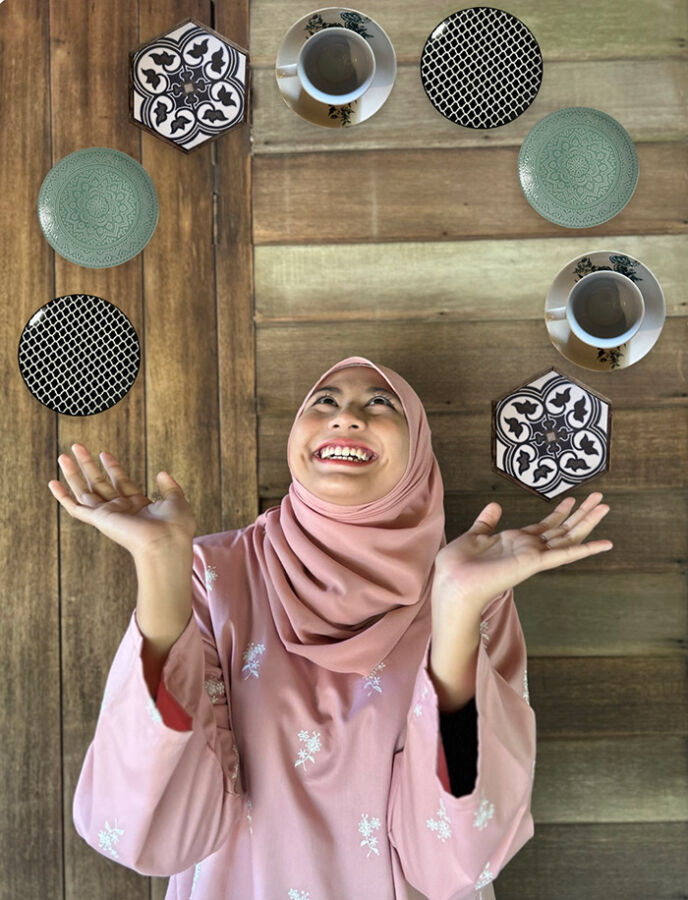
- Plenty of fun can be had with “Subject Lift”. All you have to do is to open up a photo of a subject, touch and briefly hold the subject in the photo and when it is magically outlined, either Copy and Paste it as a new image, or simply drag it and use your other finger to go back to the Photo Album and drop it there to create a new photo of it with it’s background transparency retained. Once you have lifted a bunch of subjects, you get creative with forming any photo collage with apps like iOS16’s new Freeform app. A quick example of what can be achieved in a matter of minutes can be seen below. All the objects were subject lifted on-the-fly with individual shots taken of each item (hat, plate, cup, fan, Birds of Paradise plant).
Short Form Vertical Video (by yk)
Creating short form 15 to 30 second vertical videos is all the rage, no thanks to video sharing platforms like TikTok. Even Instagram has followed suit with IG Reels, and Facebook with FB Reels, and YouTube with YouTube Shorts. Photographer and content creator yk (Yik Keat) has grown a massive following on Instagram and TikTok, thanks to his endlessly creative “How To” videos on how you can create your own amazing, yet simple video transitions between scenes.
“After learning how to piece the clips together, be sure now to take note of how transitions happen and ensure videos are satisfactory and workable for the edit – one pro tip is to piece it on the spot to roughly check,” shares yk. He also stresses that video continuity is important for the general flow of the video, so one must ensure subjects are in similar positions, and movement is natural. So if you are panning left to right, the next video should ideally be panning left to right as well to maintain a smooth flow.
In order to put into practice some of the techniques shared by yk, we shot a few clips of traditional “Chapteh” action between two individuals. All the clips were captured over a span of 15 minutes and stitched together on the spot with the Clips app, which took another 15 minutes. The clips were made with a mixed use of “Cinematic” and “Action” modes, shot and edited entirely on the iPhone 14 Plus.
Here are some useful tips to try:
- By default, the video stabilization is somehow most stable in wide-angle mode (0.5x). So definitely use the wide-angle mode whenever possible, especially when you’re walking while capturing video.
- If you are moving around a lot while shooting a video, especially when running, always remember to toggle the “Action” mode via the top-left of your camera app. However, Action mode also works best when there is plenty of light and if the environment is too dark, the Camera will show a “More light required” notification. There is a workaround for this by heading to Settings > Camera > Record Video and turning on “Action Mode Lower Light”. This will decrease the stabilisation but helps to optimise the camera for darker scenes.
- The key tip for creating seamless transitions between scenes, like the ones yk is so good at, is to ensure that the object or subject in your ending and starting frame fills up the phone screen fully, and to move the camera as close to the textured surface as you can, so that it is either dark or blurry. And where possible, ensure that surface textures and colour tones are somewhat similar.
Long Form Video Reel (by Jason Goh)
There are always situations that call for creating longer form video content in the usual 16:9 aspect ratio. YouTuber and Content Creator Jason Goh (aka smashpop) offers up his expertise in the field.
“Keep the videos short, within a few seconds for each scene. By doing this, you get more specific angles and keep the audience fresh with new perspectives.”
Depending on the type of scene being shot, it is always good to use a mix of the different modes and lenses on the iPhone. The Ultra-wide lens (0.5x) is best for tight spaces, or if you want to set the scene and let the audiences know the lay of the land. The “Cinematic” mode is best suited when there are human subjects, which can help create a cinematic depth of field effect. And for achieving an extra stable shot when running or in motion, always use the ultra-wide lens with “Action” mode on.
Putting all these tips into practice, a bunch of sequences were captured within 30 minutes, and stitched together in just under 10 minutes with the iMovie app. One important tip when editing and stitching each of the scenes together is to always start the clip when the subject is already moving, and not when the subject is about to move.
So there you have it. Here’s hoping this article has helped inspire or taught you a thing or two about how easy it is to create better photo and video content, along with a dash of creativity. The easiest way is to go out there and get lots of practice.
Yonk is a geek who is fortunate enough to have an equally geeky Star Wars fan for a wife, who owns a LEGO Millennium Falcon encased in a glass coffee table as their home’s centre-piece.


