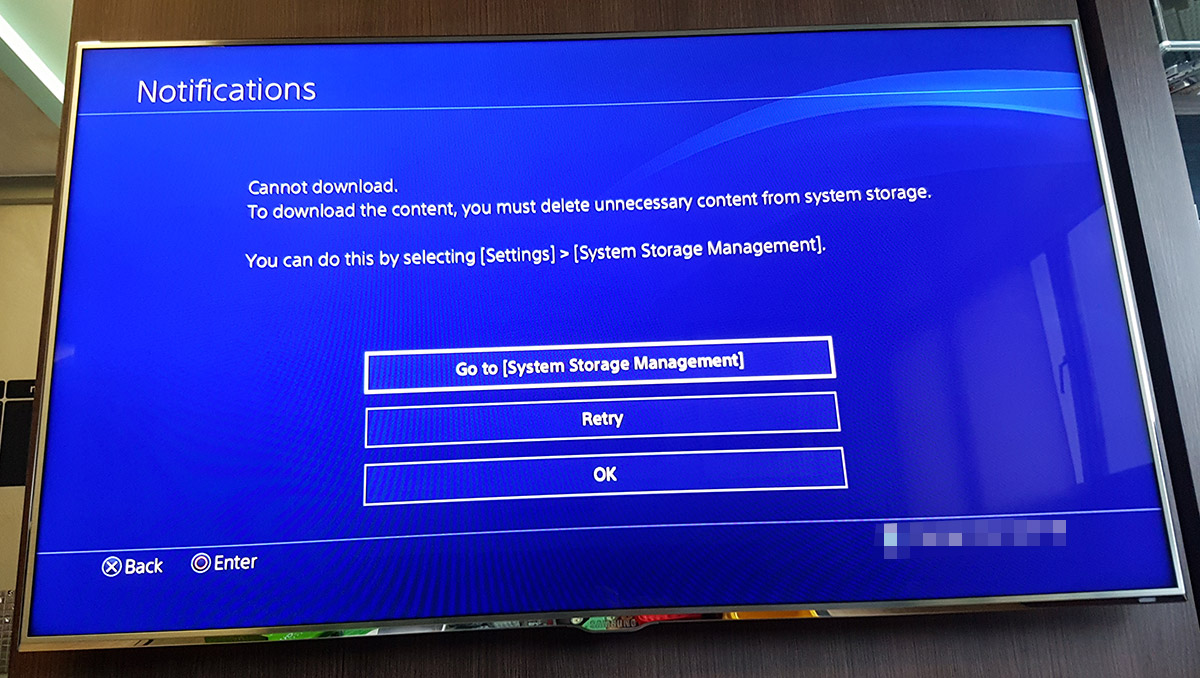
There is no shortage of video games to play in 2017, but any gamer knows that the constant dread we face is not the lack of time, but the lack of space. Yes, this dreaded screen has been plaguing PlayStation 4 (500GB) owners for years and I have been close to tearing my hair out in frustration when this shows up, the moment I pop in a new Blu-ray disc or attempt to download each month’s free game offerings from my PS Plus subscription.
Sure, deleting old games to free up space is easy enough to do, but somehow making that decision seems harder and harder, as I am always telling myself that I’ll eventually find time to finish that one game.
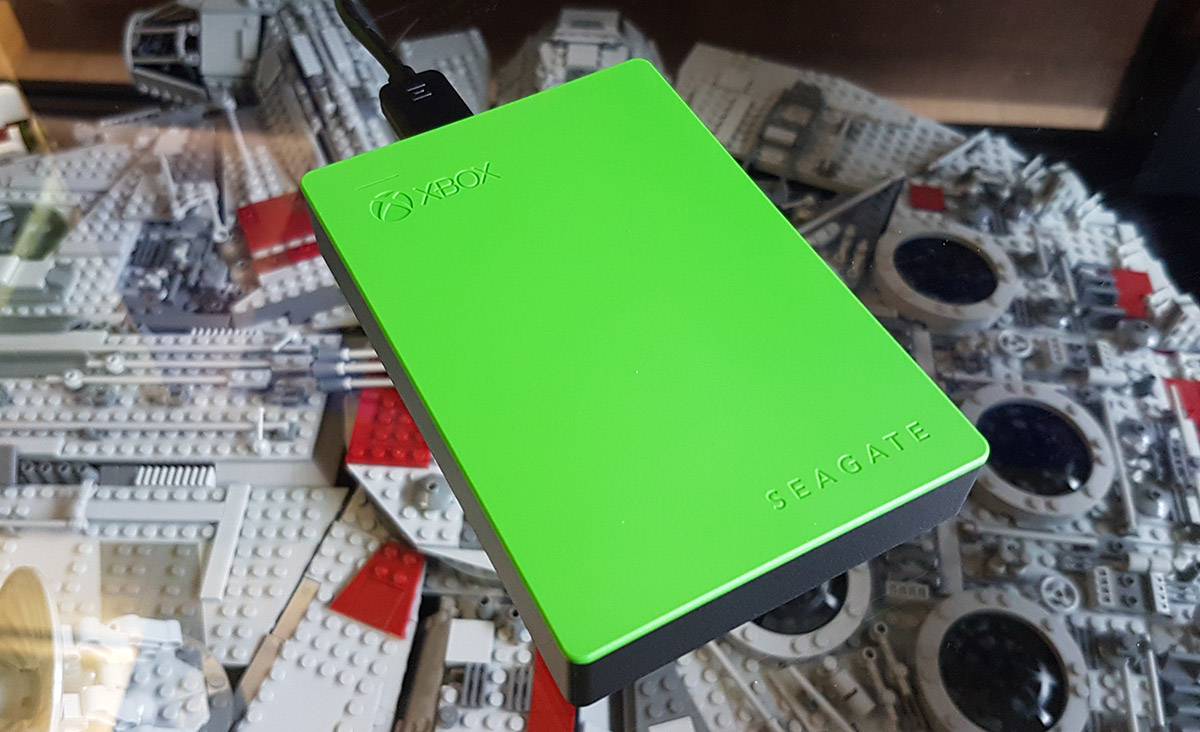
The only solution is to upgrade that measly hard disk, but I have been skeptical for the longest time, due to the technicalities of having to pop open the console, swap out the hard drive, backup/restore my data. Sorry Xbox One fans, but the ability of that console to simply plug in an external drive to increase capacity is a winning one.
With fellow geeks all around me snapping up the new PS4 Pro and PS4 Slim, I knew I had to do something for my aging PS4, to give it a new lease of life (somewhat). The entire process turned out far easier than I expected, and deeply satisfying, so let’s get to it!
The Tools of the Trade
First up, to assemble the tools needed for the operation:
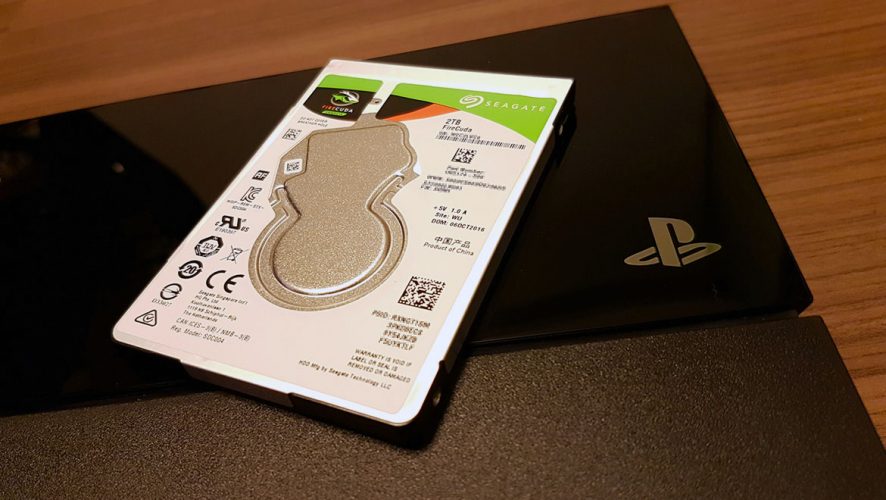
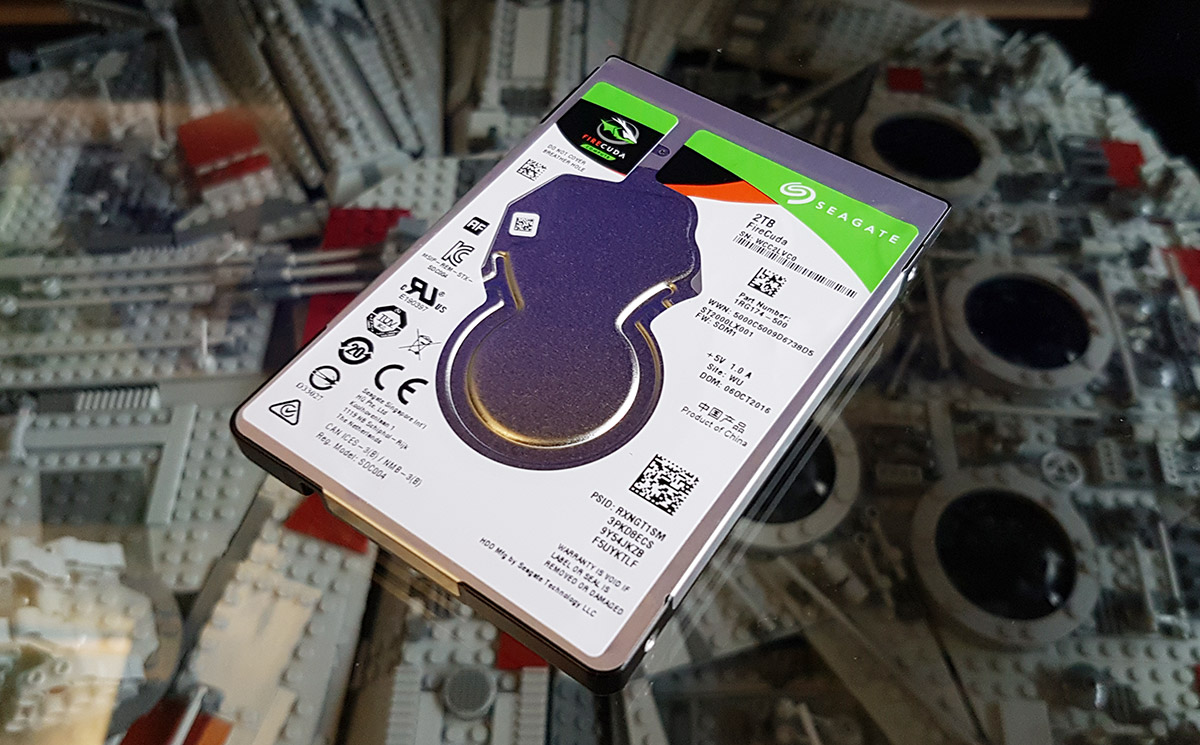
- The spanking new hard drive – a Seagate Firecuda 2TB (2.5-inch).
- A geeky 1GB Flash Drive for housing the latest PS4 System Software.
- A trusty Philips head screwdriver.
- Any portable hard drive (at least 500GB) for backing up and restoring your PS4 content.
The Seagate Firecuda 2TB hard drive was the choice for this little experiment. Being a hybrid SSHD (solid state hybrid drive), it offers some of the improvements granted by a full SSD (speedier bootup, load times, installs, etc) minus the price markup. Although this particular drive also spins the same speed of 5400RPM, it should still run a little faster, and of course, offers 4 times the capacity.
At just a mere S$179 (US$125), its good balance of performance/capacity/value. What follows are just 3 simple steps.

[STEP 1] Backup That Content
This step to backup your PS4 content can be skipped entirely if you’d prefer to start your PS4 afresh, and re-download/re-install your games. However, if you’re like me, and have some geeky emotional attachment to the game saves, settings, game installs, updates, and screen and video captures, you’ll need to hook up the portable hard drive to the USB port of the PS4 to back it all up. Make sure the hard drive is formatted to the exFAT file system, as the PS4 doesn’t work with NTFS-formatted drives.
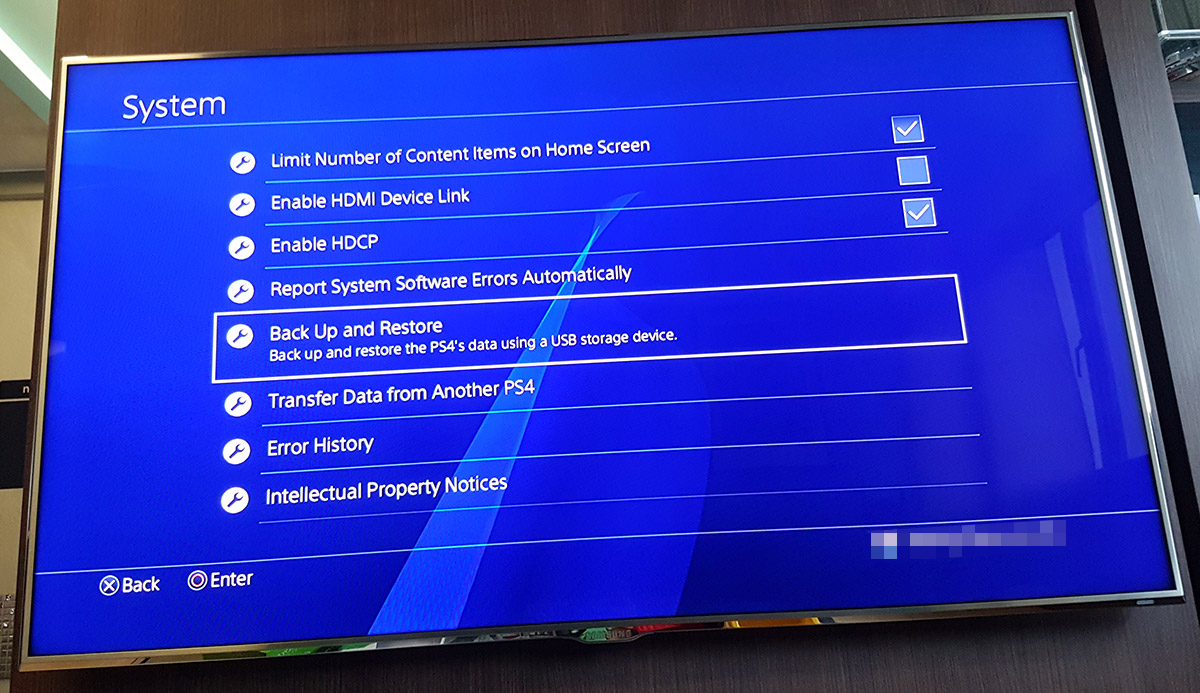
Once the drive is hooked up, navigate to System > Back Up and Restore > Back up PS4.
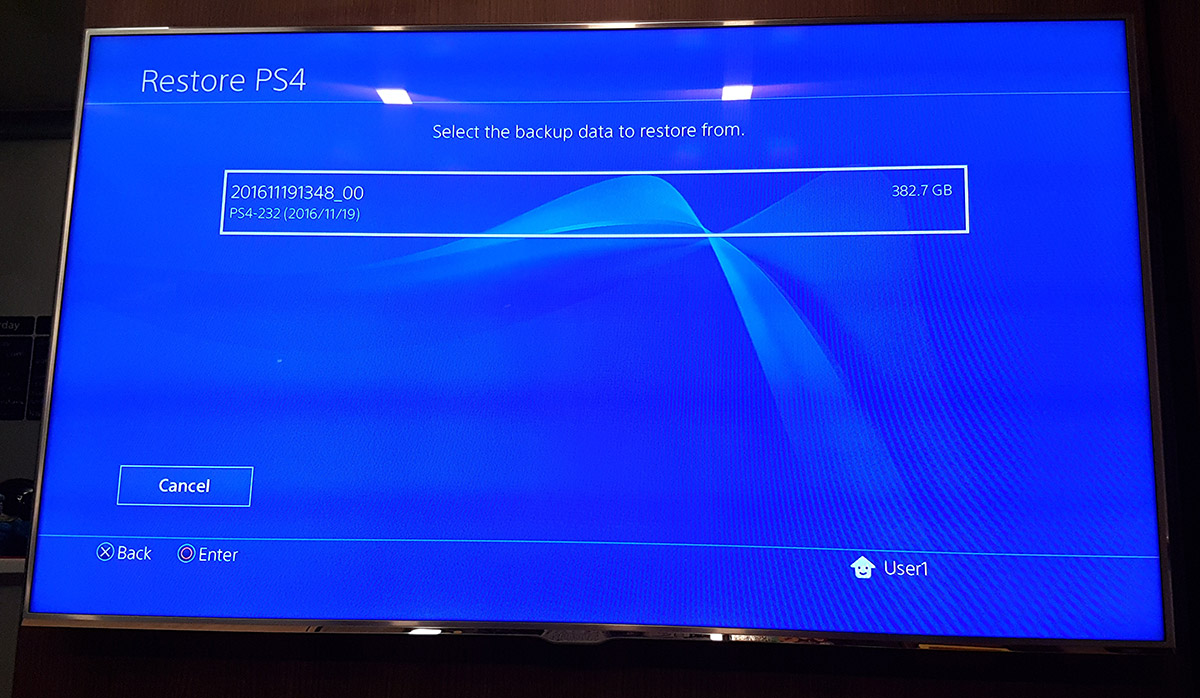
At this point, you will see how much data you’ll be backing up. In my case, I had a whopping 382.5GB to backup.

It would be a good idea to do some housekeeping before running the backup though. Take the opportunity to delete those unwanted screen and video captures, and games/apps you no longer play. Try to keep your backup file size as small as you can.
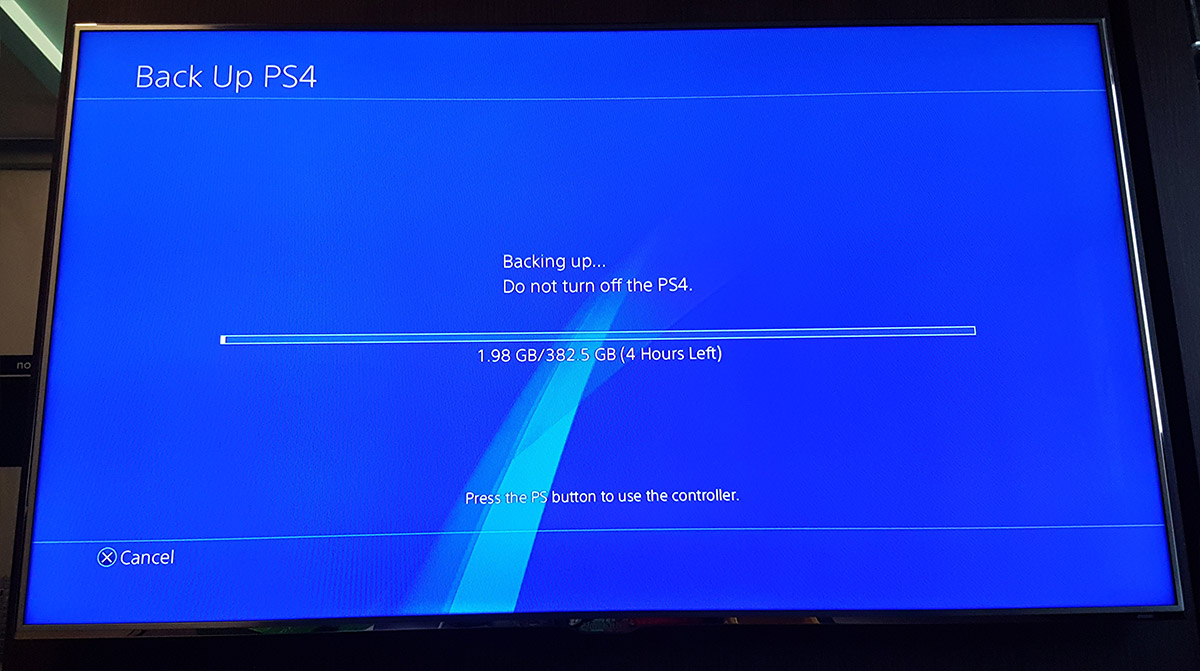
Otherwise, you end up in this situation, which took me 4 hours to backup the PS4.
[STEP 2] The HDD Swap
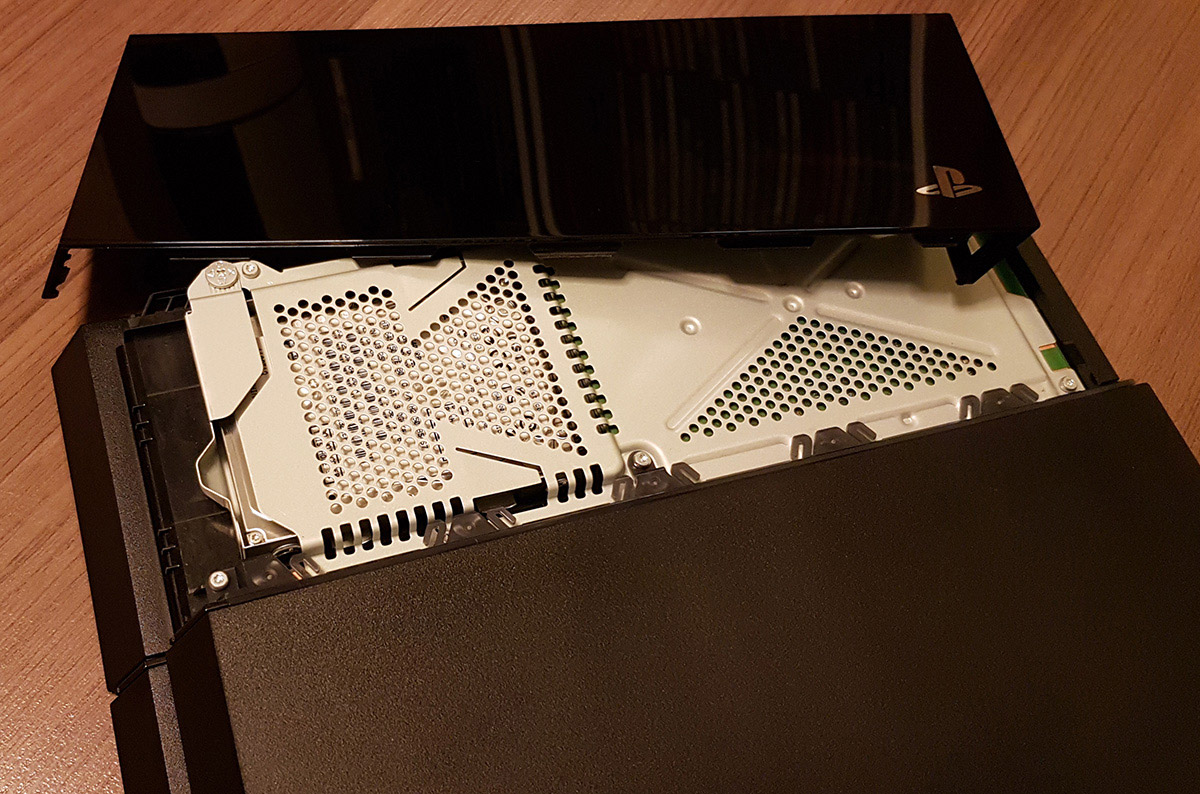
Now, on to the fun bit. After powering off the PS4 and removing all the plugs, I pressed down a little on the top-half of the console housing and slid it open.
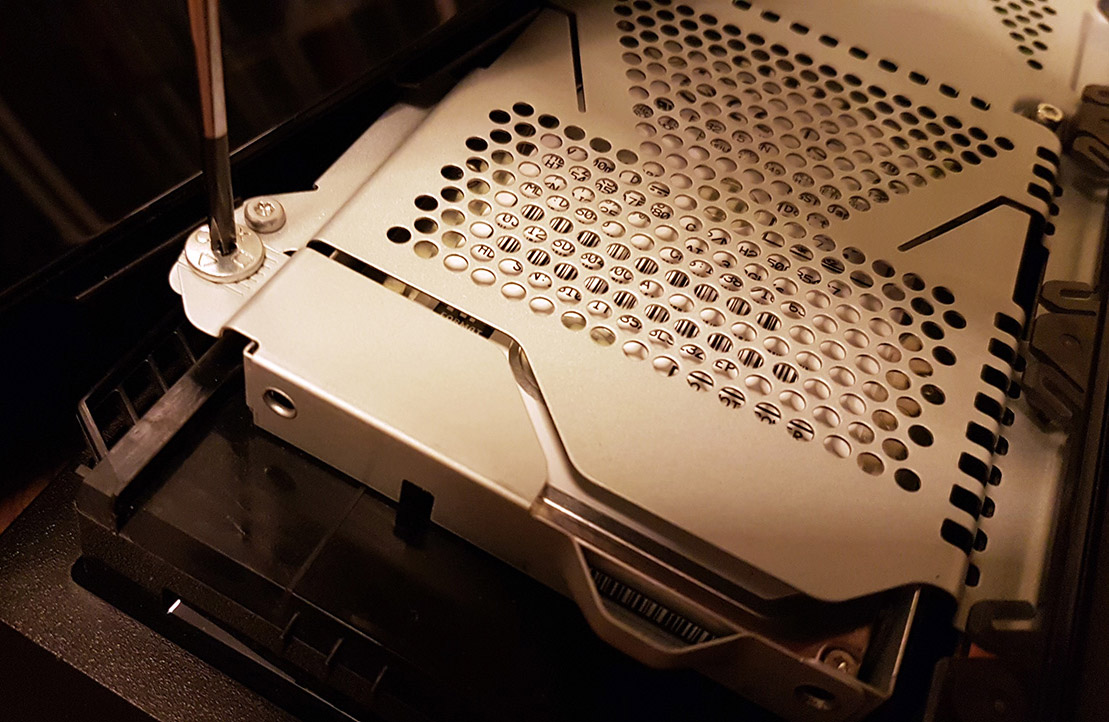
There is just a single screw to unscrew, which can be easily identified by the circle-square-triangle-cross PS symbols.
Once that’s done, I simply slid out the hard disk housing via the protruding handle, and proceeded to unscrew the four black screws (two on each side) and laid them all out.
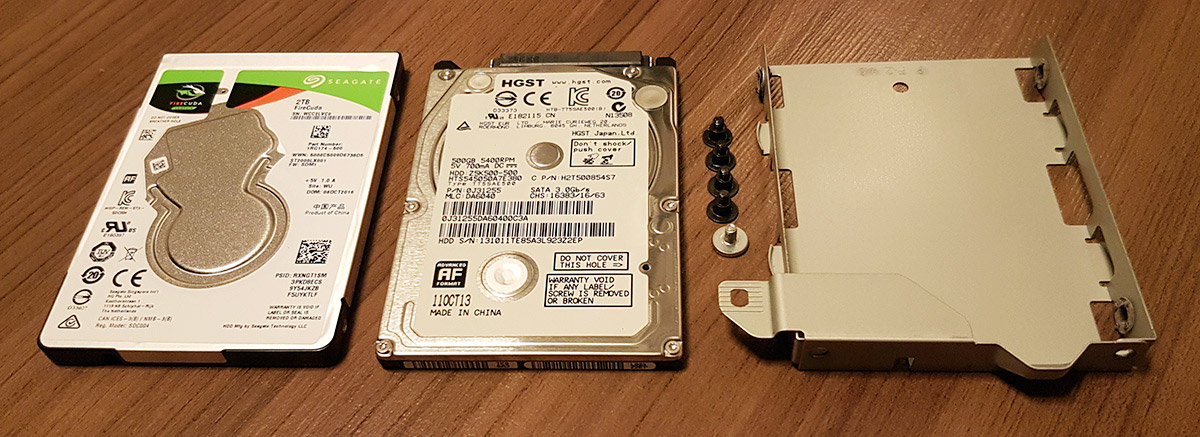
New vs old laid out. Goodbye stock 500GB HDD, say hello to 2TB Hybrid SSHD.

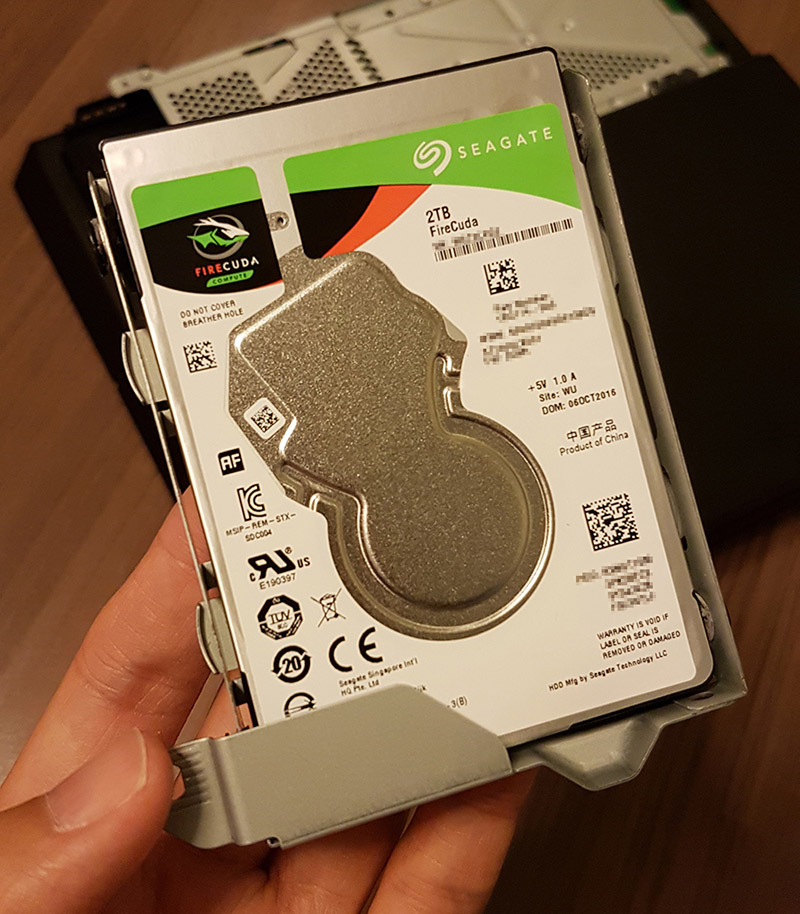
I placed the new hard disk in the housing, and repeated the above steps in reverse. Easy peasy.
[STEP 3] Software Installation and Restore That Content
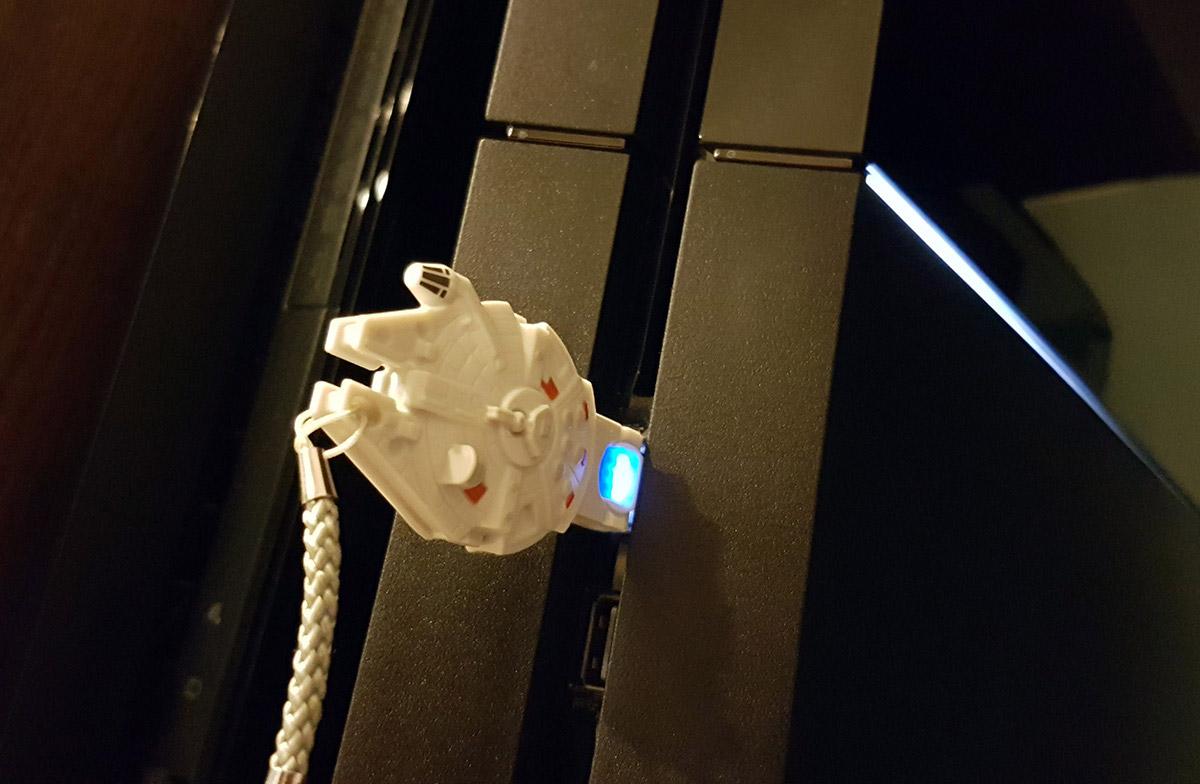
Armed with my Millennium Falcon Flash Drive, I headed over to the official PlayStation website to download the latest System Software (as before, the Flash Drive needs to be formatted in exFAT too). Once that is done, I plugged the Flash Drive into the USB port of the PS4, and pressed down on the power button for at least 7 seconds. The PS4 will then boot up in safe mode. On screen, there will be just one option to select “Initialize PS4 (Reinstall System Software)”. Just follow along the screen prompts to complete the update.
After the PS4 boots up, if you backed up your old hard disk from Step 1, its time to restore it via the same steps. I reconnected my portable hard drive, and navigated to System > Back Up and Restore > Restore PS4. Thank goodness this process was significantly faster.
Once the restoration is completed, the PS4 will boot up once again and everything will look as it was before! Except this time, there so much more room to install the onslaught of 2017 game releases!
Let’s take it for a Spin
Now that we’ve gotten the technical bit out of the way, it’s time to give the new HDD a spin to see how it improves upon the performance when booting up and loading games.
Here’s a quick table I have put together from my personal experience that should give you a good idea on the improvements:
| Activity | Stock 500GB HDD | Seagate FireCuda 2TB SSHD |
|---|---|---|
| Booting up the PS4 | 42 seconds | 30 seconds |
| Booting up Call of Duty: Infinite Warfare | 20 seconds | 12 seconds |
So is it worth the S$179 (US$125) upgrade for your ageing PlayStation 4 console? It’s a definite YES for quadrupling the hard disk capacity, and overall speedier load times (which means more time for gaming!).
Yonk is a geek who is fortunate enough to have an equally geeky Star Wars fan for a wife, who owns a LEGO Millennium Falcon encased in a glass coffee table as their home’s centre-piece.